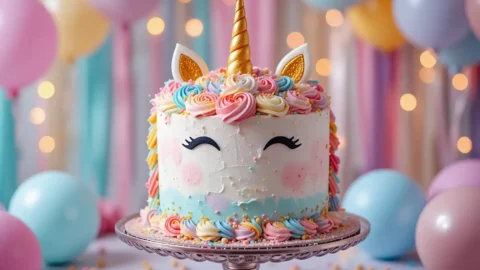
Have you ever dreamed of creating a cake so magical it feels like a piece of art? A unicorn cake isn’t just a dessert it’s a statement, a centerpiece that turns any celebration into a sparkling event. Whether it’s a birthday party, a whimsical gathering, or just a special treat, this cake is sure to delight both kids and adults. With its vibrant rainbow layers, silky buttercream frosting, and enchanting edible glitter, it’s easier to make than you think! Let me guide you step-by-step to bring this dazzling dessert to life and make your day truly unforgettable.
Table of Contents
Key Benefits of Making a Unicorn Cake
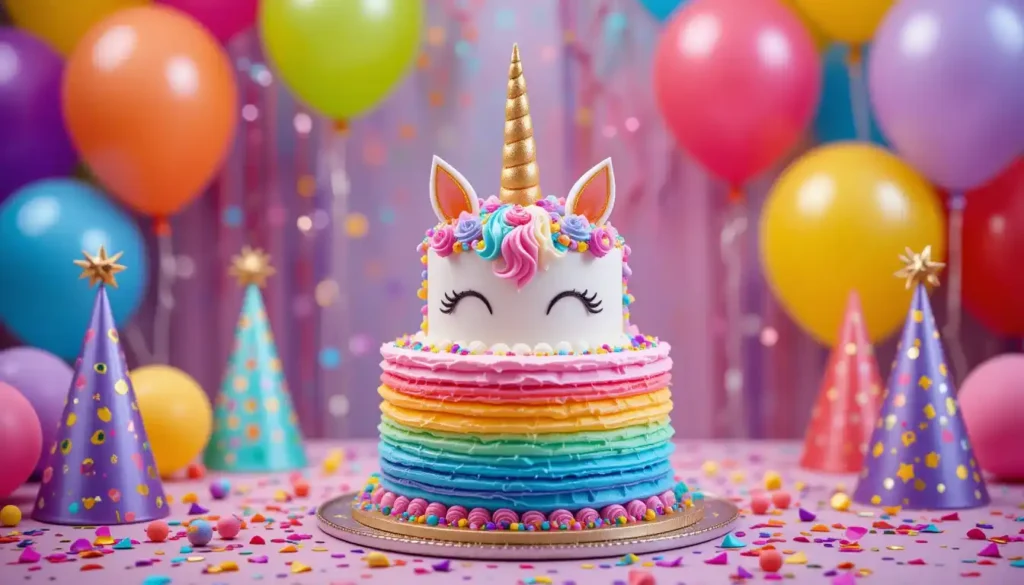
Creating a unicorn cake is more than just baking; it’s an experience that brings joy, creativity, and a touch of magic to any occasion. Here’s why this recipe is worth trying:
1. A Show-Stopping Centerpiece
- A unicorn cake instantly becomes the highlight of any celebration. Its vibrant colors, whimsical decorations, and sparkling details captivate both kids and adults alike. It’s not just a dessert—it’s a conversation starter.
2. Customizable to Suit Any Occasion
- Whether it’s for a birthday, baby shower, or themed party, you can tailor the colors, decorations, and even the cake flavors to match your event. It’s as versatile as your imagination allows.
3. A Fun and Creative Activity
- Baking and decorating this cake is a rewarding project for families and friends. Get the kids involved by letting them choose colors or add sprinkles for a personalized touch.
4. Accessible for All Skill Levels
- Don’t worry if you’re not a professional baker! With step-by-step instructions, even beginners can create a masterpiece. Plus, you can simplify the process with pre-made decorations or cake mixes if you’re short on time.
5. Memorable and Instagram-Worthy
- Let’s face it: unicorn cakes are incredibly photogenic. From their pastel hues to sparkling accents, they’re perfect for sharing on social media and making lasting memories.
Practical Tip:
If you’re new to intricate decorations, focus on the basics like smooth frosting and simple fondant shapes. Add edible glitter or pre-made unicorn toppers for that magical final touch without the stress!
This unicorn cake isn’t just a dessert; it’s a joyful journey from start to finish. Ready to dive into the magic? Let’s gather those ingredients and get started!
Ingredients for a Magical Unicorn Cake
Before we dive into the baking and decorating fun, let’s make sure you have everything you need. This unicorn cake is divided into three main components: the cake layers, buttercream frosting, and whimsical decorations. Gather these ingredients, and you’re halfway to creating something magical!
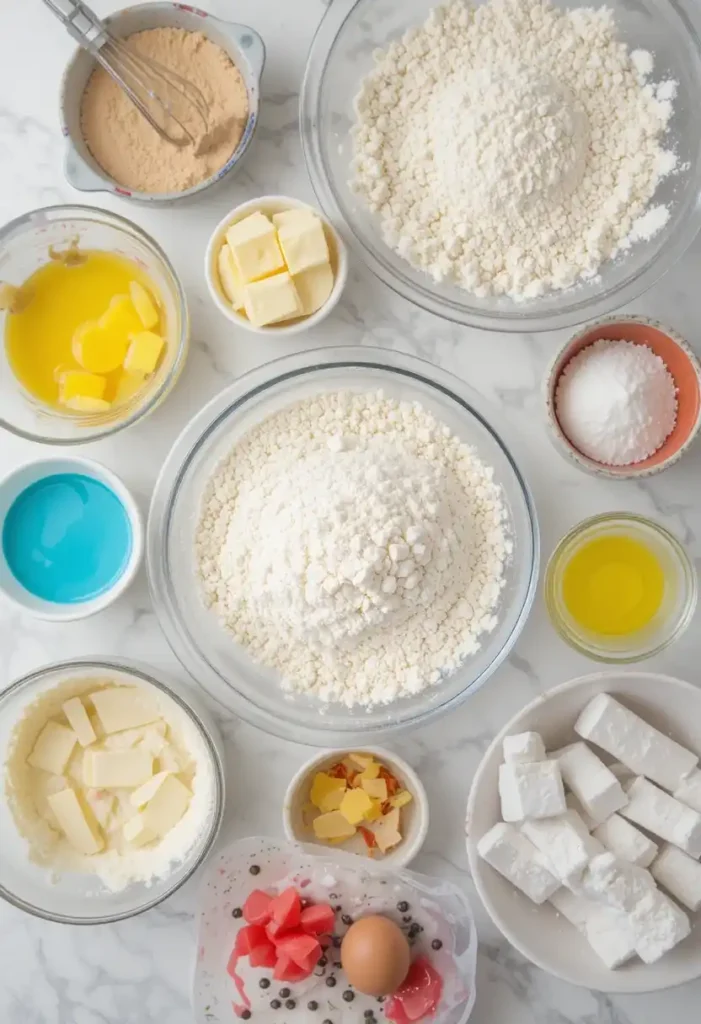
For the Cake Layers:
- 2 ¾ cups (340g) all-purpose flour – Provides structure to the cake.
- 1 tbsp baking powder – Helps the cake rise for a fluffy texture.
- ½ tsp baking soda – Balances acidity for even baking.
- ½ tsp salt – Enhances the flavors.
- 1 cup (230g) unsalted butter, softened – Adds richness and moisture.
- 2 cups (400g) granulated sugar – Sweetens the cake and aids in a tender crumb.
- 4 large eggs, at room temperature – Adds structure and stability.
- 1 tbsp vanilla extract – Infuses the cake with a classic, comforting flavor.
- 1 cup (240ml) whole milk, at room temperature – Keeps the cake moist and soft.
- Gel food coloring (assorted colors) – For those signature rainbow layers.
For the Buttercream Frosting:
- 1 ½ cups (340g) unsalted butter, softened – The creamy base for a smooth frosting.
- 4 cups (500g) powdered sugar – Creates a light, fluffy consistency.
- 2-3 tbsp heavy cream – Adjusts the texture for easy spreading.
- 1 tsp vanilla extract – Complements the cake’s sweetness.
- Gel food coloring (optional) – For colorful accents or a pastel swirl effect.
For the Decorations:
- White fondant – Use it to craft unicorn ears and the iconic horn.
- Edible gold paint or gold dust – Adds a shimmering finish to the horn and accents.
- Sprinkles, edible glitter, or candy pearls – Perfect for creating a magical look.
- Piping bags with star tips – For creating swirls, rosettes, or other frosting designs.
Ingredient Tips and Substitutions:
- No Gel Food Coloring?
Use liquid food coloring, but remember to adjust the batter or frosting consistency if needed. - Vegan or Gluten-Free Options:
Swap the all-purpose flour with a 1:1 gluten-free blend and use plant-based butter and milk for a vegan version. - Short on Time?
Pre-made cake layers or frosting can save the day. Just add your creative touch with decorations.
With these ingredients, you’re ready to bring your unicorn cake vision to life. Up next, I’ll guide you through the step-by-step process to bake and assemble this masterpiece!
Instructions: How to Create Your Unicorn Cake
Now that you’ve gathered your ingredients, it’s time to transform them into a stunning unicorn cake. Follow these step-by-step instructions, and you’ll have a magical masterpiece in no time. Let’s get started!
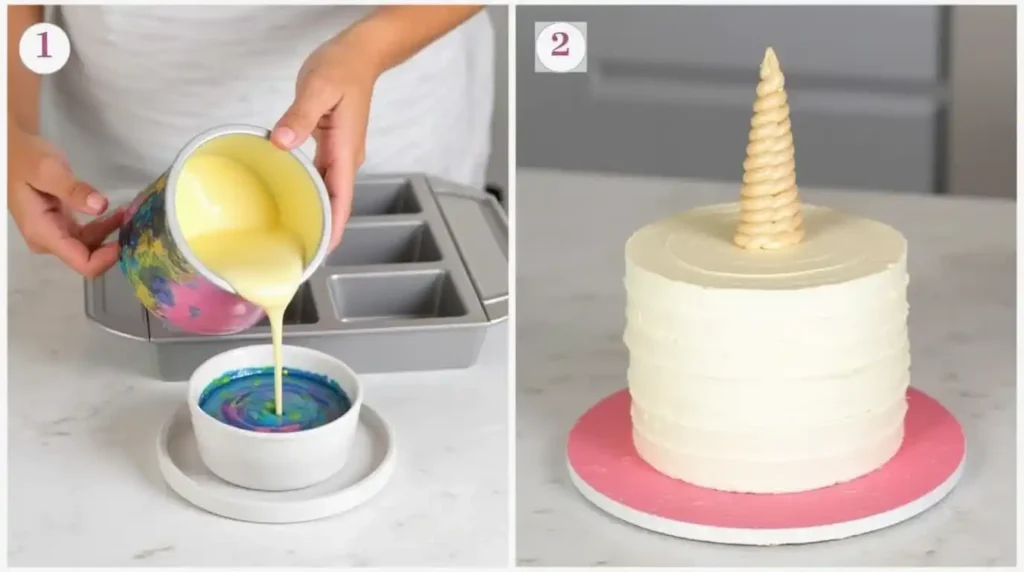
Step 1: Prepare Your Workspace and Tools
- Preheat your oven to 350°F (175°C) and grease three 8-inch round cake pans. Line the bottoms with parchment paper for easy removal.
- Gather all your tools, including mixing bowls, a stand or hand mixer, spatulas, and measuring cups.
Step 2: Make the Cake Batter
- In a medium bowl, whisk together the flour, baking powder, baking soda, and salt. Set aside.
- In a large mixing bowl, cream the butter and sugar on medium speed until light and fluffy (about 2-3 minutes).
- Beat in the eggs, one at a time, mixing well after each addition. Stir in the vanilla extract.
- Reduce the mixer speed to low and alternate adding the dry ingredients and milk. Start and end with the dry ingredients, mixing until just combined. Do not overmix.
Step 3: Divide and Color the Batter
- Divide the batter evenly into 4-5 bowls, depending on how many rainbow layers you want.
- Add a few drops of gel food coloring to each bowl, creating vibrant hues. Mix until the color is evenly distributed.
Step 4: Bake the Cake Layers
- Pour each colored batter into the prepared pans, smoothing the tops with a spatula.
- Bake for 20-25 minutes or until a toothpick inserted into the center comes out clean.
- Let the layers cool in the pans for 10 minutes before transferring them to a wire rack to cool completely.
Step 5: Prepare the Buttercream Frosting
- In a large mixing bowl, beat the butter on medium speed until creamy.
- Gradually add the powdered sugar, one cup at a time, mixing on low speed.
- Add the vanilla extract and heavy cream, then beat on high speed for 3-4 minutes until light and fluffy.
- Optional: Divide the frosting and tint with gel food coloring for colorful accents.
Step 6: Assemble the Cake
- Place the first cake layer on a cake board or stand. Spread a thin, even layer of frosting on top.
- Repeat with the remaining layers, stacking them carefully.
- Apply a thin crumb coat (a light layer of frosting to seal in crumbs) and refrigerate for 30 minutes.
- Add the final layer of frosting, smoothing it with an offset spatula for a clean finish.
Step 7: Decorate Your Unicorn Cake
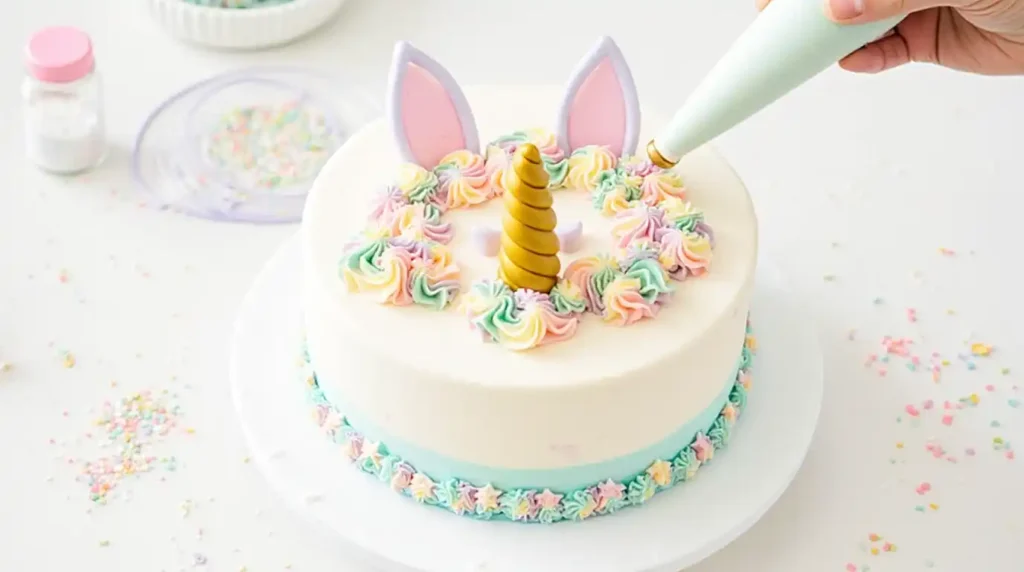
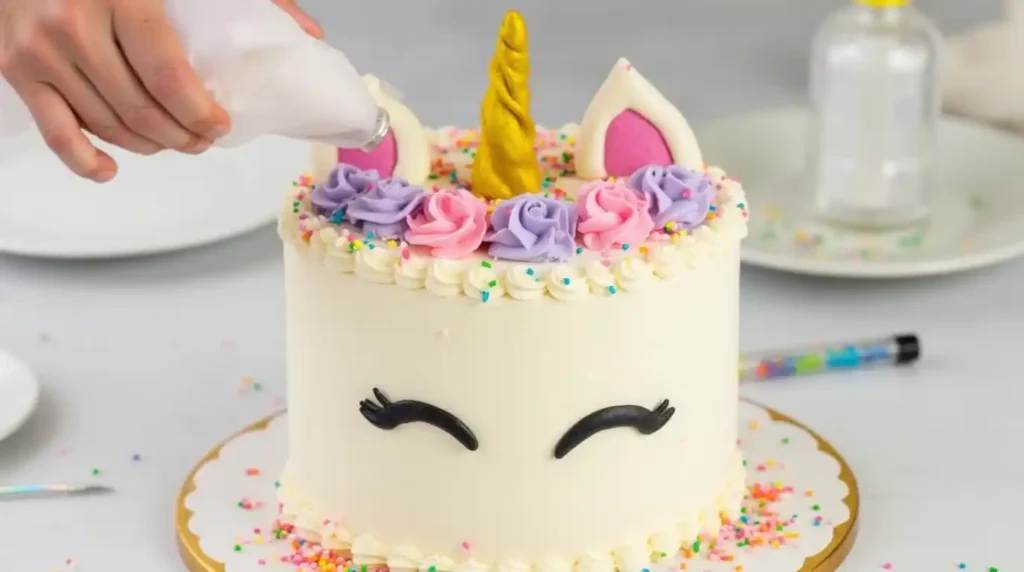
- Roll out the fondant and shape it into unicorn ears and a horn. Use gold edible paint to add shimmer.
- Pipe swirls and rosettes of frosting around the top of the cake using a piping bag and star tip.
- Finish with sprinkles, edible glitter, or any decorations of your choice.
Step 8: Final Touches
- Chill the cake for at least 1 hour before slicing to ensure clean, defined layers.
- When ready to serve, let the cake sit at room temperature for 10-15 minutes to soften slightly.
Congratulations! You’ve just created a dazzling unicorn cake that’s as magical to look at as it is to eat. Ready for the next step? Let’s explore some pro tips and variations to make your cake truly one-of-a-kind!
Pro Tips and Variations for Your Unicorn Cake
To take your unicorn cake to the next level, here are some expert tips and creative variations. These ideas will help you customize your cake, troubleshoot common issues, and make the entire process even more enjoyable.
Pro Tips for Baking Success
- Achieve Even Layers:
- Weigh your batter using a kitchen scale to ensure each layer is the same thickness.
- If your cake layers dome while baking, use a serrated knife to level them once cooled.
- Perfect Frosting Consistency:
- If your buttercream is too thick, add a teaspoon of heavy cream at a time to thin it out.
- If it’s too thin, mix in additional powdered sugar gradually until you reach the desired consistency.
- Smooth Frosting Finish:
- Use an offset spatula and a bench scraper for a flawless surface.
- Keep a glass of hot water nearby to dip your spatula in; the heat will help smooth out the frosting.
- Make Ahead for Less Stress:
- Bake the cake layers a day or two in advance and wrap them tightly in plastic wrap. Refrigerate or freeze until ready to assemble.
- Fondant decorations can also be made ahead of time and stored in an airtight container.
- Prevent Color Bleeding:
- Use high-quality gel food coloring to keep the colors vibrant without affecting the frosting’s texture.
- Allow the cake to chill between steps to set the colors and prevent them from running.
Creative Variations to Try
- Flavorful Twists:
- Swap vanilla extract for almond, coconut, or lemon extract for a subtle flavor change.
- Add fruit purees, like strawberry or raspberry, to the buttercream for a fruity touch.
- Dietary-Friendly Options:
- For a vegan unicorn cake, replace the eggs with flaxseed or applesauce, use dairy-free butter, and substitute plant-based milk.
- Make it gluten-free with a 1:1 gluten-free flour blend.
- Theme-Specific Customizations:
- Create a winter-themed unicorn cake by using icy blue and white colors with snowflake sprinkles.
- For a tropical vibe, use bright, bold colors like coral, teal, and yellow, and add edible flowers as accents.
- Interactive Decorations:
- Let kids decorate their own sections of the cake with small piping bags and sprinkles for a fun activity.
- Add a surprise inside the cake by filling the center with candy or sprinkles that spill out when sliced.
- Mini Unicorn Cakes:
- Use the same recipe to make individual unicorn cupcakes or mini cakes. These are perfect for smaller gatherings or party favors.
Bonus Tip: Troubleshooting Common Issues
- Crumbly Cake Layers: Overbaking can cause dryness. Check for doneness a few minutes early and avoid opening the oven frequently.
- Melting Buttercream: If the frosting becomes too soft while decorating, pop it in the fridge for 10-15 minutes to firm up.
- Uneven Colors: Stir gel food coloring thoroughly into the batter or frosting to avoid streaks.
With these tips and variations, your unicorn cake can be tailored to any occasion, preference, or skill level. From bold flavors to creative designs, the possibilities are endless. Next up, let’s explore some serving suggestions to make your cake even more memorable!
Serving Suggestions for Your Unicorn Cake
You’ve poured your heart into crafting this magical unicorn cake, and now it’s time to present it in a way that matches its enchanting charm. Here are some serving suggestions to make your cake the star of the table and your celebration unforgettable.
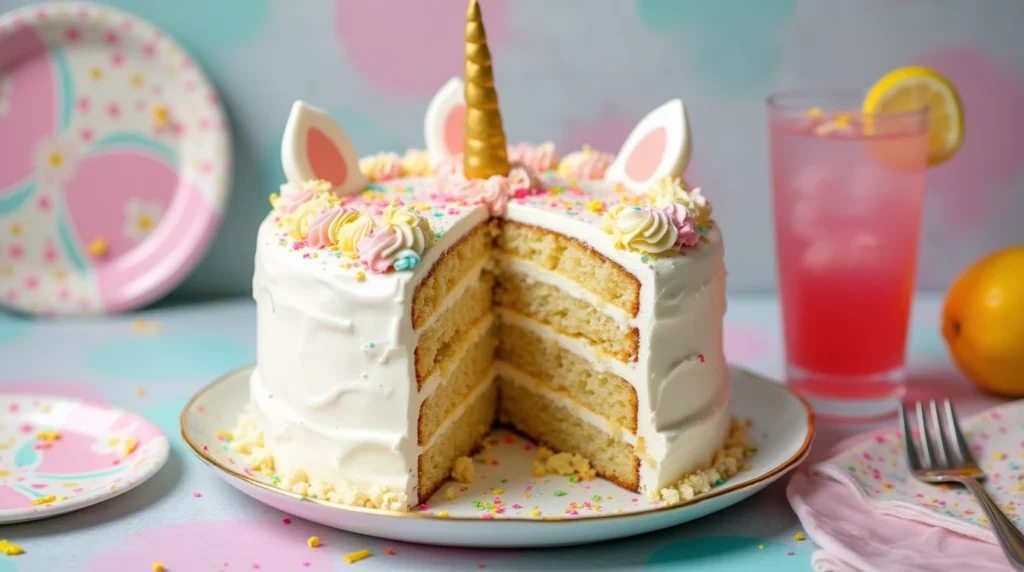
1. Create a Stunning Dessert Table
- Place your unicorn cake on a decorative cake stand to elevate its presence.
- Surround it with complementary treats like rainbow-colored macarons, pastel cupcakes, or sugar cookies shaped like stars and unicorns.
- Add a touch of whimsy with fairy lights, floral garlands, or pastel balloons around the table.
2. Pair with Festive Beverages
- Serve the cake with colorful drinks like fruit punch, pink lemonade, or sparkling sodas topped with cotton candy for a fun, cohesive theme.
- For an adult-friendly twist, pair with fruity cocktails or mocktails garnished with edible flowers.
3. Highlight the Rainbow Layers
- When slicing the cake, use a long, sharp knife to create clean, even cuts that showcase the vibrant rainbow layers.
- Serve each slice on plain white plates to let the colors pop, or use pastel-colored plates for added charm.
4. Add a Personalized Touch
- Use fondant or chocolate letters to write a personalized message on the cake board or directly on the cake.
- Offer guests edible toppers like fondant stars, mini rainbows, or small unicorn figurines to take home as keepsakes.
5. Perfect for Any Occasion
- Birthday Parties: Pair the cake with party hats, themed decorations, and a “Make Your Own Unicorn Horn” craft station for kids.
- Baby Showers: Opt for soft pastel shades and pair the cake with tea sandwiches and dainty desserts for an elegant spread.
- Themed Celebrations: Match the cake’s colors to your event’s palette and add fun props like unicorn photo booth accessories.
Pro Tip: Storage and Leftovers
- If you have leftover cake (unlikely, but just in case!), store it in an airtight container at room temperature for up to 2 days or in the refrigerator for up to 5 days.
- For longer storage, freeze individual slices wrapped in plastic wrap and foil; they’ll stay fresh for up to 3 months.
Your unicorn cake isn’t just a dessert—it’s an experience. Whether it’s served as the centerpiece of a dessert table or shared over joyful conversations, its magic will leave a lasting impression on everyone who takes a bite. Ready for the final steps? Let’s wrap things up and address some frequently asked questions!
Conclusion: Bringing Your Unicorn Cake to Life
Congratulations! You’ve just created a stunning unicorn cake that’s more than just a dessert—it’s a magical centerpiece filled with love, creativity, and a touch of sparkle. Whether it’s the vibrant rainbow layers, the smooth buttercream frosting, or the whimsical decorations, every bite of this cake is sure to bring smiles and joy.
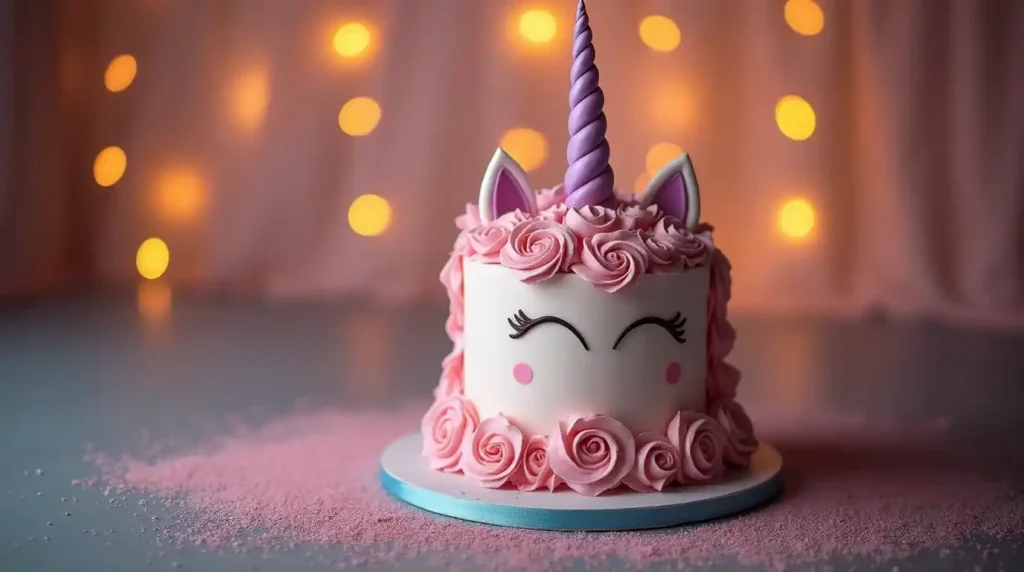
Reflecting on the Process
Think about the journey you’ve just completed. From mixing colorful batters to crafting fondant accents, you’ve not only baked a cake but also created memories. This cake is proof that with a bit of patience and creativity, anyone can make a show-stopping dessert that leaves a lasting impression.
Why This Cake Stands Out
- Perfect for Any Occasion: Birthdays, baby showers, or themed parties, this cake adds magic to any celebration.
- Customizable: Whether you adjust the colors, flavors, or decorations, your unicorn cake can be as unique as you are.
- A Shared Experience: Involve family and friends in the process, making it a fun and collaborative activity.
Encouragement for Future Creations
If this is your first attempt at a unicorn cake, pat yourself on the back—you’ve achieved something truly special! Baking is a skill that grows with practice, and each creation will be even more magical than the last. Don’t be afraid to experiment with flavors, decorations, and themes in the future.
Share the Joy
Take pictures of your masterpiece and share them with friends, family, or on social media. Who knows? Your unicorn cake might inspire someone else to start their own magical baking adventure!
With this recipe, you’ve unlocked a world of imagination and creativity. So, whether it’s for a loved one’s special day or just a reason to spread happiness, your unicorn cake will always be a sweet reminder that a little magic can go a long way. Happy baking, and may your days always sparkle! 🌟
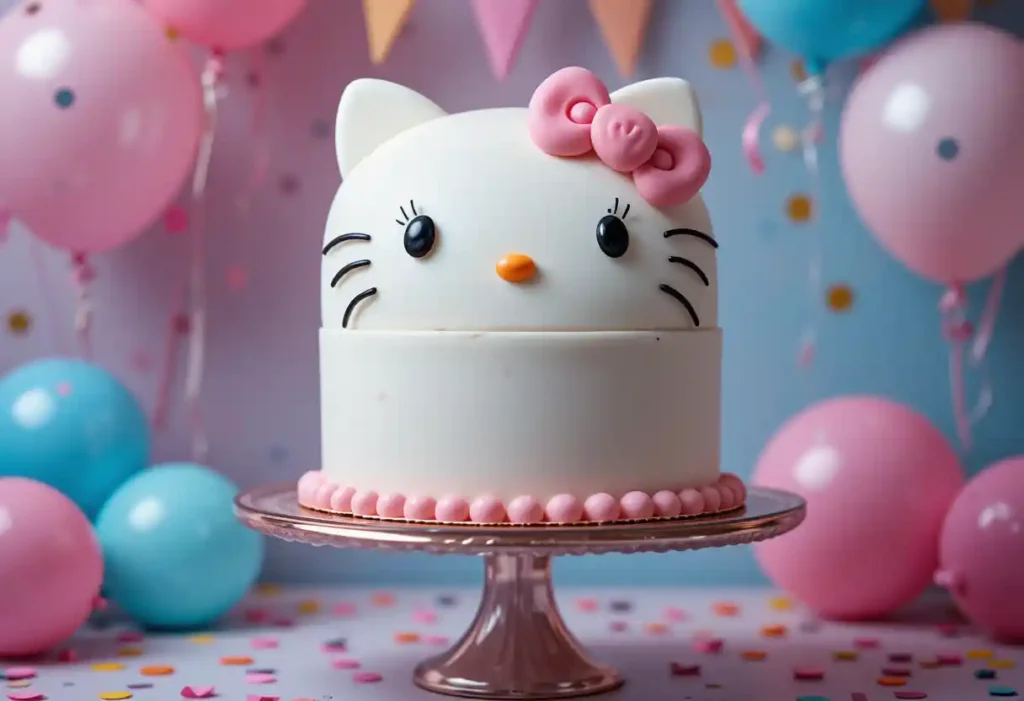
Looking for another delightful treat? Check out our Hello Kitty Cake recipe and learn how to create a charming dessert perfect for any occasion!
FAQs: Everything You Need to Know About Your Unicorn Cake
Here are some common questions and answers to help you perfect your unicorn cake and ensure a smooth baking experience. Whether you’re a beginner or a seasoned baker, these tips will guide you through any challenges.
. Can I Make the Cake Layers in Advance?
Absolutely! To save time, bake the layers a day or two before assembling the cake. Once cooled, wrap each layer tightly in plastic wrap and store them:
Room temperature: Up to 2 days.
Refrigerator: Up to 5 days.
Freezer: Up to 3 months (double-wrap for best results). Thaw frozen layers in the fridge overnight before assembling.
2. What’s the Best Way to Achieve Smooth Frosting?
For a professional finish:
Use a crumb coat to seal in crumbs, then chill the cake for 30 minutes before applying the final frosting layer.
Work with an offset spatula and a bench scraper for smooth surfaces.
Keep a bowl of hot water nearby to clean your tools and maintain a seamless finish.
3. Can I Use Boxed Cake Mix Instead of Baking from Scratch?
Of course! If you’re short on time, a high-quality boxed mix works well. Follow the package instructions, and add a teaspoon of vanilla extract to enhance the flavor. You can still focus on decorating to make your cake look magical.
4. How Do I Make the Fondant Decorations?
Roll out white fondant and shape it into ears and a horn.
For the horn, twist two thin ropes of fondant together, secure with edible glue or water, and paint it with edible gold paint.
Allow the decorations to dry and harden for at least an hour before placing them on the cake.
5. What if My Cake Layers Aren’t Even?
No worries! Use a serrated knife to level the tops of the layers. Save the scraps to make cake pops or snack on them while you decorate!
6. Can I Make This Cake Gluten-Free or Vegan?
Yes! Here’s how:
Gluten-free: Use a 1:1 gluten-free baking flour.
Vegan: Replace eggs with flaxseed meal or applesauce, and use plant-based butter and milk. Check that your food coloring and decorations are also vegan-friendly.
7. How Should I Store Leftovers?
Short-term: Keep the cake in an airtight container at room temperature for 1-2 days or refrigerate for up to 5 days.
Long-term: Freeze individual slices by wrapping them in plastic wrap and foil. They’ll stay fresh for up to 3 months.
8. My Colors Didn’t Turn Out Vibrant. What Went Wrong?
Gel food coloring is best for bold hues without altering the batter or frosting’s texture.
Avoid liquid food coloring, as it may dilute your mixture. Start with a small amount and gradually add more to achieve the desired intensity.
9. What’s the Best Way to Transport the Cake?
Chill the cake in the fridge for at least an hour before transporting to firm up the frosting.
Place it on a sturdy cake board and in a cake box. For longer distances, keep the box on a flat, level surface in your vehicle.
10. Can I Make Mini Unicorn Cakes or Cupcakes?
Absolutely! Divide the batter into cupcake liners or small cake molds. Adjust the baking time to around 18-22 minutes for cupcakes. Decorate each one individually for a fun, personalized touch.
Bonus Tip: Don’t Stress the Small Stuff
Even if your cake doesn’t look perfect, it’s the love and effort you’ve put into it that counts. Each imperfection tells a story, and your unicorn cake will be magical no matter what!
______________________________
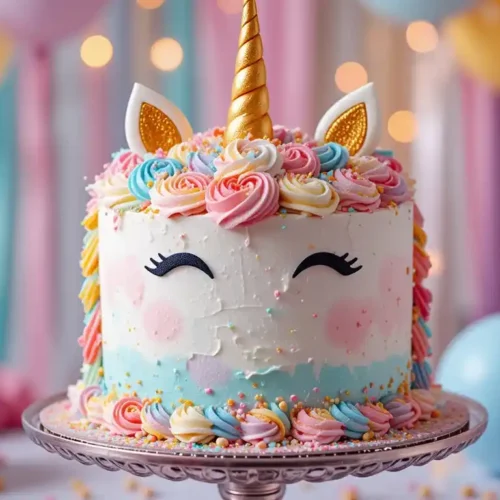
unicorn cake
Ingredients
- For the Cake Layers:
2 ¾ cups (340g) all-purpose flour – Provides structure to the cake.
1 tbsp baking powder – Helps the cake rise for a fluffy texture.
½ tsp baking soda – Balances acidity for even baking.
½ tsp salt – Enhances the flavors.
1 cup (230g) unsalted butter, softened – Adds richness and moisture.
2 cups (400g) granulated sugar – Sweetens the cake and aids in a tender crumb.
4 large eggs, at room temperature – Adds structure and stability.
1 tbsp vanilla extract – Infuses the cake with a classic, comforting flavor.
1 cup (240ml) whole milk, at room temperature – Keeps the cake moist and soft.
Gel food coloring (assorted colors) – For those signature rainbow layers.
- For the Buttercream Frosting:
1 ½ cups (340g) unsalted butter, softened – The creamy base for a smooth frosting.
4 cups (500g) powdered sugar – Creates a light, fluffy consistency.
2-3 tbsp heavy cream – Adjusts the texture for easy spreading.
1 tsp vanilla extract – Complements the cake’s sweetness.
Gel food coloring (optional) – For colorful accents or a pastel swirl effect.
- For the Decorations:
White fondant – Use it to craft unicorn ears and the iconic horn.
Edible gold paint or gold dust – Adds a shimmering finish to the horn and accents.
Sprinkles, edible glitter, or candy pearls – Perfect for creating a magical look.
Piping bags with star tips – For creating swirls, rosettes, or other frosting designs.
Instructions
Step 1: Prepare Your Workspace and Tools
- Preheat your oven to 350°F (175°C) and grease three 8-inch round cake pans. Line the bottoms with parchment paper for easy removal.
- Gather all your tools, including mixing bowls, a stand or hand mixer, spatulas, and measuring cups.
Step 2: Make the Cake Batter
- In a medium bowl, whisk together the flour, baking powder, baking soda, and salt. Set aside.
- In a large mixing bowl, cream the butter and sugar on medium speed until light and fluffy (about 2-3 minutes).
- Beat in the eggs, one at a time, mixing well after each addition. Stir in the vanilla extract.
- Reduce the mixer speed to low and alternate adding the dry ingredients and milk. Start and end with the dry ingredients, mixing until just combined. Do not overmix.
Step 3: Divide and Color the Batter
- Divide the batter evenly into 4-5 bowls, depending on how many rainbow layers you want.
- Add a few drops of gel food coloring to each bowl, creating vibrant hues. Mix until the color is evenly distributed.
Step 4: Bake the Cake Layers
- Pour each colored batter into the prepared pans, smoothing the tops with a spatula.
- Bake for 20-25 minutes or until a toothpick inserted into the center comes out clean.
- Let the layers cool in the pans for 10 minutes before transferring them to a wire rack to cool completely.
Step 5: Prepare the Buttercream Frosting
- In a large mixing bowl, beat the butter on medium speed until creamy.
- Gradually add the powdered sugar, one cup at a time, mixing on low speed.
- Add the vanilla extract and heavy cream, then beat on high speed for 3-4 minutes until light and fluffy.
- Optional: Divide the frosting and tint with gel food coloring for colorful accents.
Step 6: Assemble the Cake
- Place the first cake layer on a cake board or stand. Spread a thin, even layer of frosting on top.
- Repeat with the remaining layers, stacking them carefully.
- Apply a thin crumb coat (a light layer of frosting to seal in crumbs) and refrigerate for 30 minutes.
- Add the final layer of frosting, smoothing it with an offset spatula for a clean finish.
Step 7: Decorate Your Unicorn Cake
- Roll out the fondant and shape it into unicorn ears and a horn. Use gold edible paint to add shimmer.
- Pipe swirls and rosettes of frosting around the top of the cake using a piping bag and star tip.
- Finish with sprinkles, edible glitter, or any decorations of your choice.
Step 8: Final Touches
- Chill the cake for at least 1 hour before slicing to ensure clean, defined layers.
- When ready to serve, let the cake sit at room temperature for 10-15 minutes to soften slightly.
Notes
Nutrition Information (Per Serving)
- Calories: 450
- Total Fat: 18g
- Saturated Fat: 11g
- Cholesterol: 95mg
- Sodium: 190mg
- Total Carbohydrates: 65g
- Sugars: 45g
- Protein: 4g
- Fiber: 1g

