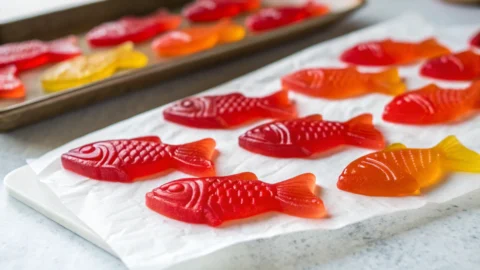
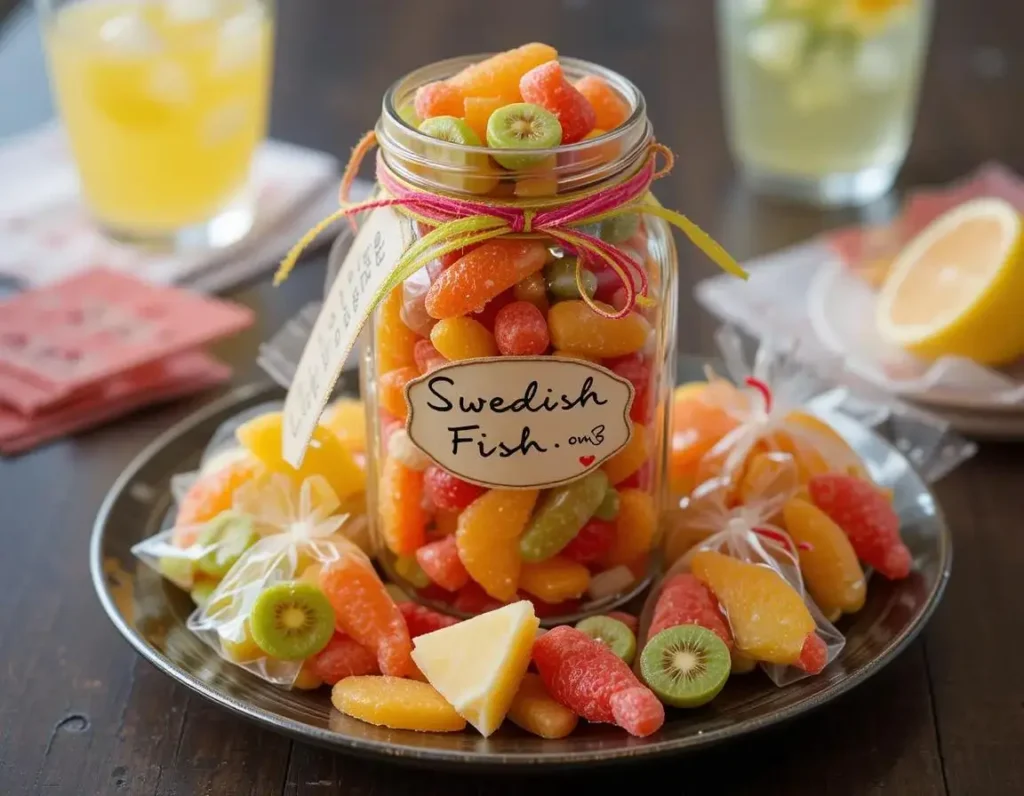
Swedish Fish are a beloved candy known for their chewy texture and bold flavor. However, traditional recipes use gelatin, making them unsuitable for some diets. This recipe offers a vegan-friendly alternative that delivers the same satisfying bite without animal-derived ingredients.
With simple, everyday ingredients, you can easily recreate this classic treat at home. The process is straightforward, allowing you to experiment with flavors for a personalized touch. No advanced kitchen skills are needed—just follow our step-by-step guide to make delicious, gelatin-free Swedish Fish.
Perfect for parties, movie nights, or as a fun homemade snack, these candies cater to a variety of dietary needs. In the following sections, we’ll cover the benefits, ingredients, instructions, pro tips, serving ideas, and FAQs. Let’s get started!
Table of Contents
Key Benefits Of Swedish fish without gelatin
This homemade Swedish fish recipe offers several advantages. Here are the primary benefits:
- Vegan-Friendly Alternative:
Traditional Swedish fish contain gelatin, an animal-based product. By using a vegan substitute, you create a candy that is suitable for vegans and those avoiding animal ingredients. - Customization:
You can adjust the flavors and colors to suit your taste. Change the food coloring, add different flavor extracts, or even experiment with natural dyes to make a version that is uniquely yours. - Health and Dietary Considerations:
Without gelatin, the recipe becomes a better choice for individuals with dietary restrictions. You can also control the amount of sweetener and other additives, making it possible to create a slightly healthier version. - Cost-Effective:
Making candy at home often costs less than buying packaged sweets. You can create a batch in your kitchen without expensive ingredients or special equipment. - Fun and Educational:
The process of candy making is engaging and educational. It offers a hands-on experience that you can share with family or friends. Kids and adults alike can learn about the ingredients and the science behind candy making. - Fresh Taste:
Homemade Swedish fish have a fresher taste compared to store-bought versions. You can create a candy bursting with flavor, using high-quality ingredients and no artificial preservatives. - Control Over Ingredients:
When you make candy at home, you decide what goes into it. This control allows you to avoid additives you might want to eliminate, such as certain artificial flavors or colors that some consumers prefer to skip.
These benefits highlight why this recipe is a great choice for anyone who loves candy and wants to create a personalized, healthier version at home. The combination of a vegan-friendly process, customization options, and cost-effective ingredients makes this recipe stand out from commercially produced alternatives.
Ingredients For Swedish fish without gelatin
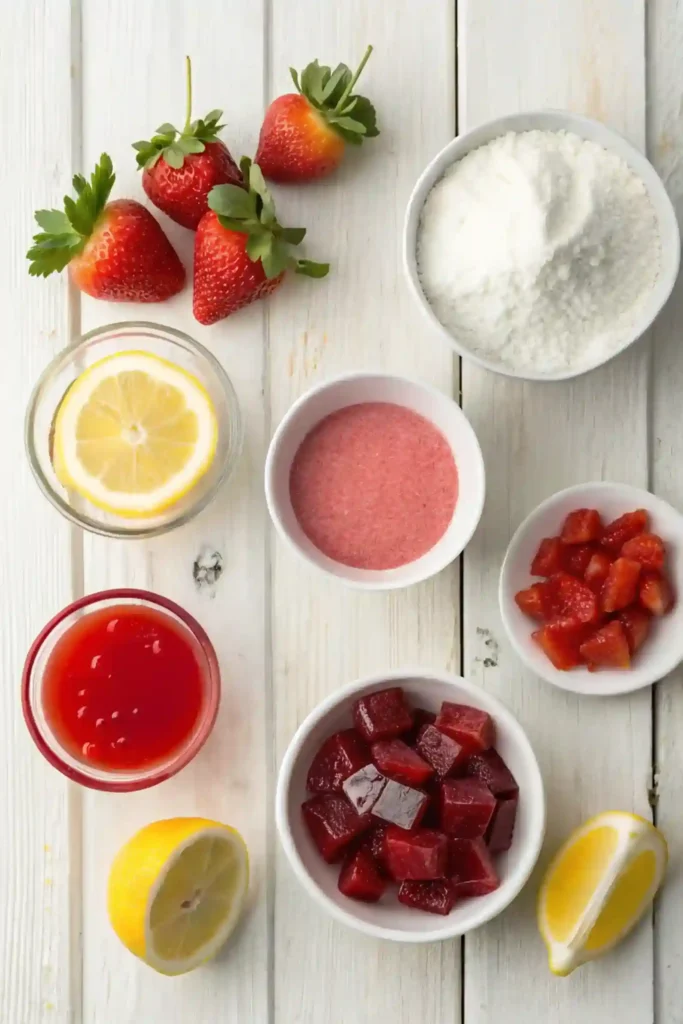
Below is a list of ingredients needed to make Swedish fish without gelatin. The ingredients list is designed to be clear and straightforward. You can find these items in most supermarkets or online.
Candy Base
- Granulated Sugar: 2 cups
Sugar forms the sweet foundation of the candy. - Corn Syrup: 1/2 cup
Corn syrup helps create the chewy texture typical of Swedish fish. - Invert Sugar: 1/4 cup
This ingredient adds extra smoothness and prevents crystallization. - Water: 1/2 cup
Water is used to dissolve the sugars and aid in the cooking process. - Citric Acid: 1 teaspoon
Citric acid adds a tangy flavor and enhances the overall taste. - Agar-Agar Powder: 1 tablespoon
Agar-agar acts as a vegan substitute for gelatin. It creates a firm yet chewy texture. - Modified Corn Starch: 1 teaspoon
This helps thicken the mixture and improve the texture.
Flavoring and Color
- Flavor Extract (such as berry or citrus): 1 teaspoon
Choose a flavor that suits your taste. The extract gives the candy its signature taste. - Red Food Coloring: A few drops (adjust as needed)
Red food coloring gives the candy its vibrant look. Use a natural dye if you prefer.
Optional Coating
- Carnauba Wax or Beeswax (vegan alternative if available): 1/2 teaspoon dissolved in 1 tablespoon of oil
This creates a shiny, smooth coating on the candy. Note that not all recipes require a coating; you may choose to skip this step if desired.
Equipment Needed
- Saucepan: A medium-sized saucepan works best.
- Candy Thermometer: To monitor the temperature.
- Mixing Spoon: A heat-resistant spoon.
- Molds or a Shallow Tray: Fish-shaped molds are ideal, but you can also use a tray and cut the candy later.
- Measuring Cups and Spoons: For accurate measurements.
This list covers all the ingredients and equipment necessary to create a batch of Swedish fish without gelatin. Each component plays a role in achieving the desired taste and texture. Make sure you have everything ready before you begin.
How to make Swedish fish without gelatin
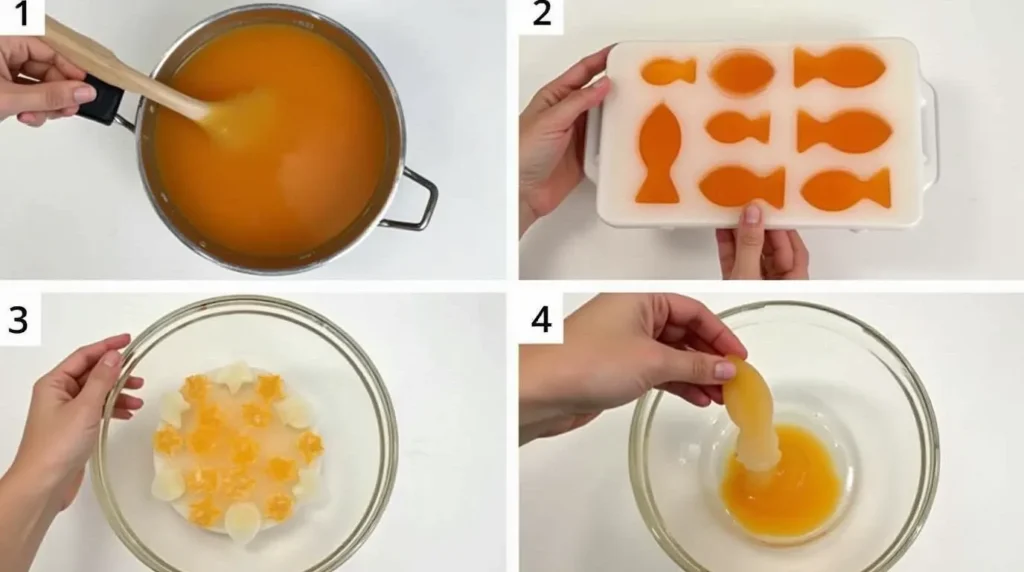
Follow these step-by-step instructions to create your homemade Swedish fish. Read through the entire process before starting to ensure you are familiar with each step.
Step 1: Prepare Your Workspace
- Clean your work surface and gather all equipment.
- Measure all ingredients accurately.
- If using fish-shaped molds, lightly grease them with a neutral oil. If using a shallow tray, prepare a smooth, non-stick surface.
Step 2: Mix the Sugar Base
- In a medium saucepan, combine the granulated sugar, corn syrup, invert sugar, and water.
- Stir the mixture over low heat until the sugars are fully dissolved.
- Increase the heat gradually to bring the mixture to a boil. Stir gently to avoid splashing.
Step 3: Monitor the Temperature
- Attach a candy thermometer to the side of the saucepan.
- Allow the mixture to boil without stirring excessively. Watch for the temperature to reach about 240°F (soft-ball stage).
- When the temperature stabilizes, remove the pan from heat briefly.
Step 4: Incorporate Agar-Agar
- Dissolve the agar-agar powder in a small amount of water (about 1/4 cup) in a separate bowl.
- Stir the agar solution until it is fully dissolved.
- Return the sugar mixture to low heat and slowly stir in the agar solution.
- Continue stirring until the mixture returns to a boil. This ensures the agar is evenly distributed.
Step 5: Add Flavor and Color
- Remove the saucepan from the heat.
- Stir in the citric acid, flavor extract, and red food coloring.
- Mix thoroughly to ensure an even distribution of flavor and color throughout the candy base.
Step 6: Pour Into Molds or Tray
- Carefully pour the hot candy mixture into the prepared fish-shaped molds or the shallow tray.
- If using a tray, let the candy set until it is firm enough to cut. For molds, wait until the mixture cools and hardens completely.
- If you plan to add a coating later, allow the candy to cool to a warm but manageable temperature.
Step 7: Optional Coating Process
- For a shiny finish, prepare a coating by dissolving carnauba wax or beeswax in a small amount of oil over low heat.
- Once dissolved, dip each piece of candy lightly into the coating. Alternatively, you can brush the coating onto the candy.
- Let the coated candy rest on a cooling rack until the coating sets.
Step 8: Final Cooling and Setting
- Allow the candy to cool completely at room temperature.
- If made in a tray, cut the candy into fish-shaped pieces once it is firm.
- Store the candy in an airtight container to maintain freshness and chewiness.
Step 9: Quality Check
- Check the texture by taking a small piece. It should be firm yet chewy.
- Taste the candy to ensure the flavor is balanced.
- Adjust future batches if needed, noting any changes in temperature or ingredient measurements.
Follow these instructions carefully. Each step builds on the previous one to create candy with an amazing taste and the perfect chewy texture. Enjoy the process and note any tweaks you make for future batches.
Pro Tips and Variations
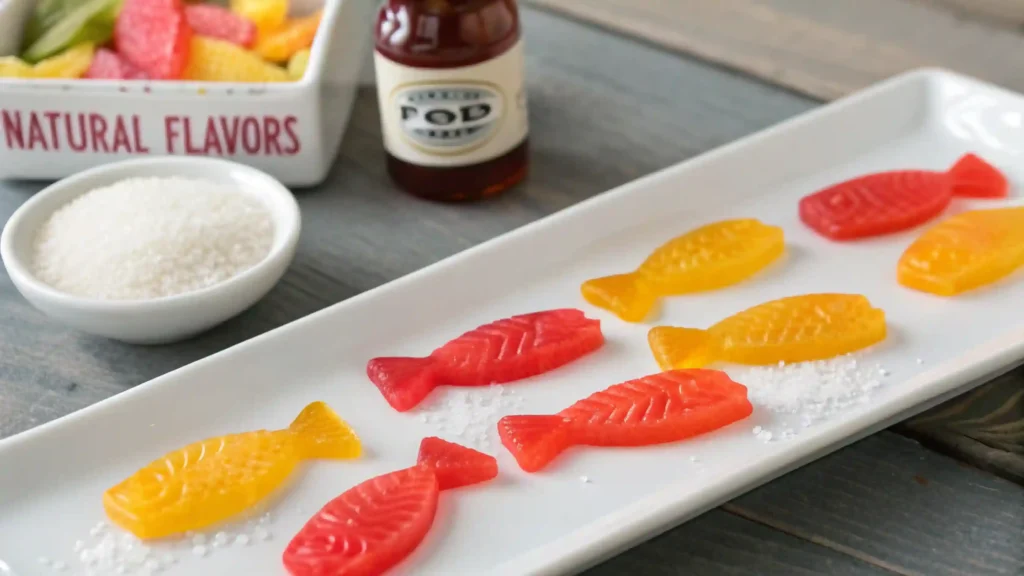
Creating candy at home allows you to experiment and refine your process. Here are some tips and variations to help you achieve the best results:
Pro Tips
- Maintain a Consistent Temperature:
Use a reliable candy thermometer. Avoid stirring once the mixture boils to prevent crystallization. Steady heat is crucial to create a smooth, uniform texture. - Measure Accurately:
Even small variations in ingredient amounts can change the texture and flavor. Use accurate measuring cups and spoons for consistency. - Work Quickly:
Once you finish the cooking process, work fast when pouring the mixture into molds. The candy will start to set quickly, and prompt action ensures that you can shape it correctly. - Experiment with Flavors:
Try using different flavor extracts such as citrus, berry, or even a hint of mint. Adjust the amount of extract based on your taste preferences. - Use Natural Dyes:
If you prefer to avoid artificial food coloring, experiment with natural alternatives. Beet juice, for example, can provide a deep red hue while keeping the recipe natural. - Test a Small Batch:
Before making a large batch, test a small amount to perfect the timing and temperature. This trial run can help you adjust any variables without wasting ingredients.
Variations
- Different Shapes:
If fish-shaped molds are unavailable, use a shallow tray and cut the set candy into small, bite-sized pieces. You can create squares, strips, or even custom shapes using cookie cutters. - Coating Alternatives:
If you prefer not to use wax, skip the coating step. The candy will have a natural shine and texture, though it may not be as smooth as the wax-coated version. - Texture Modifications:
Adjust the amount of modified corn starch or try a different thickening agent to change the candy’s chewiness. A slight variation can produce a softer or firmer texture based on your preference. - Enhanced Flavor Options:
Consider adding a pinch of salt to balance the sweetness or a dash of lemon juice for a citrus twist. These small additions can create a more complex flavor profile without overwhelming the main taste. - Health-Conscious Version:
Substitute part of the sugar with a natural sweetener. Note that this may affect the texture slightly, so experiment with ratios to achieve the desired chewiness.
These tips and variations allow you to tailor the recipe to your needs. Whether you want to experiment with different flavors or improve the texture, these suggestions offer a starting point for customization. Document any changes you make so that you can replicate your best results in future batches.
Try this easy Swedish Fish recipe for a delicious, chewy, and vegan-friendly homemade candy!
Serving Suggestions
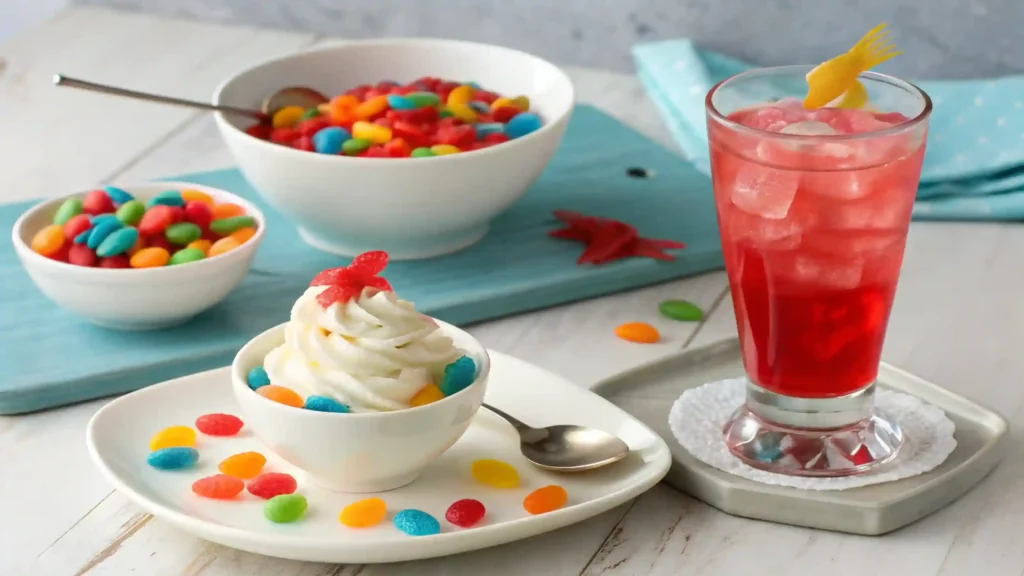
Your homemade Swedish fish can be enjoyed in many creative ways. Here are several ideas to serve your candy and make the experience even more delightful:
- Party Treats:
Arrange the Swedish fish in small bowls or on a decorative tray for parties and gatherings. Their bright color and fun shape make them an attractive snack for both kids and adults. - Dessert Garnish:
Use the candy as a garnish for ice cream, puddings, or layered desserts. A few pieces on top can add a burst of flavor and a unique texture contrast. - Snack Packs:
Divide the candy into small, portioned bags for a grab-and-go snack option. These are ideal for school lunches, movie nights, or casual get-togethers. - Themed Events:
If you host a themed event, such as a summer party or a movie night, create a candy station where guests can sample different flavors of your homemade Swedish fish. - Gift Idea:
Package the candy in a decorative jar or box. Include a handwritten note about the recipe. This personalized touch makes it a thoughtful gift for friends and family. - Mix with Other Treats:
Combine your Swedish fish with other homemade candies, such as gummy bears or fruit chews, to create a variety pack. This mix-and-match approach can offer a fun tasting experience.
Each serving suggestion is designed to enhance the overall experience of enjoying your candy. Whether you choose to showcase the treat at a party or simply savor it as a personal indulgence, these ideas provide creative ways to enjoy your homemade Swedish fish.
Conclusion
Making Swedish fish without gelatin is a rewarding project that offers delicious results and a fun twist on a classic candy. This recipe shows you how to create a treat that is vegan-friendly, customizable, and bursting with amazing taste. We provided clear instructions and practical tips to help you achieve a chewy texture and vibrant flavor.
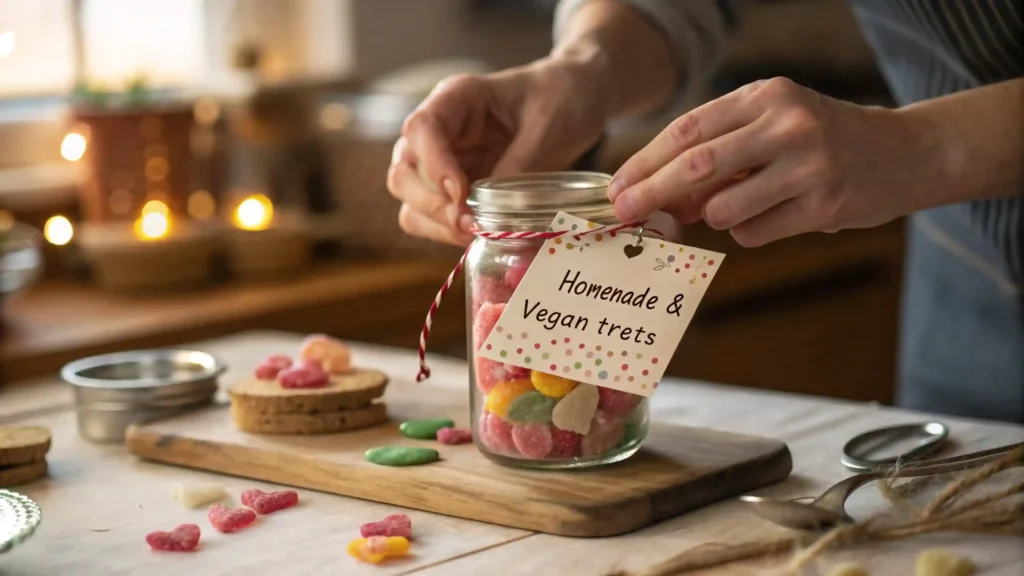
You learned how to prepare the sugar base, incorporate a vegan substitute for gelatin, add natural flavors and color, and finish the candy with an optional coating. We shared several pro tips and variations to help you tailor the recipe to your taste. Finally, our serving suggestions give you creative ways to enjoy your homemade candy.
We encourage you to try this recipe and experiment with different flavors and textures. By making Swedish fish at home, you gain full control over the ingredients and quality of your treat. Enjoy the process, and have fun sharing your delicious creation with family and friends.
FAQs
What are the ingredients for Swedish Fish?
The main ingredients for our homemade Swedish fish include granulated sugar, corn syrup, invert sugar, water, citric acid, agar-agar powder (as a vegan substitute for gelatin), modified corn starch, a flavor extract of your choice, and red food coloring. Optional ingredients include a coating agent like carnauba wax or a vegan-friendly alternative to give the candy a shiny finish.
How do they make Swedish Fish?
The process starts with dissolving sugar, corn syrup, and water in a saucepan. The mixture is boiled to the soft-ball stage while monitoring the temperature. Next, agar-agar dissolved in water is added to replace gelatin, along with citric acid, flavor extract, and food coloring. The hot candy mixture is poured into fish-shaped molds or a shallow tray, allowed to cool and set, and then optionally coated for a smooth finish.
What is the coating on Swedish Fish?
The coating on Swedish Fish is often a thin layer of wax. In this recipe, you can use carnauba wax or a vegan-friendly alternative dissolved in oil. The coating adds shine and a smooth finish to the candy. Some homemade versions may skip this step if a natural look is preferred.
What is the nasty Swedish Fish dish?
The phrase “nasty Swedish Fish dish” sometimes refers to experimental or unappealing versions of homemade candy where the texture or flavor has not been balanced properly. In our recipe, we use precise measurements and clear instructions to avoid such issues. The goal is to achieve a pleasant, chewy texture and a vibrant flavor that tastes true to classic Swedish fish.
What is the actual flavor of Swedish Fish?
Swedish Fish have a unique, mildly fruity flavor. Depending on the recipe, the taste may hint at berry or citrus notes. The flavor is often described as sweet with a slight tang from citric acid. Our recipe allows for slight variations depending on the flavor extract you choose, ensuring an amazing taste that stands out.
Is red 40 in Swedish Fish?
Yes, red 40 is commonly used in commercial Swedish Fish to achieve their bright red color. In our homemade version, we use red food coloring, which may include red 40. If you prefer to avoid synthetic dyes, you can substitute with natural alternatives such as beet juice extract. Always check the label on your food coloring if you are concerned about specific ingredients.
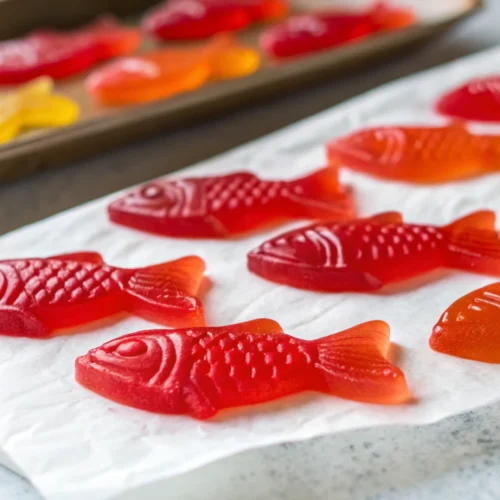
Homemade Swedish Fish Without Gelatin
Ingredients
Candy Base
- Granulated Sugar: 2 cups
- Sugar forms the sweet foundation of the candy.
- Corn Syrup: 1/2 cup
- Corn syrup helps create the chewy texture typical of Swedish fish.
- Invert Sugar: 1/4 cup
- This ingredient adds extra smoothness and prevents crystallization.
- Water: 1/2 cup
- Water is used to dissolve the sugars and aid in the cooking process.
- Citric Acid: 1 teaspoon
- Citric acid adds a tangy flavor and enhances the overall taste.
- Agar-Agar Powder: 1 tablespoon
- Agar-agar acts as a vegan substitute for gelatin. It creates a firm yet chewy texture.
- Modified Corn Starch: 1 teaspoon
- This helps thicken the mixture and improve the texture.
Flavoring and Color
- Flavor Extract such as berry or citrus: 1 teaspoon
- Choose a flavor that suits your taste. The extract gives the candy its signature taste.
- Red Food Coloring: A few drops adjust as needed
- Red food coloring gives the candy its vibrant look. Use a natural dye if you prefer.
Instructions
Step 1: Prepare Your Workspace
- Clean your work surface and gather all equipment.
- Measure all ingredients accurately.
- If using fish-shaped molds, lightly grease them with a neutral oil. If using a shallow tray, prepare a smooth, non-stick surface.
Step 2: Mix the Sugar Base
- In a medium saucepan, combine the granulated sugar, corn syrup, invert sugar, and water.
- Stir the mixture over low heat until the sugars are fully dissolved.
- Increase the heat gradually to bring the mixture to a boil. Stir gently to avoid splashing.
Step 3: Monitor the Temperature
- Attach a candy thermometer to the side of the saucepan.
- Allow the mixture to boil without stirring excessively. Watch for the temperature to reach about 240°F (soft-ball stage).
- When the temperature stabilizes, remove the pan from heat briefly.
Step 4: Incorporate Agar-Agar
- Dissolve the agar-agar powder in a small amount of water (about 1/4 cup) in a separate bowl.
- Stir the agar solution until it is fully dissolved.
- Return the sugar mixture to low heat and slowly stir in the agar solution.
- Continue stirring until the mixture returns to a boil. This ensures the agar is evenly distributed.
Step 5: Add Flavor and Color
- Remove the saucepan from the heat.
- Stir in the citric acid, flavor extract, and red food coloring.
- Mix thoroughly to ensure an even distribution of flavor and color throughout the candy base.
Step 6: Pour Into Molds or Tray
- Carefully pour the hot candy mixture into the prepared fish-shaped molds or the shallow tray.
- If using a tray, let the candy set until it is firm enough to cut. For molds, wait until the mixture cools and hardens completely.
- If you plan to add a coating later, allow the candy to cool to a warm but manageable temperature.
Step 7: Optional Coating Process
- For a shiny finish, prepare a coating by dissolving carnauba wax or beeswax in a small amount of oil over low heat.
- Once dissolved, dip each piece of candy lightly into the coating. Alternatively, you can brush the coating onto the candy.
- Let the coated candy rest on a cooling rack until the coating sets.
Step 8: Final Cooling and Setting
- Allow the candy to cool completely at room temperature.
- If made in a tray, cut the candy into fish-shaped pieces once it is firm.
- Store the candy in an airtight container to maintain freshness and chewiness.
Step 9: Quality Check
- Check the texture by taking a small piece. It should be firm yet chewy.
- Taste the candy to ensure the flavor is balanced.
- Adjust future batches if needed, noting any changes in temperature or ingredient measurements.
Notes
Nutrition Information (Per Serving)
| Nutrient | Amount |
|---|---|
| Calories | 50 kcal |
| Total Fat | 0 g |
| Saturated Fat | 0 g |
| Trans Fat | 0 g |
| Cholesterol | 0 mg |
| Sodium | 10 mg |
| Total Carbohydrates | 13 g |
| Dietary Fiber | 0 g |
| Sugars | 12 g |
| Protein | 0 g |

