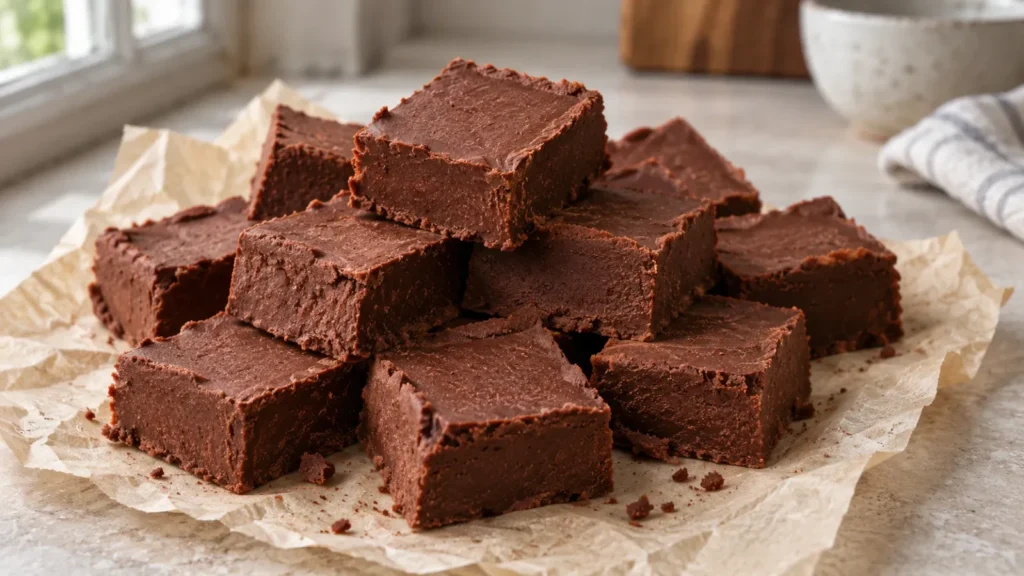
Looking for a delicious and easy-to-make chocolate fudge recipe? This sweet treat is perfect for any occasion, and with the use of sweetened condensed milk, it’s simpler than ever to achieve that creamy, smooth texture. You’ll love this recipe because it yields a rich, velvety fudge that’s sure to satisfy any chocolate craving. Whether you’re making it for a holiday gift, a party, or just a sweet indulgence, this chocolate fudge recipe is a must-try.
Table of Contents
Why You’ll Love This Recipe
- Easy to make with minimal ingredients
- Uses sweetened condensed milk for a creamy texture
- Perfect for gifts, parties, or personal indulgence
- Rich, velvety chocolate fudge that’s hard to resist
Key Ingredients & Substitutions
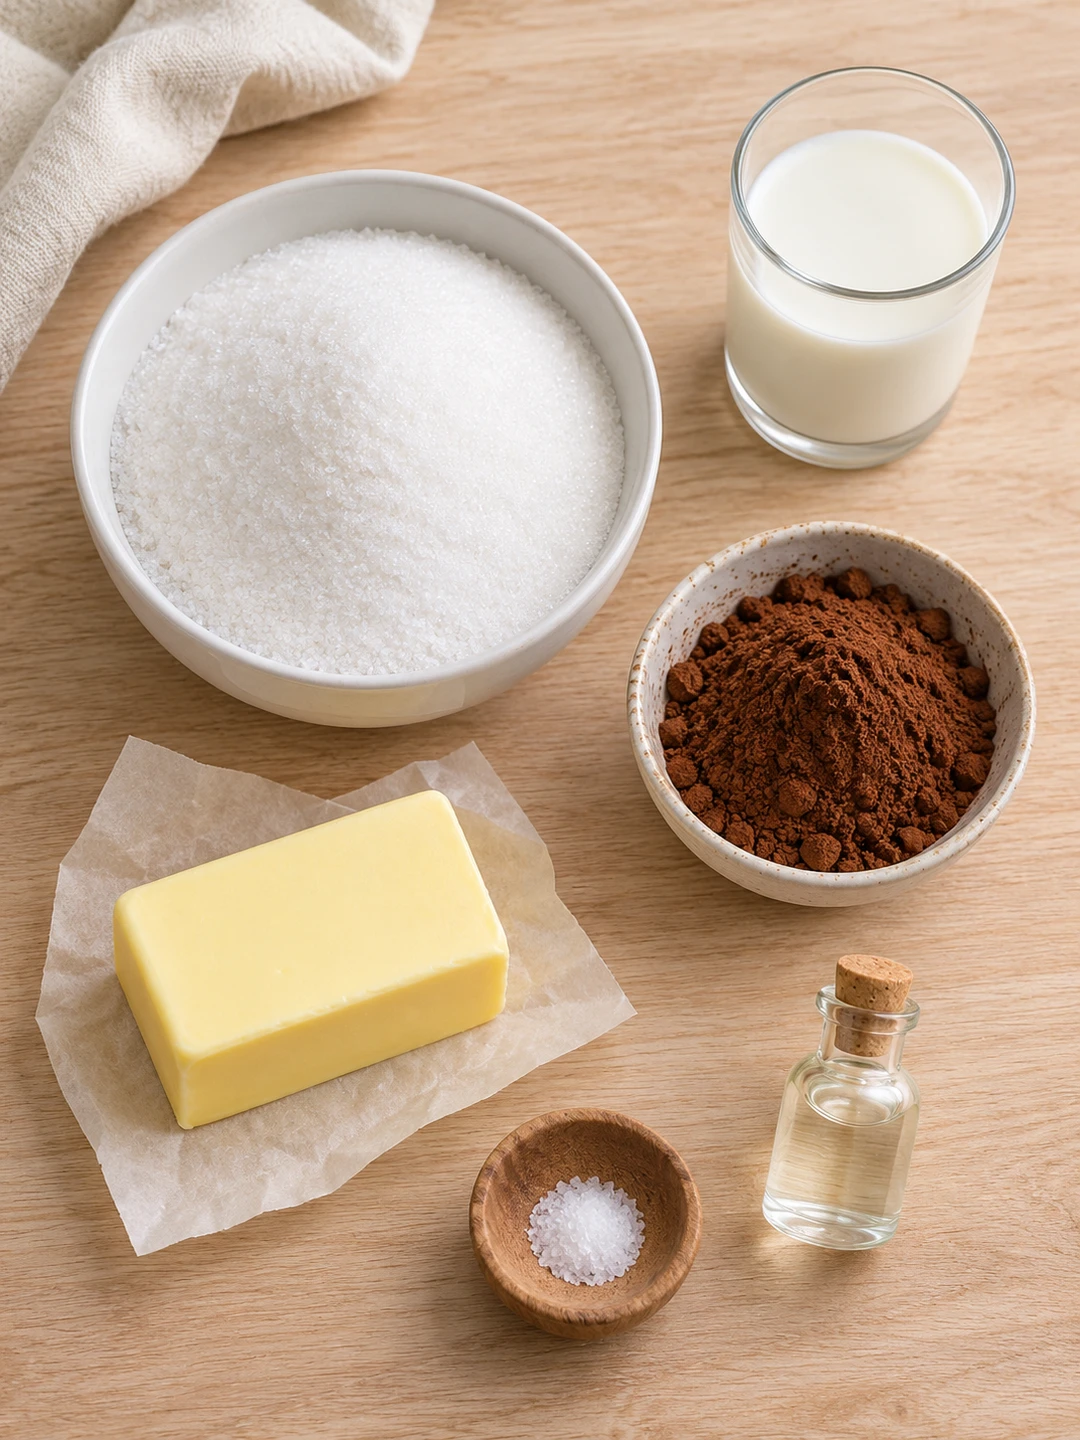
To make this chocolate fudge recipe, you’ll need the following ingredients:
- 3 cups granulated sugar
- 2/3 cup unsweetened cocoa powder
- 1/8 teaspoon salt
- 1 1/2 cups whole milk
- 1/4 cup unsalted butter
- 1 teaspoon alcohol-free vanilla flavoring
- 1 can of sweetened condensed milk
When it comes to substitutions, keep in mind that using high-quality ingredients will result in the best flavor and texture. However, if you need to make some adjustments, you can try substituting the unsalted butter with a vegan alternative or using a different type of milk. Just be sure to adjust the cooking time and temperature accordingly.
Step-by-Step Instructions
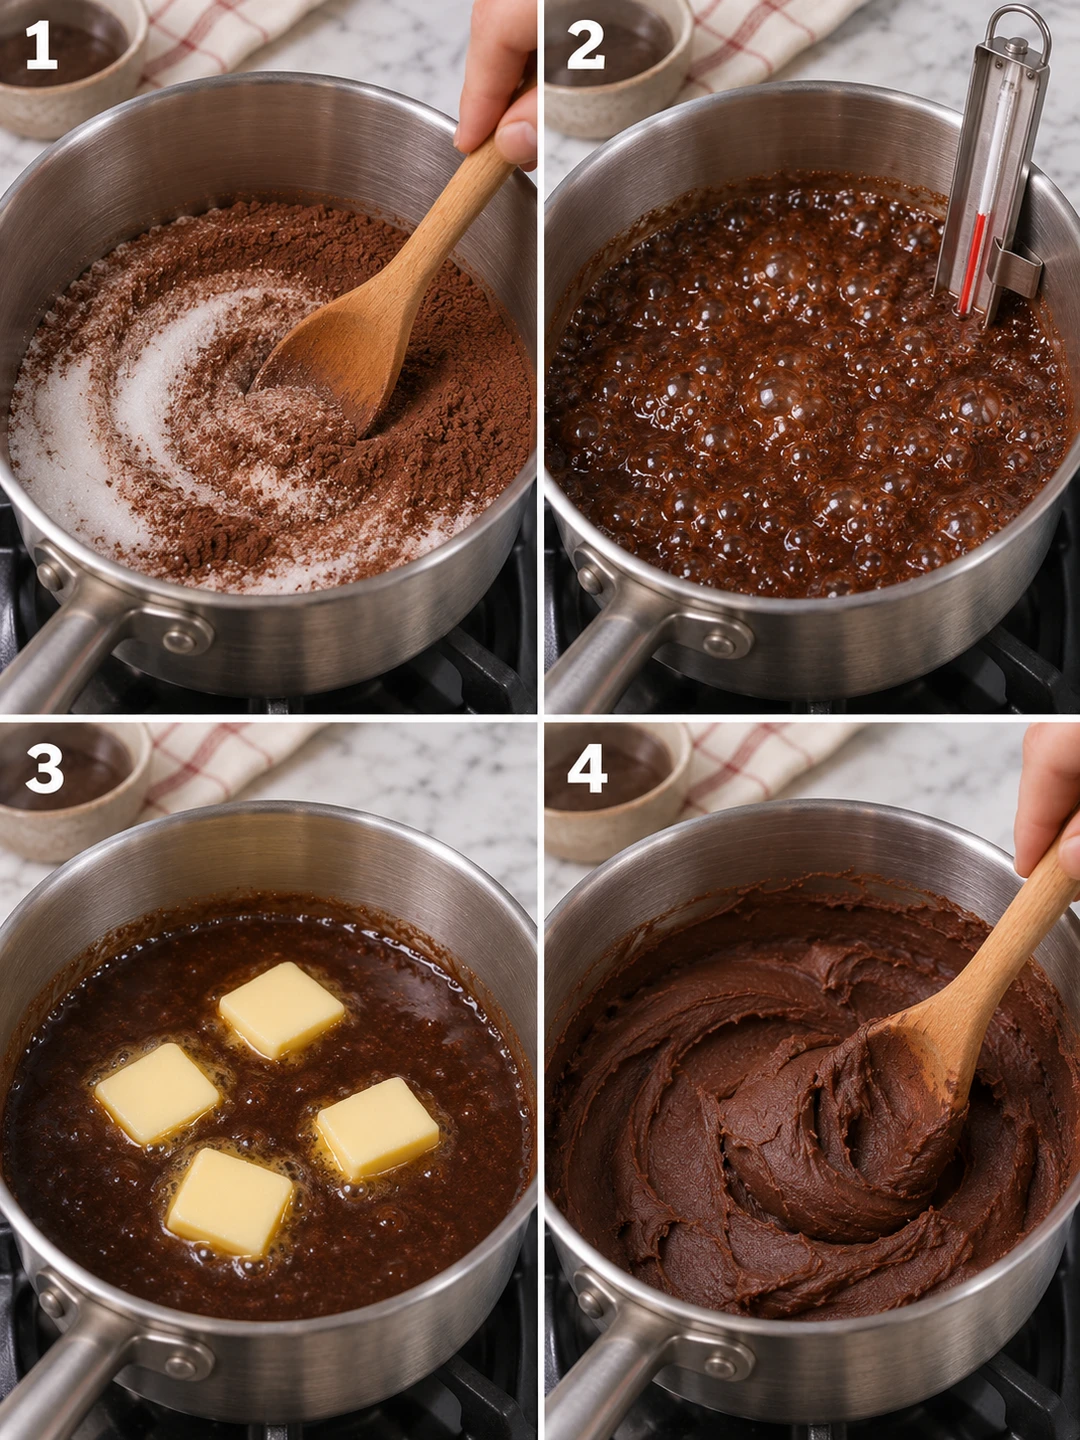
1. Line an 8-inch or 9-inch square baking pan with aluminum foil, ensuring the foil extends over the edges for easy removal, and lightly grease the foil with butter.
2. In a heavy 4-quart saucepan, stir together the granulated sugar, cocoa powder, and salt until the dry ingredients are thoroughly combined.
3. Gradually stir in the milk until the mixture is smooth and the cocoa is well incorporated.
4. Place the saucepan over medium heat and stir constantly until the mixture reaches a full rolling boil.
5. Stop stirring immediately once the boil is reached. Attach a candy thermometer to the side of the pan, making sure the bulb does not touch the bottom.
6. Boil the mixture without stirring until the thermometer reaches exactly 234°F (112°C), which is the soft-ball stage.
7. Remove the pan from the heat instantly. Add the butter and the alcohol-free vanilla flavoring to the surface, but do not stir them into the mixture.
8. Allow the fudge to cool undisturbed at room temperature until the thermometer reaches 110°F (lukewarm). This phase is critical for a smooth texture.
9. Beat the mixture vigorously by hand with a wooden spoon for approximately 5 to 7 minutes. Watch for the texture to thicken and the appearance to change from glossy to matte.
10. As soon as the fudge loses its gloss, quickly spread it into the prepared pan. Let it sit at room temperature for at least 2 hours until firm before lifting the foil and slicing into 36 squares.
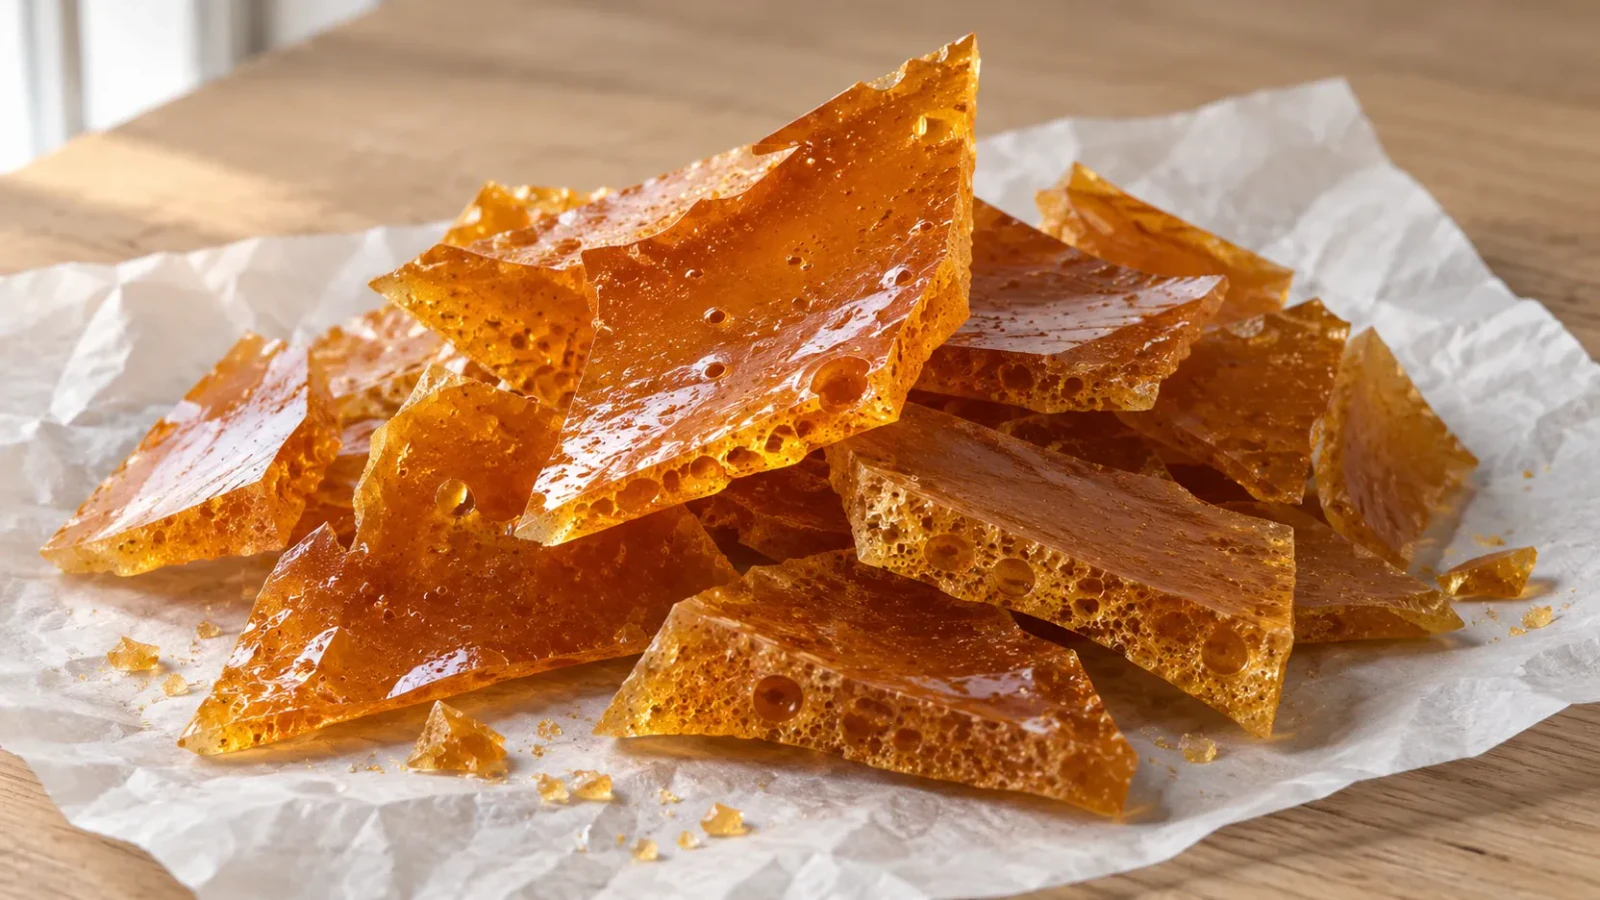
For more delicious dessert ideas, be sure to check out our Christmas Crack recipe, which is perfect for the holiday season. You can also try our Christmas Crack Recipe for a fun twist on a classic treat.
Expert Chef Tips & Troubleshooting
To ensure that your fudge turns out perfectly, be sure to use a heavy 4-quart saucepan to prevent scorching and promote even heat distribution. Also, keep an eye on the temperature and cooking time, as these can affect the final texture of the fudge. If you don’t have a candy thermometer, you can use the “cold water test” to check for the soft-ball stage. Simply drop a small spoonful of the boiling mixture into a cup of very cold water. If you can pick up the mixture and form a soft ball that flattens between your fingers when removed from the water, it is ready. If it dissolves or doesn’t hold its shape, it needs to boil for a few more minutes.
For safe food storage practices, be sure to check out the USDA guidelines and safe food storage practices to ensure that your fudge is stored properly.
Storage, Make-Ahead & Reheating
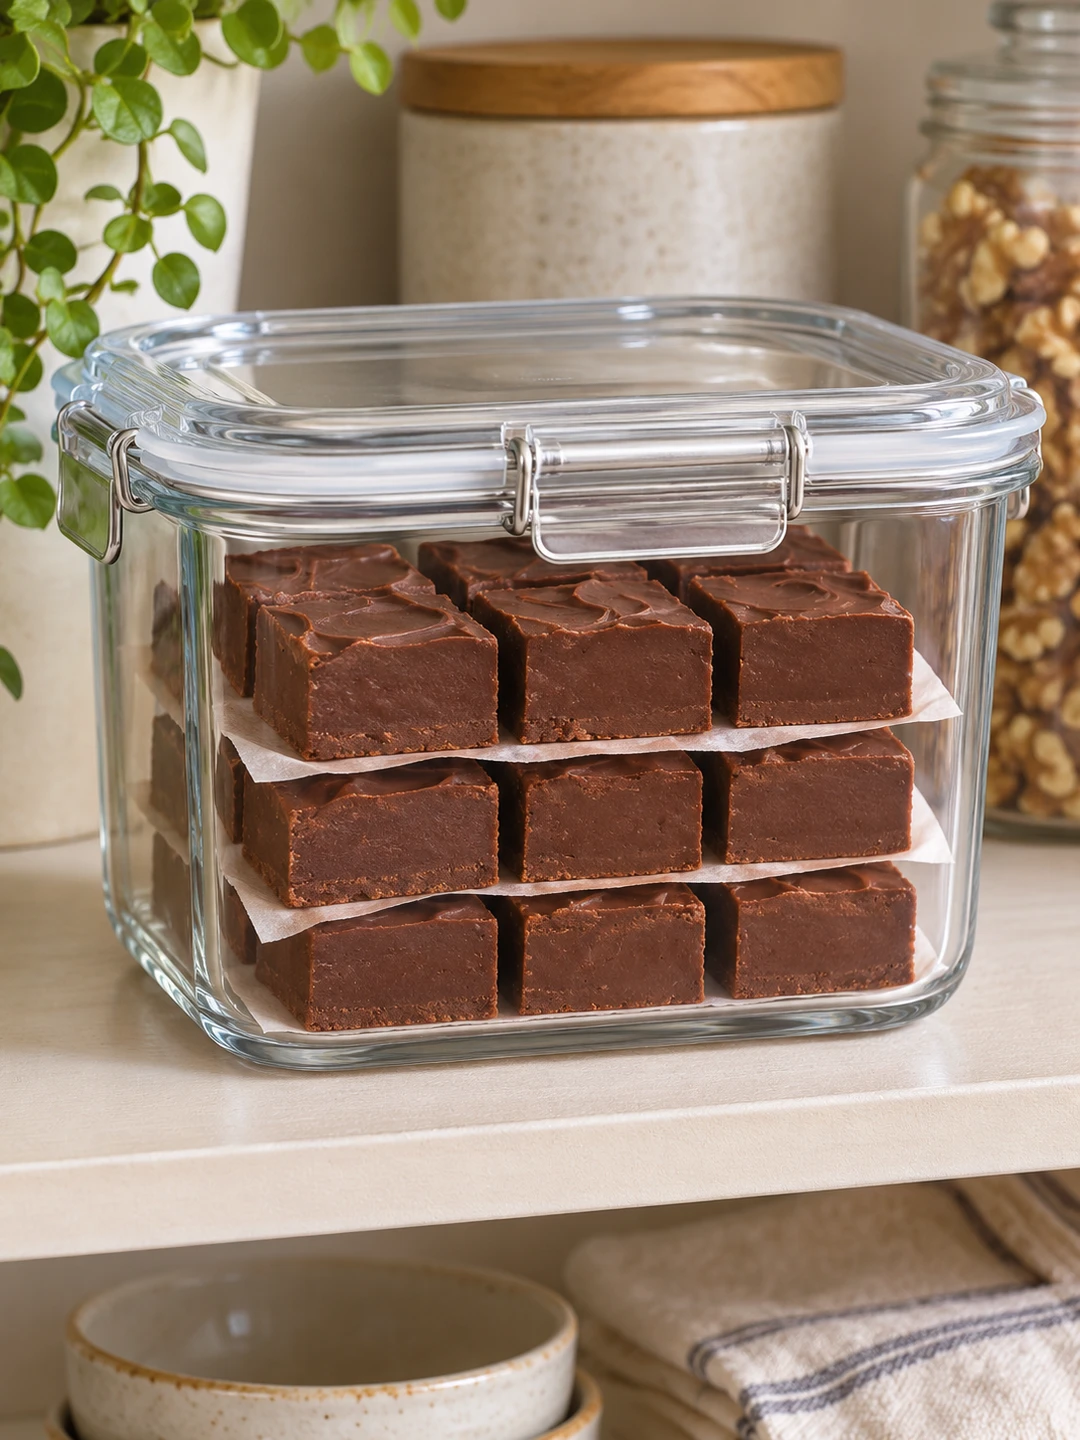
To store your fudge, place it in an airtight container at room temperature for up to two weeks. You can also keep it in the refrigerator for up to three weeks, but it’s best served at room temperature to maintain its creamy texture. Avoid leaving it uncovered, as the sugar will eventually crystallize further and cause the fudge to become crumbly.
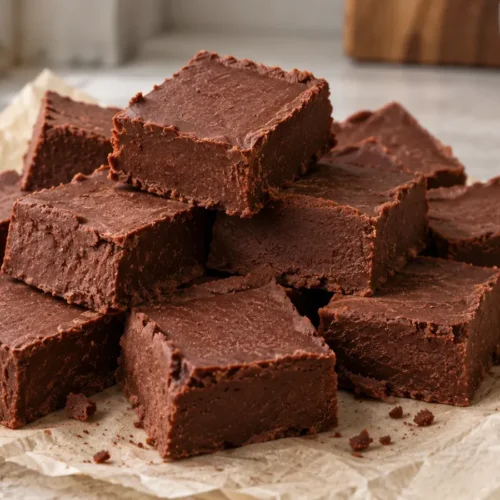
Chocolate Fudge Recipe with Sweetened Condensed Milk

Equipment
- Heavy 4-quart saucepan
- Candy thermometer
- Wooden Spoon
- 8-inch or 9-inch square baking pan
Ingredients
Ingredients
- 3 cups granulated sugar
- 2/3 cup unsweetened cocoa powder
- 1/8 teaspoon salt
- 1 1/2 cups whole milk
- 1/4 cup unsalted butter
- 1 teaspoon alcohol-free vanilla flavoring
- 1 can sweetened condensed milk
Instructions
- Line an 8-inch or 9-inch square baking pan with aluminum foil, ensuring the foil extends over the edges for easy removal, and lightly grease the foil with butter.
- In a heavy 4-quart saucepan, stir together the granulated sugar, cocoa powder, and salt until the dry ingredients are thoroughly combined.
- Gradually stir in the milk until the mixture is smooth and the cocoa is well incorporated.
- Place the saucepan over medium heat and stir constantly until the mixture reaches a full rolling boil.
- Stop stirring immediately once the boil is reached. Attach a candy thermometer to the side of the pan, making sure the bulb does not touch the bottom.
- Boil the mixture without stirring until the thermometer reaches exactly 234°F (112°C), which is the soft-ball stage.
- Remove the pan from the heat instantly. Add the butter and the alcohol-free vanilla flavoring to the surface, but do not stir them into the mixture.
- Allow the fudge to cool undisturbed at room temperature until the thermometer reaches 110°F (lukewarm). This phase is critical for a smooth texture.
- Beat the mixture vigorously by hand with a wooden spoon for approximately 5 to 7 minutes. Watch for the texture to thicken and the appearance to change from glossy to matte.
- As soon as the fudge loses its gloss, quickly spread it into the prepared pan. Let it sit at room temperature for at least 2 hours until firm before lifting the foil and slicing into 36 squares.
Notes
- Calories: 85
- Protein: 0.6g
- Carbohydrates: 17.5g
- Fat: 1.8g
- Saturated fat: 1.1g
- Cholesterol: 4mg
- Sodium: 12mg
- Potassium: 0mg
- Fiber: 0.4g
- Sugar: 17g
Frequently Asked Questions
Why is it important not to stir the fudge while it boils to the soft-ball stage?
Stirring during the boiling phase can knock sugar crystals from the side of the pan back into the mixture, leading to a grainy or gritty texture. Once the sugar, cocoa, and milk reach a full rolling boil, you must let it cook undisturbed until it reaches 234°F. This allows the sugar to stay properly dissolved, ensuring the final product has a perfectly smooth mouthfeel.
How do I perform the “cold water test” if I do not have a candy thermometer?
To test for the soft-ball stage manually, drop a small spoonful of the boiling mixture into a cup of very cold water. If you can pick up the mixture and form a soft ball that flattens between your fingers when removed from the water, it is ready. If it dissolves or doesn’t hold its shape, it needs to boil for a few more minutes.
Why must the fudge cool to 110°F before I start beating it?
Cooling the mixture to a lukewarm temperature allows the sugar molecules to stabilize so that you can control the crystallization process. If you begin beating the mixture while it is still hot, large crystals will form, resulting in a sandy texture. Waiting until it reaches 110°F ensures that only tiny, microscopic crystals form, giving the fudge its signature velvety consistency.
How should I store this old-fashioned cocoa fudge to keep it from drying out?
Store your fudge in an airtight container at room temperature for up to two weeks, using wax paper between layers to prevent sticking. For longer-lasting freshness, you can keep it in the refrigerator for up to three weeks, though it is best served at room temperature to maintain its creamy texture. Avoid leaving it uncovered, as the sugar will eventually crystallize further and cause the fudge to become crumbly.