Are you craving a treat that’s both sweet and salty, irresistibly crunchy, and incredibly easy to make? This Cheez It Peanut Butter and Chocolate Magic recipe brings together the best of both worlds—savory crackers, creamy peanut butter, and luscious chocolate for a dessert that’s as simple as it is unforgettable. Perfect for parties, after-school snacks, or a quick indulgence, this no-bake recipe is a lifesaver for busy schedules. Whether you’re whipping these up for loved ones or treating yourself, you’ll love how effortlessly these bites come together. Ready to create some magic? Let’s dive in!
_____________________________
Table of Contents
_____________________________
Key Benefits
Creating a dessert that’s both indulgent and effortless is every home cook’s dream, and this Cheez It Peanut Butter and Chocolate Magic recipe delivers on all fronts. Here’s why you’ll love making—and eating—this sweet and salty delight:
Why This Recipe Works
- Effortless and No-Bake: Skip the oven! This recipe comes together with just a few simple steps, making it perfect for busy weeknights or impromptu gatherings.
- Irresistible Flavor Combo: The savory crunch of Cheez It crackers pairs perfectly with creamy peanut butter and decadent chocolate, creating a mouthwatering contrast that keeps you coming back for more.
- Family-Friendly Fun: Whether you’re making these treats with kids or surprising loved ones, this recipe is easy enough for beginners and enjoyable for everyone involved.
- Customizable for Every Occasion: Add your personal twist with toppings like sprinkles, crushed nuts, or a drizzle of caramel to make these bites your own.
Practical Perks
- Quick Prep Time: You’ll spend more time enjoying these treats than making them—prep takes just 15 minutes!
- Budget-Friendly Ingredients: With pantry staples like crackers, peanut butter, and chocolate, this recipe is as easy on your wallet as it is on your schedule.
- Make-Ahead Magic: These snacks store beautifully, so you can prepare them in advance for parties, gifting, or weekday indulgence.
Embrace the Sweet and Salty Craze
If you’re someone who can’t decide between sweet and savory snacks, this recipe offers the perfect solution. It’s not just a dessert—it’s an experience that brings joy to every bite. So grab your ingredients, and let’s turn your kitchen into a haven of snackable indulgence!
Ingredients
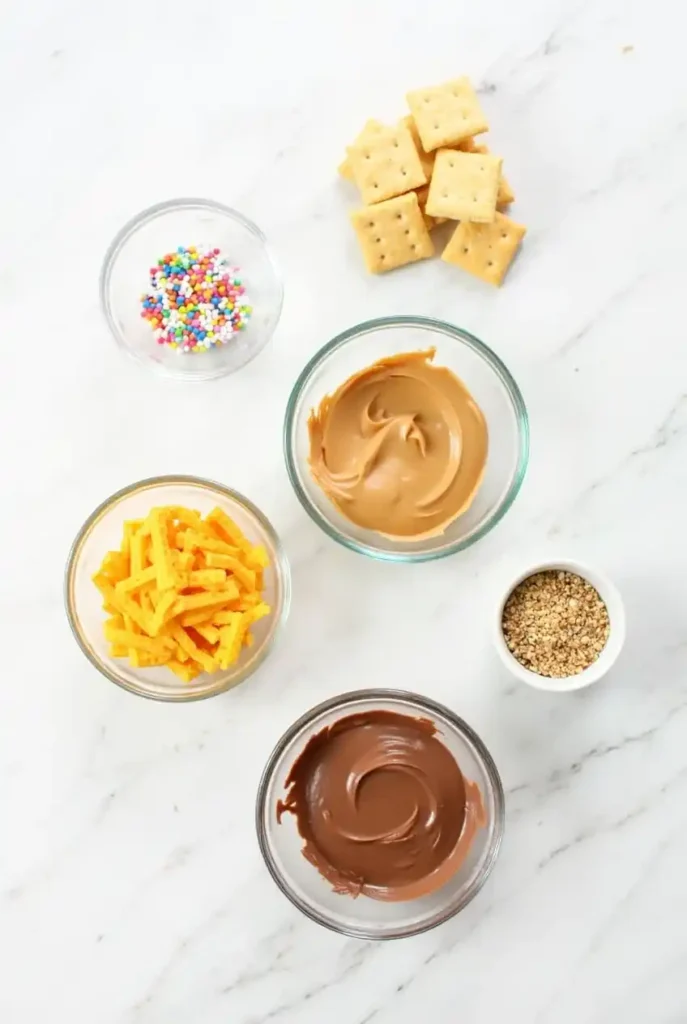
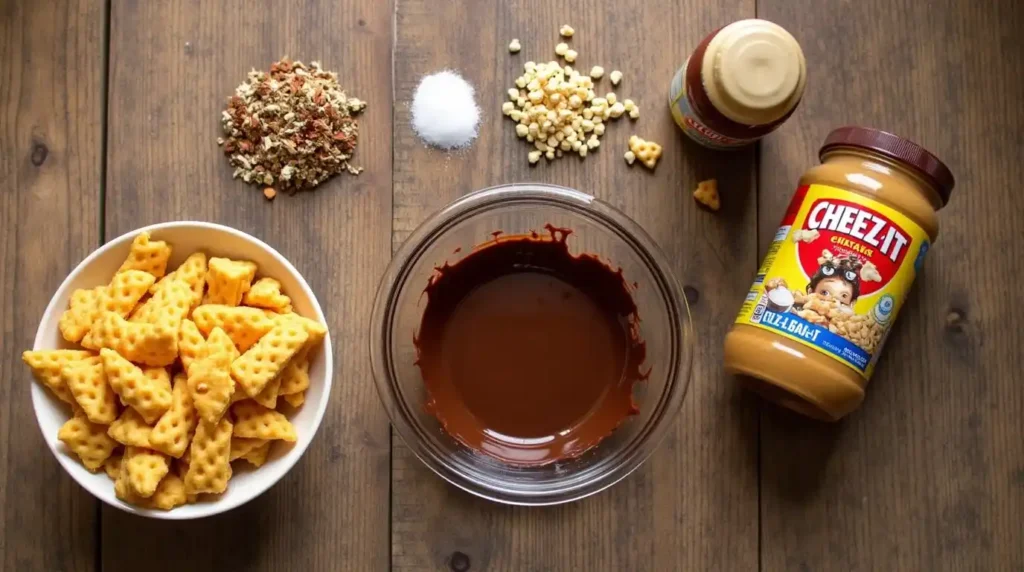
Gathering your ingredients is the first step to creating this irresistible Cheez It Peanut Butter and Chocolate Magic. Each item plays a key role in delivering the perfect balance of sweet, salty, and crunchy goodness. Here’s what you’ll need:
The Essentials
- Cheez It crackers (2 cups): These savory squares provide a unique, crunchy base that pairs beautifully with the sweetness of the other ingredients.
- Creamy peanut butter (½ cup): Acts as the glue that holds everything together while adding a rich, nutty flavor. For added depth, you can opt for natural or honey-roasted varieties.
- Chocolate chips (1 cup): Choose milk, dark, or even white chocolate depending on your flavor preference. You’ll melt these to coat the bites in a decadent layer of sweetness.
- Powdered sugar (2 tablespoons): Optional, but adding a light dusting can elevate both the appearance and flavor of the final treat.
Optional Toppings
Get creative with these extras to add a personal touch:
- Sprinkles: Perfect for festive occasions or a pop of color.
- Sea salt flakes: Enhance the salty-sweet contrast with a delicate finishing touch.
- Crushed nuts: Add a nutty crunch for extra texture.
- Caramel drizzle: For an indulgent, bakery-worthy finish.
Tips for Choosing Ingredients
- Cheez It Variations: Experiment with flavored versions like cheddar or spicy for a unique twist.
- Chocolate Options: For a vegan-friendly alternative, use dairy-free chocolate chips.
- Peanut Butter Substitutes: Allergic to peanuts? Swap in almond butter, sunflower seed butter, or cookie butter for a different flavor profile.
Prep for Success
Before you begin, organize your ingredients and set up a clean workspace. Having everything measured and ready ensures a smooth cooking process, especially when melting chocolate or assembling the bites.
Now that your ingredients are ready, let’s move on to the fun part—bringing this magical snack to life!
Instructions
Creating these Cheez It Peanut Butter and Chocolate Magic treats is as simple as it is fun. With just a few easy steps, you’ll have a batch of irresistible snacks ready to enjoy. Follow this step-by-step guide, and don’t forget to enjoy the process!
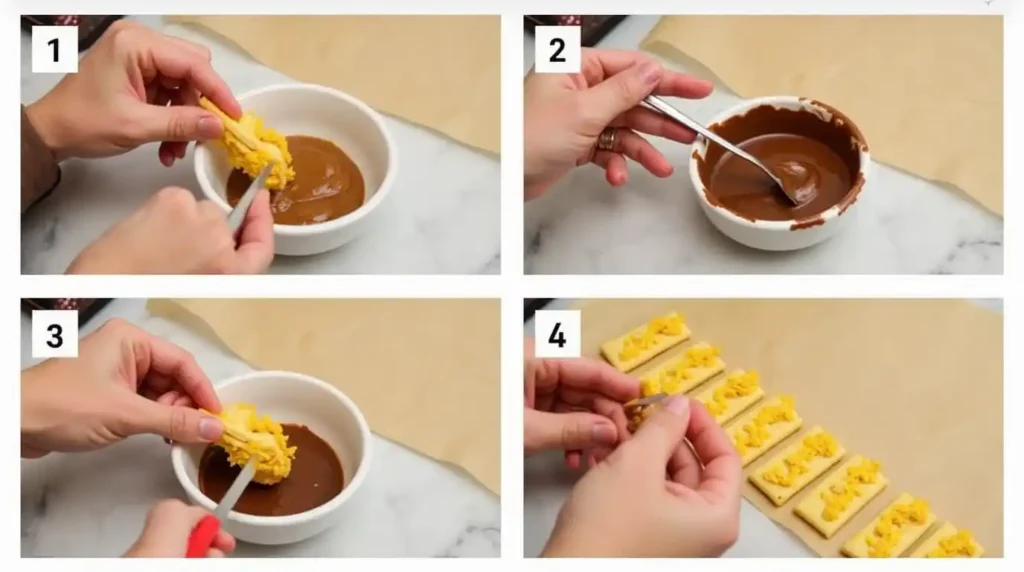
Step 1: Prepare Your Workspace
- Line a baking sheet with parchment or wax paper to prevent sticking.
- Set out all your ingredients so they’re within easy reach—this keeps the process smooth and stress-free.
Step 2: Assemble the Base
- Take two Cheez It crackers and spread a small dollop of peanut butter (about ½ teaspoon) on one side of each.
- Gently press the crackers together to create a sandwich. Repeat this process until all your crackers are paired.
Step 3: Melt the Chocolate
- Place the chocolate chips in a microwave-safe bowl. Heat in 15-20 second increments, stirring in between, until the chocolate is smooth and fully melted.
- For a more professional touch, use a double boiler to melt the chocolate slowly and evenly.
Step 4: Coat the Sandwiches
- Using a fork or a pair of tongs, dip each peanut butter-filled cracker sandwich into the melted chocolate.
- Ensure it’s fully coated, then gently shake off any excess chocolate.
- Place the coated sandwich onto the prepared baking sheet.
Step 5: Add the Finishing Touches
- While the chocolate is still wet, sprinkle toppings like sea salt flakes, crushed nuts, or sprinkles for extra flavor and visual appeal.
- Work quickly, as the chocolate may harden if left too long.
Step 6: Let Them Set
- Transfer the baking sheet to the refrigerator and let the snacks chill for 20–30 minutes, or until the chocolate is firm.
Step 7: Serve and Enjoy
- Once set, transfer the treats to a serving plate or airtight container. They’re ready to enjoy immediately or to save for later indulgence!
Pro Tips for Success
- Chocolate Consistency: If your melted chocolate seems too thick, add a teaspoon of coconut oil or butter to achieve a smoother texture.
- Even Dipping: Use a fork to hold the sandwich in the chocolate, then tap it gently against the bowl to remove excess coating.
- Storage: Store the treats in an airtight container in the fridge for up to a week or in the freezer for up to a month.
Now you’re all set to create these magical bites. Trust me—once you taste them, you’ll want to make a double batch!
Pro Tips and Variations
One of the best things about this Cheez It Peanut Butter and Chocolate Magic recipe is its versatility. With a few tweaks and tricks, you can elevate this simple snack into something truly extraordinary. Here are some pro tips and variations to inspire your creativity and help you achieve perfect results every time.
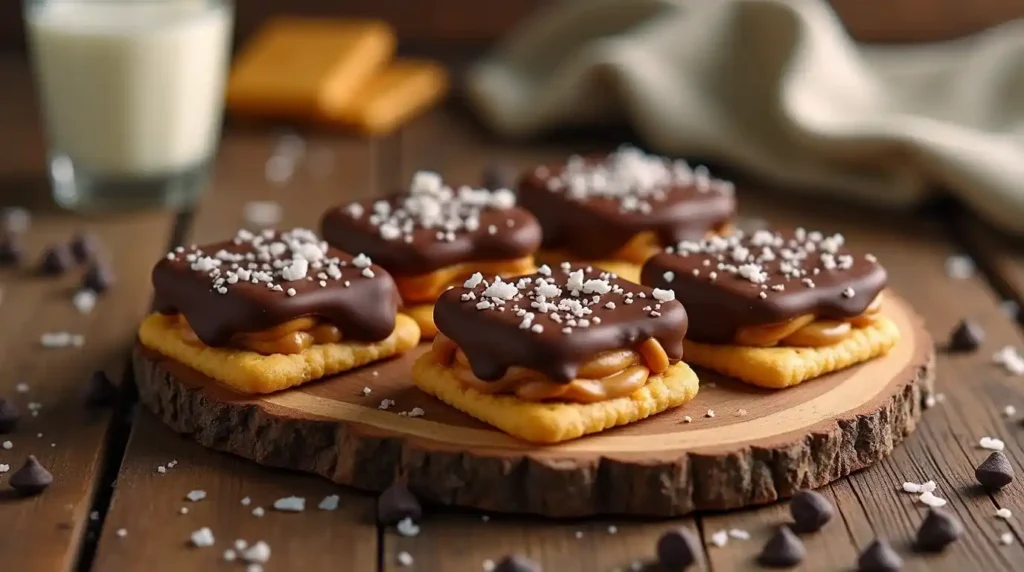
Pro Tips for Perfect Results
- Master the Chocolate Coating
- For a glossy, professional finish, temper your chocolate by carefully controlling its melting temperature. This prevents it from looking dull or chalky.
- If your chocolate is too thick, stir in a teaspoon of coconut oil or vegetable shortening for a silkier texture that’s easier to work with.
- Keep It Clean and Efficient
- Use a fork or dipping tool to handle the sandwiches while coating them in chocolate. This keeps your fingers clean and ensures an even layer of chocolate.
- Line your work surface with parchment paper for easy cleanup and to prevent sticking.
- Work in Batches
- To avoid the chocolate hardening too quickly, coat only a few sandwiches at a time and add toppings immediately before moving to the next batch.
- Ensure Even Sizes
- Use a measuring spoon to portion out peanut butter for consistency. Evenly sized sandwiches make for a prettier presentation and balanced flavor.
Creative Variations
- Flavorful Crackers
- Swap plain Cheez It crackers for flavored varieties like white cheddar or spicy jalapeño to add an unexpected twist.
- Alternative Fillings
- Replace peanut butter with almond butter, sunflower seed butter, or even Nutella for a unique flavor profile.
- For a more decadent option, spread a thin layer of caramel or marshmallow fluff alongside the peanut butter.
- Fun Toppings
- Sprinkle crushed pretzels or graham crackers on top for extra crunch.
- Dust with cocoa powder or edible glitter for a fancy touch that’s party-ready.
- Add a pinch of chili powder or cayenne for a spicy-sweet kick.
- Chocolate Options
- Experiment with dark, milk, or white chocolate, or use a combination for a marbled effect.
- Add a splash of flavored extract (like mint, orange, or vanilla) to the melted chocolate for a subtle hint of extra flavor.
Make It Your Own
This recipe is a canvas for creativity. Whether you’re making it for a family movie night, a holiday gathering, or simply to treat yourself, these tips and variations will help you customize the flavors and presentation to suit any occasion. Don’t be afraid to experiment—the possibilities are endless!
With these insights in mind, you’re ready to add your personal touch and make every bite truly magical.
Serving Suggestions
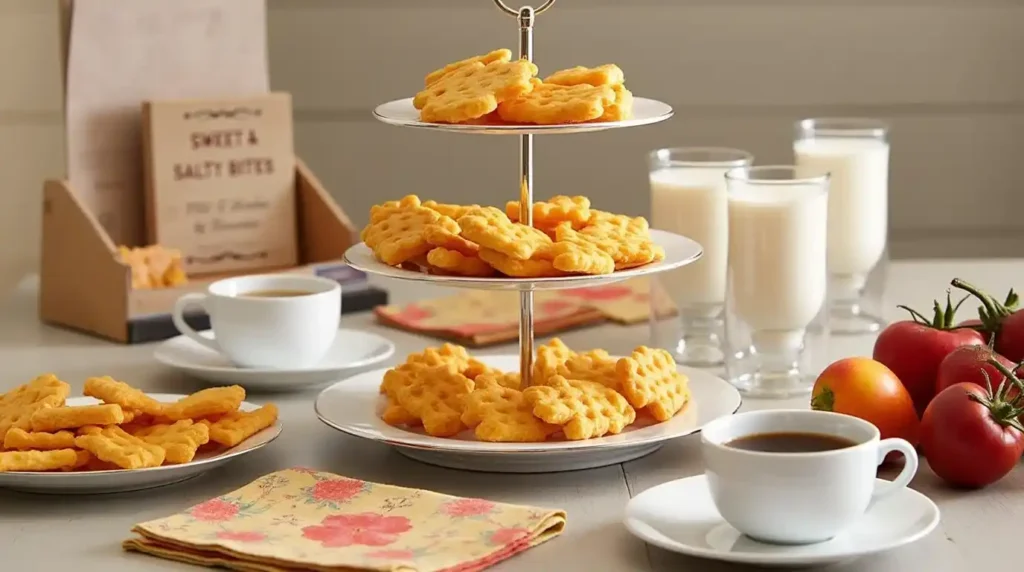
Presentation is everything when it comes to food, and this Cheez It Peanut Butter and Chocolate Magic recipe is no exception. These sweet and salty bites are as fun to serve as they are to eat. Here are some creative serving ideas to make your treats the star of any occasion:
Serve Them Fresh and Fun
- Casual Snacking
- Arrange the chocolate-coated bites in a simple bowl or on a plate for a relaxed movie night or an after-school treat.
- Pair with a glass of milk, coffee, or hot cocoa for a perfectly balanced indulgence.
- Party-Ready Display
- Stack the bites on a tiered serving tray to create an eye-catching centerpiece.
- Add variety by including other small treats like chocolate-covered pretzels, popcorn, or mini cookies.
- Use parchment paper or decorative doilies as a base to add flair.
- Gifting Made Easy
- Pack the bites in a clear cellophane bag tied with a festive ribbon for a homemade gift that’s as thoughtful as it is delicious.
- Layer them in a decorative tin or box, separating layers with wax paper to keep them from sticking.
Pairing Suggestion
- With Beverages
- For adults, serve alongside a bold espresso or a creamy latte to complement the chocolate’s richness.
- For kids, pair with milkshakes or fruit smoothies for a playful, colorful snack.
- As Part of a Dessert Spread
- Include these bites in a dessert charcuterie board alongside fresh fruits, marshmallows, and nuts.
- Serve as a topping for vanilla ice cream or a slice of cheesecake for a creative twist.
Seasonal Inspiration
- Holidays: Add festive sprinkles in holiday colors (like red and green for Christmas or orange and black for Halloween).
- Summer Fun: Incorporate tropical flavors with coconut shavings or pineapple extract in the chocolate.
- Themed Parties: Match the topping colors to the party theme—think pastel hues for a baby shower or team colors for game day.
Tips for Serving Succes
- Keep Them Cool: If serving outdoors or in warm weather, keep the bites chilled in the fridge until just before serving to prevent the chocolate from melting.
- Portion Control: These treats are rich, so serving them in small portions (2-3 bites per person) is usually enough to satisfy.
- Label for Allergies: If serving to a crowd, label your snacks to indicate allergens like peanuts or dairy for everyone’s safety.
With these serving ideas, your magical treats will look as good as they taste. Whether you’re enjoying them at home or sharing them with others, these bites are guaranteed to be a hit. After all, who can resist a treat that’s sweet, salty, and oh-so-chocolatey?
Conclusion
Congratulations—you’ve just discovered how easy it is to create Cheez It Peanut Butter and Chocolate Magic! This recipe is a testament to how a few simple ingredients can come together to deliver something truly special. Whether you’re preparing these treats for a quick snack, a festive party, or a thoughtful gift, they’re sure to leave everyone craving more.

Why You’ll Love This Recipe
- It’s quick, fun, and perfect for all skill levels—no baking required!
- The sweet and salty combination satisfies a wide range of taste preferences.
- With endless customization options, you can make it your own every time.
Share the Joy
Food has a unique way of bringing people together, and this recipe is no exception. Share these bites with family, friends, or coworkers, and watch as smiles light up the room. Better yet, invite others to join you in making them—kids will love helping assemble the cracker sandwiches, and adults can take charge of the chocolate dipping.
Keep Experimenting
Don’t stop here! Try adding your personal flair with new toppings, unique flavor combinations, or creative presentations. Every batch is an opportunity to experiment and have fun in the kitchen.
We’d Love to Hear from You
Have you tried this recipe? Did you add a twist of your own? Let us know in the comments or share your creations on social media. Don’t forget to tag us so we can celebrate your culinary magic together!
With its ease, versatility, and deliciousness, this recipe is bound to become a go-to favorite. So, what are you waiting for? Grab your ingredients, gather your loved ones, and let the magic begin!
Craving another indulgent dessert? Check out our delicious Churro Cheesecake Recipe and bring the perfect mix of cinnamon and creamy goodness to your table!
_____________________
FAQs
As you dive into making this Cheez It Peanut Butter and Chocolate Magic recipe, you might have a few questions. Here are some common ones to guide you through the process and help you achieve perfect results every time.
1. Can I use a different type of cracker?
Absolutely! While Cheez It crackers offer a unique savory crunch, you can substitute them with other bite-sized crackers, such as Ritz Bits or even pretzels, for a different texture and flavor profile. Experiment to find your favorite combination!
2. How do I prevent the chocolate from hardening while dipping?
If your melted chocolate starts to firm up during the dipping process, reheat it briefly in the microwave for 10-15 seconds or place it back over a double boiler. Stir well to restore its smooth consistency.
3. Can I make this recipe vegan or gluten-free
Vegan Version: Use dairy-free chocolate chips and replace the peanut butter with a plant-based alternative like almond butter or sunflower seed butter. Ensure the crackers are vegan-friendly.
Gluten-Free Option: Swap out the Cheez It crackers for a gluten-free alternative. Many stores carry gluten-free cheese crackers that work perfectly in this recipe.
4. How should I store these treats?
To keep your snacks fresh:
Refrigerator: Store them in an airtight container for up to a week. This helps maintain the crunchiness of the crackers and the firmness of the chocolate.
Freezer: For longer storage, freeze them in a single layer on a tray first, then transfer to a freezer-safe container. They can last up to a month this way.
5. What if I don’t have a microwave to melt the chocolate?
No problem! Use a double boiler by placing a heatproof bowl over a pot of simmering water. Stir the chocolate continuously until it melts smoothly. This method gives you greater control over the melting process.
6. Can I make these ahead of time for a party?
Yes! These bites are ideal for prepping in advance. Make them a day or two ahead and store them in the fridge. Add any delicate toppings, like sprinkles or caramel drizzle, closer to serving time for the freshest look.
7. Are there any nut-free alternatives?
If you need to skip the peanut butter, try using a nut-free spread like cookie butter or sunflower seed butter. These options still provide a creamy filling without triggering nut allergies.
8. Can I scale this recipe for a crowd?
Definitely! The recipe is easy to double, triple, or even halve. Just ensure you have enough chocolate for coating and work in batches to avoid overwhelming your workspace.
9. What’s the best way to ensure the crackers stay crunchy?
The key is in the storage. Avoid leaving the coated snacks at room temperature for too long, as the peanut butter filling can soften the crackers. Refrigeration keeps them crisp and delicious.
With these answers, you’re all set to tackle any hurdles and enjoy the process of making these delicious treats. If you have any other questions, feel free to ask in the comments we’re here to help make your culinary journey smooth and enjoyable!
____________________________________

recipe for cheez it peanut butter and chocolate
Ingredients
The Essentials
Cheez It crackers (2 cups):
- These savory squares provide a unique crunchy base that pairs beautifully with the sweetness of the other ingredients.
Creamy peanut butter (½ cup):
- Acts as the glue that holds everything together while adding a rich nutty flavor. For added depth, you can opt for natural or honey-roasted varieties.
Chocolate chips (1 cup):
- Choose milk dark, or even white chocolate depending on your flavor preference. You’ll melt these to coat the bites in a decadent layer of sweetness.
Powdered sugar (2 tablespoons):
- Optional but adding a light dusting can elevate both the appearance and flavor of the final treat.
Optional Toppings
- Get creative with these extras to add a personal touch:
Sprinkles:
- Perfect for festive occasions or a pop of color.
Sea salt flakes:
- Enhance the salty-sweet contrast with a delicate finishing touch.
Crushed nuts:
- Add a nutty crunch for extra texture.
Caramel drizzle:
- For an indulgent bakery-worthy finish.
- Tips for Choosing Ingredients
Cheez It Variations:
- Experiment with flavored versions like cheddar or spicy for a unique twist.
Chocolate Options:
- For a vegan-friendly alternative use dairy-free chocolate chips.
Peanut Butter Substitutes:
- Allergic to peanuts? Swap in almond butter sunflower seed butter, or cookie butter for a different flavor profile.
Instructions
Step 1: Prepare Your Workspace
- Line a baking sheet with parchment or wax paper to prevent sticking.
- Set out all your ingredients so they’re within easy reach—this keeps the process smooth and stress-free.
Step 2: Assemble the Base
- Take two Cheez It crackers and spread a small dollop of peanut butter (about ½ teaspoon) on one side of each.
- Gently press the crackers together to create a sandwich. Repeat this process until all your crackers are paired.
Step 3: Melt the Chocolate
- Place the chocolate chips in a microwave-safe bowl. Heat in 15-20 second increments, stirring in between, until the chocolate is smooth and fully melted.
- For a more professional touch, use a double boiler to melt the chocolate slowly and evenly.
Step 4: Coat the Sandwiches
- Using a fork or a pair of tongs, dip each peanut butter-filled cracker sandwich into the melted chocolate.
- Ensure it’s fully coated, then gently shake off any excess chocolate.
- Place the coated sandwich onto the prepared baking sheet.
Step 5: Add the Finishing Touches
- While the chocolate is still wet, sprinkle toppings like sea salt flakes, crushed nuts, or sprinkles for extra flavor and visual appeal.
- Work quickly, as the chocolate may harden if left too long.
Step 6: Let Them Set
- Transfer the baking sheet to the refrigerator and let the snacks chill for 20–30 minutes, or until the chocolate is firm.
Step 7: Serve and Enjoy
- Once set, transfer the treats to a serving plate or airtight container. They’re ready to enjoy immediately or to save for later indulgence!
Notes
Nutrition Information (Per Serving)
- Calories: 180
- Fat: 10g
- Protein: 4g
- Carbohydrates: 19g
- Fiber: 1g
- Sugar: 12g
- Sodium: 120mg

