There’s something magical about Disney chocolate chip cookies that make them irresistible, right? Whether you’re baking for a family treat, a cozy afternoon snack, or a special dessert to share, these soft and chewy cookies are sure to delight. Made with the perfect balance of butter, sugar, and plenty of chocolate chips, this homemade recipe brings out the kind of comforting flavors that everyone loves. Plus, they’re so easy to whip up, you’ll wonder why you haven’t made them sooner! Ready to create a batch of these delicious, golden-brown cookies? Let’s dive in and make a batch that’s perfect for any occasion!
Key Benefits of This Disney Chocolate Chip Cookie Recipe

When it comes to baking, there’s nothing quite like the joy of making your own batch of warm, homemade cookies. This Disney chocolate chip cookie recipe offers more than just great taste—it’s a delightful experience from start to finish. Here’s why you’ll love this recipe:
- Quick and Easy: With simple ingredients like butter, sugar, and chocolate chips, you can have these delicious cookies baking in no time. No complicated steps, just mix, scoop, and bake!
- Irresistibly Soft and Chewy: The secret to these cookies’ soft, chewy texture? A perfect balance of butter and sugar, with a touch of baking soda to give them that just-right puffiness.
- Family-Friendly: Whether you’re baking with kids or preparing a snack for the whole family, this recipe is a hit with all ages. It’s the perfect treat to make together, and the whole family will love the sweet, comforting flavor.
- Versatile for Any Occasion: These cookies are perfect for any event—whether you’re hosting a party, preparing a gift for a friend, or simply indulging in a cozy treat after a long day.
- Customizable: Want to make them extra special? You can mix in your favorite additions—whether it’s a handful of nuts, a sprinkle of sea salt, or even a dash of cinnamon. The options are endless!
Now that you know all the reasons this Disney chocolate chip cookie recipe is a must-try, let’s get started and create some cookie magic!
Ingredients for Your Disney Chocolate Chip Cookies
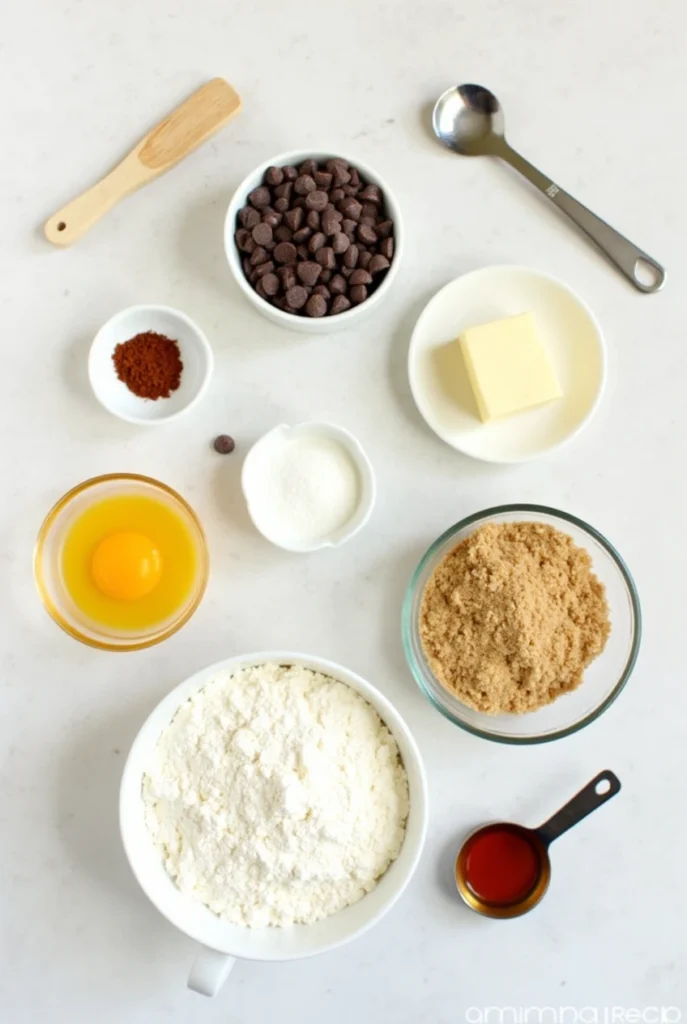
Gathering the right ingredients is the first step to baking cookies that are soft, chewy, and absolutely delicious. Here’s what you’ll need to make these Disney chocolate chip cookies that will leave everyone wanting more:
- 1 cup unsalted butter (softened)
- 3/4 cup granulated sugar
- 3/4 cup brown sugar (packed)
- 2 teaspoons vanilla extract
- 2 large eggs
- 2 1/4 cups all-purpose flour
- 1 teaspoon baking soda
- 1/2 teaspoon salt
- 2 cups semisweet chocolate chips
Pro Tips:
- Butter: Make sure your butter is softened to room temperature. This helps create the perfect dough texture and ensures your cookies bake evenly.
- Sugar Combo: Using both granulated and brown sugar gives the cookies that classic chewy texture and a slight caramelized flavor that makes them irresistible.
- Chocolate Chips: Feel free to get creative with your chocolate choice. If you love milk chocolate, go ahead and swap it in. For an extra decadent treat, try adding white chocolate or even a combination of chips!
- Flour: Measure your flour correctly—fluff it up, spoon it into the measuring cup, and level it off to avoid using too much. This ensures your dough isn’t too dry or too wet.
With these ingredients on hand, you’re well on your way to making a batch of cookies that’s as magical as a trip to Disneyland! Let’s move on to the next step and start baking!
Instructions for Baking Your Disney Chocolate Chip Cookies
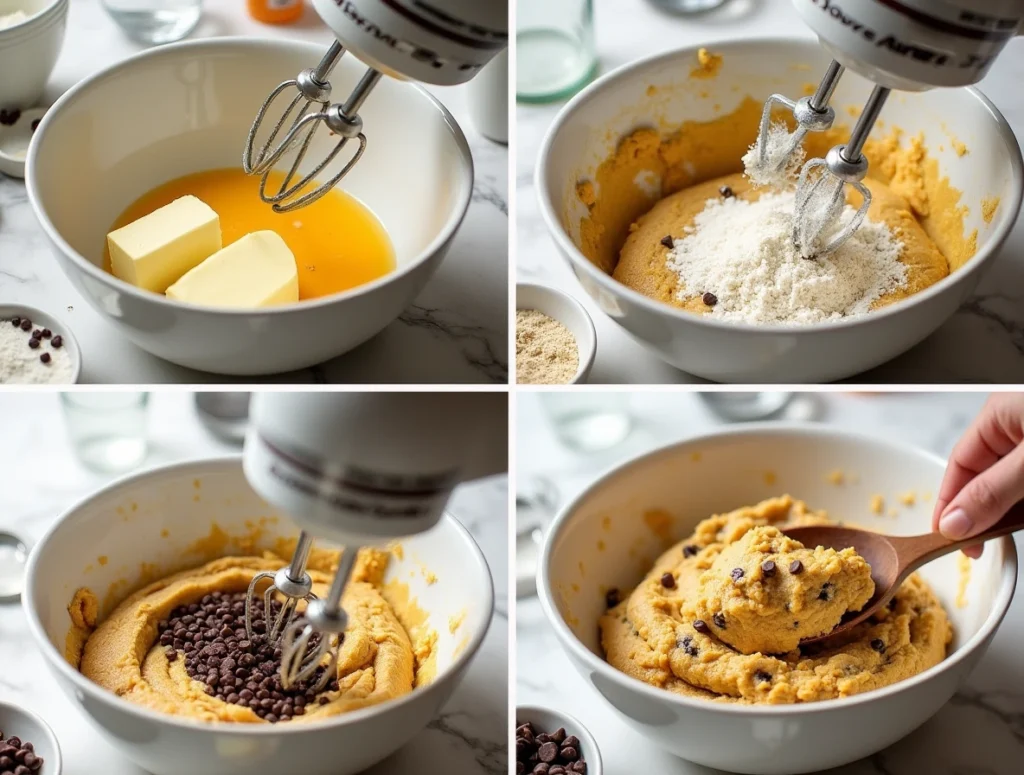
Now that you’ve gathered all your ingredients, it’s time to make the magic happen. Follow these easy steps, and you’ll have a batch of soft, chewy Disney chocolate chip cookies ready to enjoy!
- Preheat the Oven
Preheat your oven to 350°F (175°C). This ensures that the cookies bake evenly and achieve that perfect golden-brown finish. - Prepare the Cookie Dough
In a large mixing bowl, cream together the softened butter, granulated sugar, and brown sugar until light and fluffy. This will take about 3-4 minutes with a hand mixer or stand mixer. The more air you incorporate, the fluffier your cookies will be!Add in the vanilla extract and eggs, one at a time, mixing well after each addition. This helps the dough come together smoothly. - Combine Dry Ingredients
In a separate bowl, whisk together the flour, baking soda, and salt. This step helps evenly distribute the dry ingredients so you won’t have any clumps of flour or salt in your cookies. - Mix Dry Ingredients with Wet
Gradually add the dry mixture to the wet ingredients, mixing until just combined. Be careful not to over-mix, as this can result in dense cookies. - Fold in the Chocolate Chips
Gently fold in the chocolate chips until they’re evenly distributed throughout the dough. This is the fun part—you can even add a little extra if you want a more chocolaty experience! - Scoop the Dough
Use a cookie scoop or a tablespoon to portion out dough onto a baking sheet lined with parchment paper. Space the cookies about 2 inches apart to allow them room to spread as they bake. - Bake
Bake the cookies for 10-12 minutes, or until they’re golden brown around the edges but still soft in the center. Keep an eye on them—baking times may vary slightly depending on your oven. Remember, the cookies will continue to set on the baking sheet after you take them out, so don’t wait for them to fully harden in the oven! - Cool and Enjoy
Let the cookies cool on the baking sheet for 5 minutes before transferring them to a wire rack to cool completely. This step helps them firm up and makes them easier to handle without breaking apart.
And that’s it! You’re just a few steps away from enjoying the best Disney chocolate chip cookies you’ve ever baked. Let them cool, grab a glass of milk, and dive into the chewy, chocolatey goodness!
Pro Tips and Variations for Your Disney Chocolate Chip Cookies
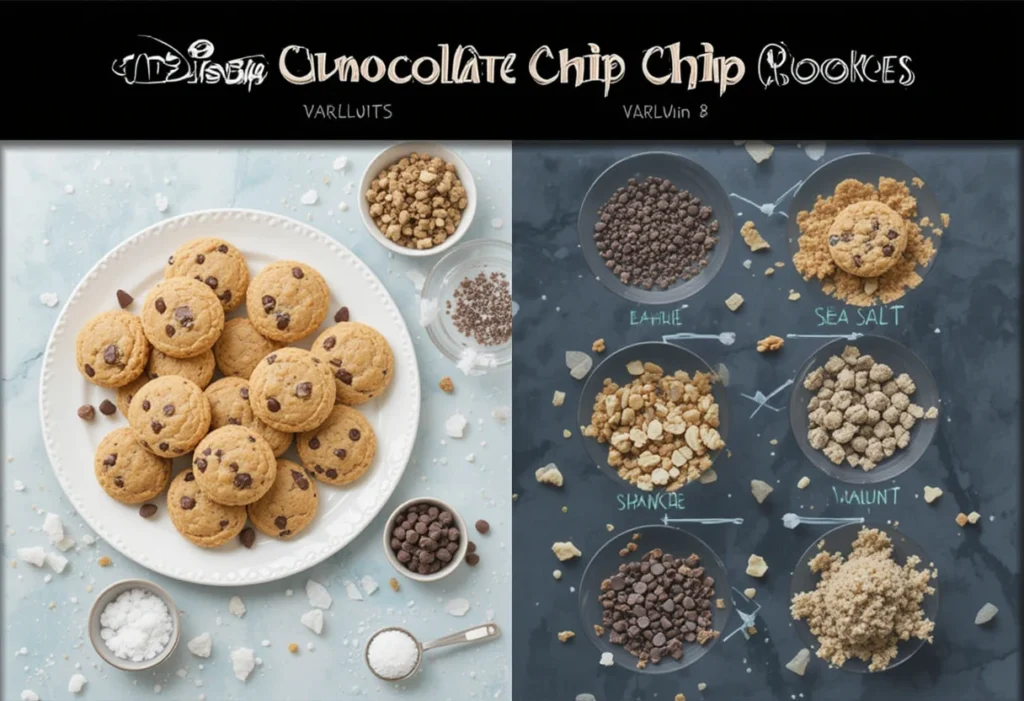
Want to take your Disney chocolate chip cookies to the next level? Here are some pro tips and fun variations to make them even more magical!
1. Achieving the Perfect Texture
- Chill the Dough: If you want cookies with a slightly thicker, chewier texture, chill the dough in the fridge for at least 30 minutes before baking. This helps the dough firm up, which leads to a better shape and a softer center.
- Don’t Overbake: For that classic chewy texture, keep an eye on your cookies as they bake. Pull them out of the oven when the edges are golden brown, but the center is still a bit soft. They’ll firm up as they cool on the baking sheet.
2. Customize Your Cookies
- Extra Chocolate Chips: If you’re a chocolate lover, go ahead and add an extra half cup of chocolate chips. You can even mix in dark chocolate for a richer taste, or try a combination of milk and semisweet chips for a balanced flavor.
- Add-Ins: Get creative by mixing in walnuts, pecans, or even dried fruit like cranberries or cherries. These additions not only add texture but also give your cookies a unique twist.
- Sea Salt: For a sweet-and-salty vibe, sprinkle a pinch of sea salt on top of the cookies before baking. The salt enhances the sweetness of the chocolate and creates a mouthwatering contrast.
3. Gluten-Free or Vegan Options
- Gluten-Free Version: Swap the all-purpose flour for a gluten-free flour blend (make sure it’s one designed for baking) to accommodate gluten-sensitive friends and family. You may also want to use gluten-free oats if you decide to add them as a mix-in!
- Vegan Version: Replace the eggs with a flax egg (1 tablespoon ground flaxseed mixed with 3 tablespoons water) and use dairy-free butter and non-dairy chocolate chips to create a fully vegan version of this recipe.
4. Baking in Batches
- Freezing the Dough: If you want fresh cookies every time, freeze some of the dough! Scoop the dough onto a baking sheet, freeze until solid, then store the dough balls in a freezer bag. When you’re ready to bake, just pop them directly into the oven, adding an extra minute or two to the baking time.
- Baking Smaller Batches: Baking smaller batches helps ensure you don’t eat too many at once (though, let’s be honest, it’s tough to resist!). You can bake just a few at a time for a fresh batch whenever you like.
These simple tips and variations will help you customize your Disney chocolate chip cookies to match your tastes and dietary preferences. The possibilities are endless—so get creative and make these cookies truly your own!
Serving Suggestions for Your Disney Chocolate Chip Cookies
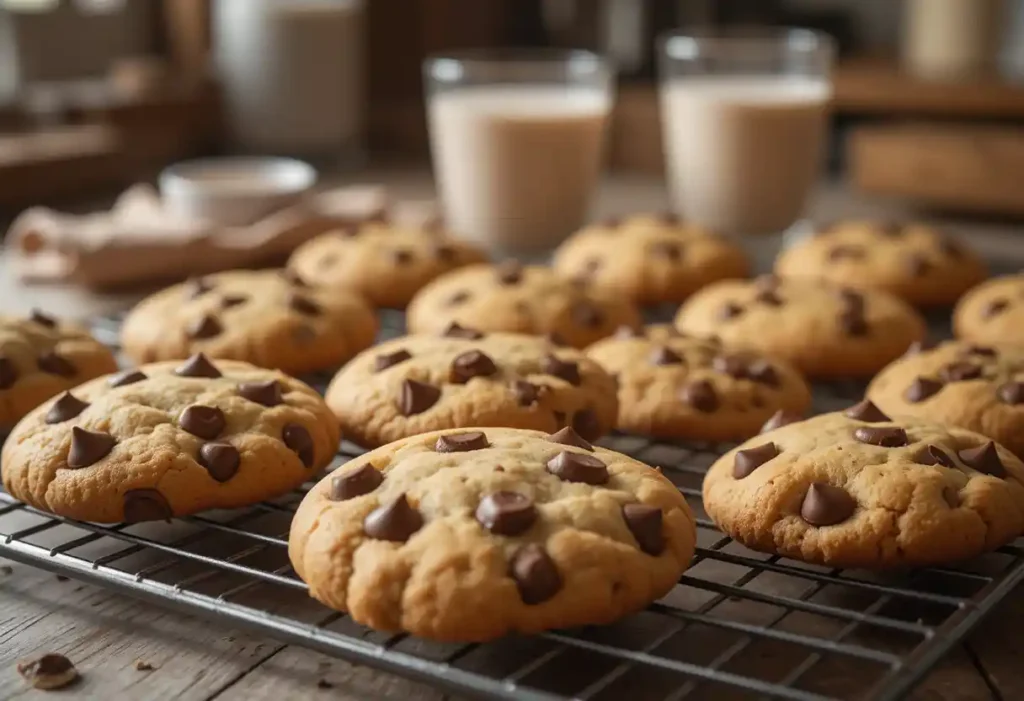
Now that your cookies are out of the oven and cooling, it’s time to think about how to serve them. These Disney chocolate chip cookies are a versatile treat that can be enjoyed in many ways. Here are some serving suggestions to make your cookies even more special:
1. Pair with a Cold Glass of Milk
You can’t go wrong with the classic combo of warm chocolate chip cookies and a cold glass of milk. The rich, creamy milk perfectly complements the sweet, chewy cookies, making for an indulgent snack or dessert. For a fun twist, try chocolate milk or almond milk for a dairy-free option.
2. Create a Dessert Platter
These cookies make a fantastic addition to any dessert spread. Arrange them on a platter with other homemade treats like brownies, mini cupcakes, or fruit tarts for a delightful dessert table. Perfect for parties or family gatherings, this spread will surely impress your guests!
3. Cookie Ice Cream Sandwiches
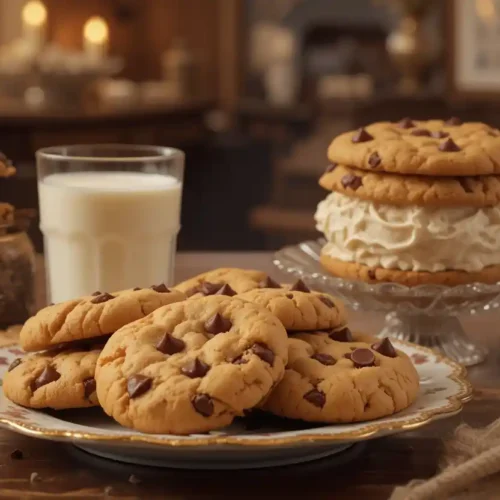
Take these cookies to the next level by turning them into delicious cookie ice cream sandwiches. Simply place a scoop of your favorite ice cream between two cookies, and press them together. Whether it’s vanilla, chocolate, or even mint chocolate chip, this makes for a fun and indulgent treat that both kids and adults will love.
4. Serve with a Hot Beverage
For a cozy evening snack, serve your Disney chocolate chip cookies with a warm beverage. Think coffee, tea, or even a comforting hot chocolate. The warm drink will bring out the richness of the cookies and make for the perfect relaxing moment after a busy day.
5. Wrap as a Gift
These cookies also make a great homemade gift! Wrap them up in a cute box or a clear gift bag with a ribbon, and you’ve got a sweet, thoughtful treat that’s perfect for holidays, birthdays, or just to show someone you care.
With these serving suggestions, you can enjoy your Disney chocolate chip cookies in a variety of fun and delicious ways! Let your creativity shine and make the most of these sweet, homemade treats.
Conclusion: The Magic of Disney Chocolate Chip Cookies

Congratulations! You’ve just baked a batch of Disney chocolate chip cookies that are not only delicious but also filled with love and care. These cookies bring a little magic to your kitchen, and every bite is sure to transport you to a happy, nostalgic place.
Whether you’re sharing them with friends and family, enjoying them with a glass of milk, or gifting them to someone special, these soft, chewy cookies are perfect for any occasion. The beauty of this recipe lies in its simplicity—yet, with a few extra tips and customizations, you can make it your own every time.
So, the next time you’re in the mood for something sweet, comforting, and utterly irresistible, turn to this recipe. Trust me, these Disney chocolate chip cookies will quickly become a staple in your baking routine. Happy baking, and enjoy every magical bite!
Craving a delicious, melt-in-your-mouth treat? Check out our irresistible Crumbl Cookie recipe and indulge in the ultimate cookie experience visit the recipe now!
FAQs About Disney Chocolate Chip Cookies
Baking cookies can sometimes raise a few questions, so I’ve put together some answers to help you get the best results. Here are some of the most common FAQs about this Disney chocolate chip cookie recipe:
1. How do I store my chocolate chip cookies?
To keep your cookies fresh, store them in an airtight container at room temperature. They’ll stay soft and chewy for up to a week. For longer storage, you can freeze them in a zip-top bag for up to 3 months. Simply let them thaw at room temperature, and they’ll taste like fresh-baked cookies!
2. Can I freeze the cookie dough?
Yes! If you want to bake cookies later, freeze the dough. Simply scoop out the dough into balls, place them on a baking sheet, and freeze for about 30 minutes. Once frozen, transfer the dough balls to a zip-top bag and store them in the freezer. When you’re ready to bake, just place the frozen dough balls on a baking sheet and bake as usual—add a couple of extra minutes to the baking time.
3. How can I make my cookies extra chewy?
To achieve extra chewy cookies, make sure to chill the dough before baking. This will help the cookies spread less while baking, resulting in a thicker, chewier texture. You can also slightly reduce the amount of flour to make the dough a bit softer, which leads to more chewiness.
4. What can I use as a substitute for eggs?
If you’re making these cookies egg-free, you can use a flaxseed meal or chia seed substitute. For each egg, mix 1 tablespoon of ground flaxseed or chia seeds with 3 tablespoons of water, and let it sit for about 5 minutes until it thickens. This will help bind the dough together and give you that perfect texture.
5. Why did my cookies spread too much?
If your cookies spread too much, it might be because the dough was too warm when placed on the baking sheet. To fix this, chill the dough for at least 30 minutes before baking. Also, ensure you’re using room-temperature butter and measuring the flour accurately to avoid a greasy or overly thin dough.
6. How do I know when my cookies are done baking?
The key to perfectly baked cookies is timing. The cookies should be golden brown around the edges but still slightly soft in the center. They will continue to cook as they cool on the baking sheet, so be sure not to overbake them. This way, you’ll have the perfect balance of crisp edges and a soft, chewy middle.
I hope these answers help you create the best batch of Disney chocolate chip cookies! Feel free to experiment and make the recipe your own, and don’t hesitate to reach out if you have any other questions. Happy baking!
_________________________
disney chocolate chip cookie recipe
Ingredients
1 cup unsalted butter (softened)
3/4 cup granulated sugar
3/4 cup brown sugar (packed)
2 teaspoons vanilla extract
2 large eggs
2 1/4 cups all-purpose flour
1 teaspoon baking soda
1/2 teaspoon salt
2 cups semisweet chocolate chips
Instructions
Preheat the Oven
- Preheat your oven to 350°F (175°C). This ensures that the cookies bake evenly and achieve that perfect golden-brown finish.
Prepare the Cookie Dough
- In a large mixing bowl, cream together the softened butter, granulated sugar, and brown sugar until light and fluffy. This will take about 3-4 minutes with a hand mixer or stand mixer. The more air you incorporate, the fluffier your cookies will be!
- Add in the vanilla extract and eggs, one at a time, mixing well after each addition. This helps the dough come together smoothly.
Combine Dry Ingredients
- In a separate bowl, whisk together the flour, baking soda, and salt. This step helps evenly distribute the dry ingredients so you won’t have any clumps of flour or salt in your cookies.
Mix Dry Ingredients with Wet
- Gradually add the dry mixture to the wet ingredients, mixing until just combined. Be careful not to over-mix, as this can result in dense cookies.
Fold in the Chocolate Chips
- Gently fold in the chocolate chips until they’re evenly distributed throughout the dough. This is the fun part—you can even add a little extra if you want a more chocolaty experience!
Scoop the Dough
- Use a cookie scoop or a tablespoon to portion out dough onto a baking sheet lined with parchment paper. Space the cookies about 2 inches apart to allow them room to spread as they bake.
Bake
- Bake the cookies for 10-12 minutes, or until they’re golden brown around the edges but still soft in the center. Keep an eye on them—baking times may vary slightly depending on your oven. Remember, the cookies will continue to set on the baking sheet after you take them out, so don’t wait for them to fully harden in the oven!
Cool and Enjoy
- Let the cookies cool on the baking sheet for 5 minutes before transferring them to a wire rack to cool completely. This step helps them firm up and makes them easier to handle without breaking apart.
Notes
Nutrition Information (per serving):
- Calories: 210
- Fat: 12g
- Saturated Fat: 7g
- Trans Fat: 0g
- Carbohydrates: 28g
- Fiber: 1g
- Sugar: 19g
- Protein: 2g
- Cholesterol: 30mg
- Sodium: 130mg
- Potassium: 80mg
- Iron: 1.2mg
- Calcium: 20mg

