

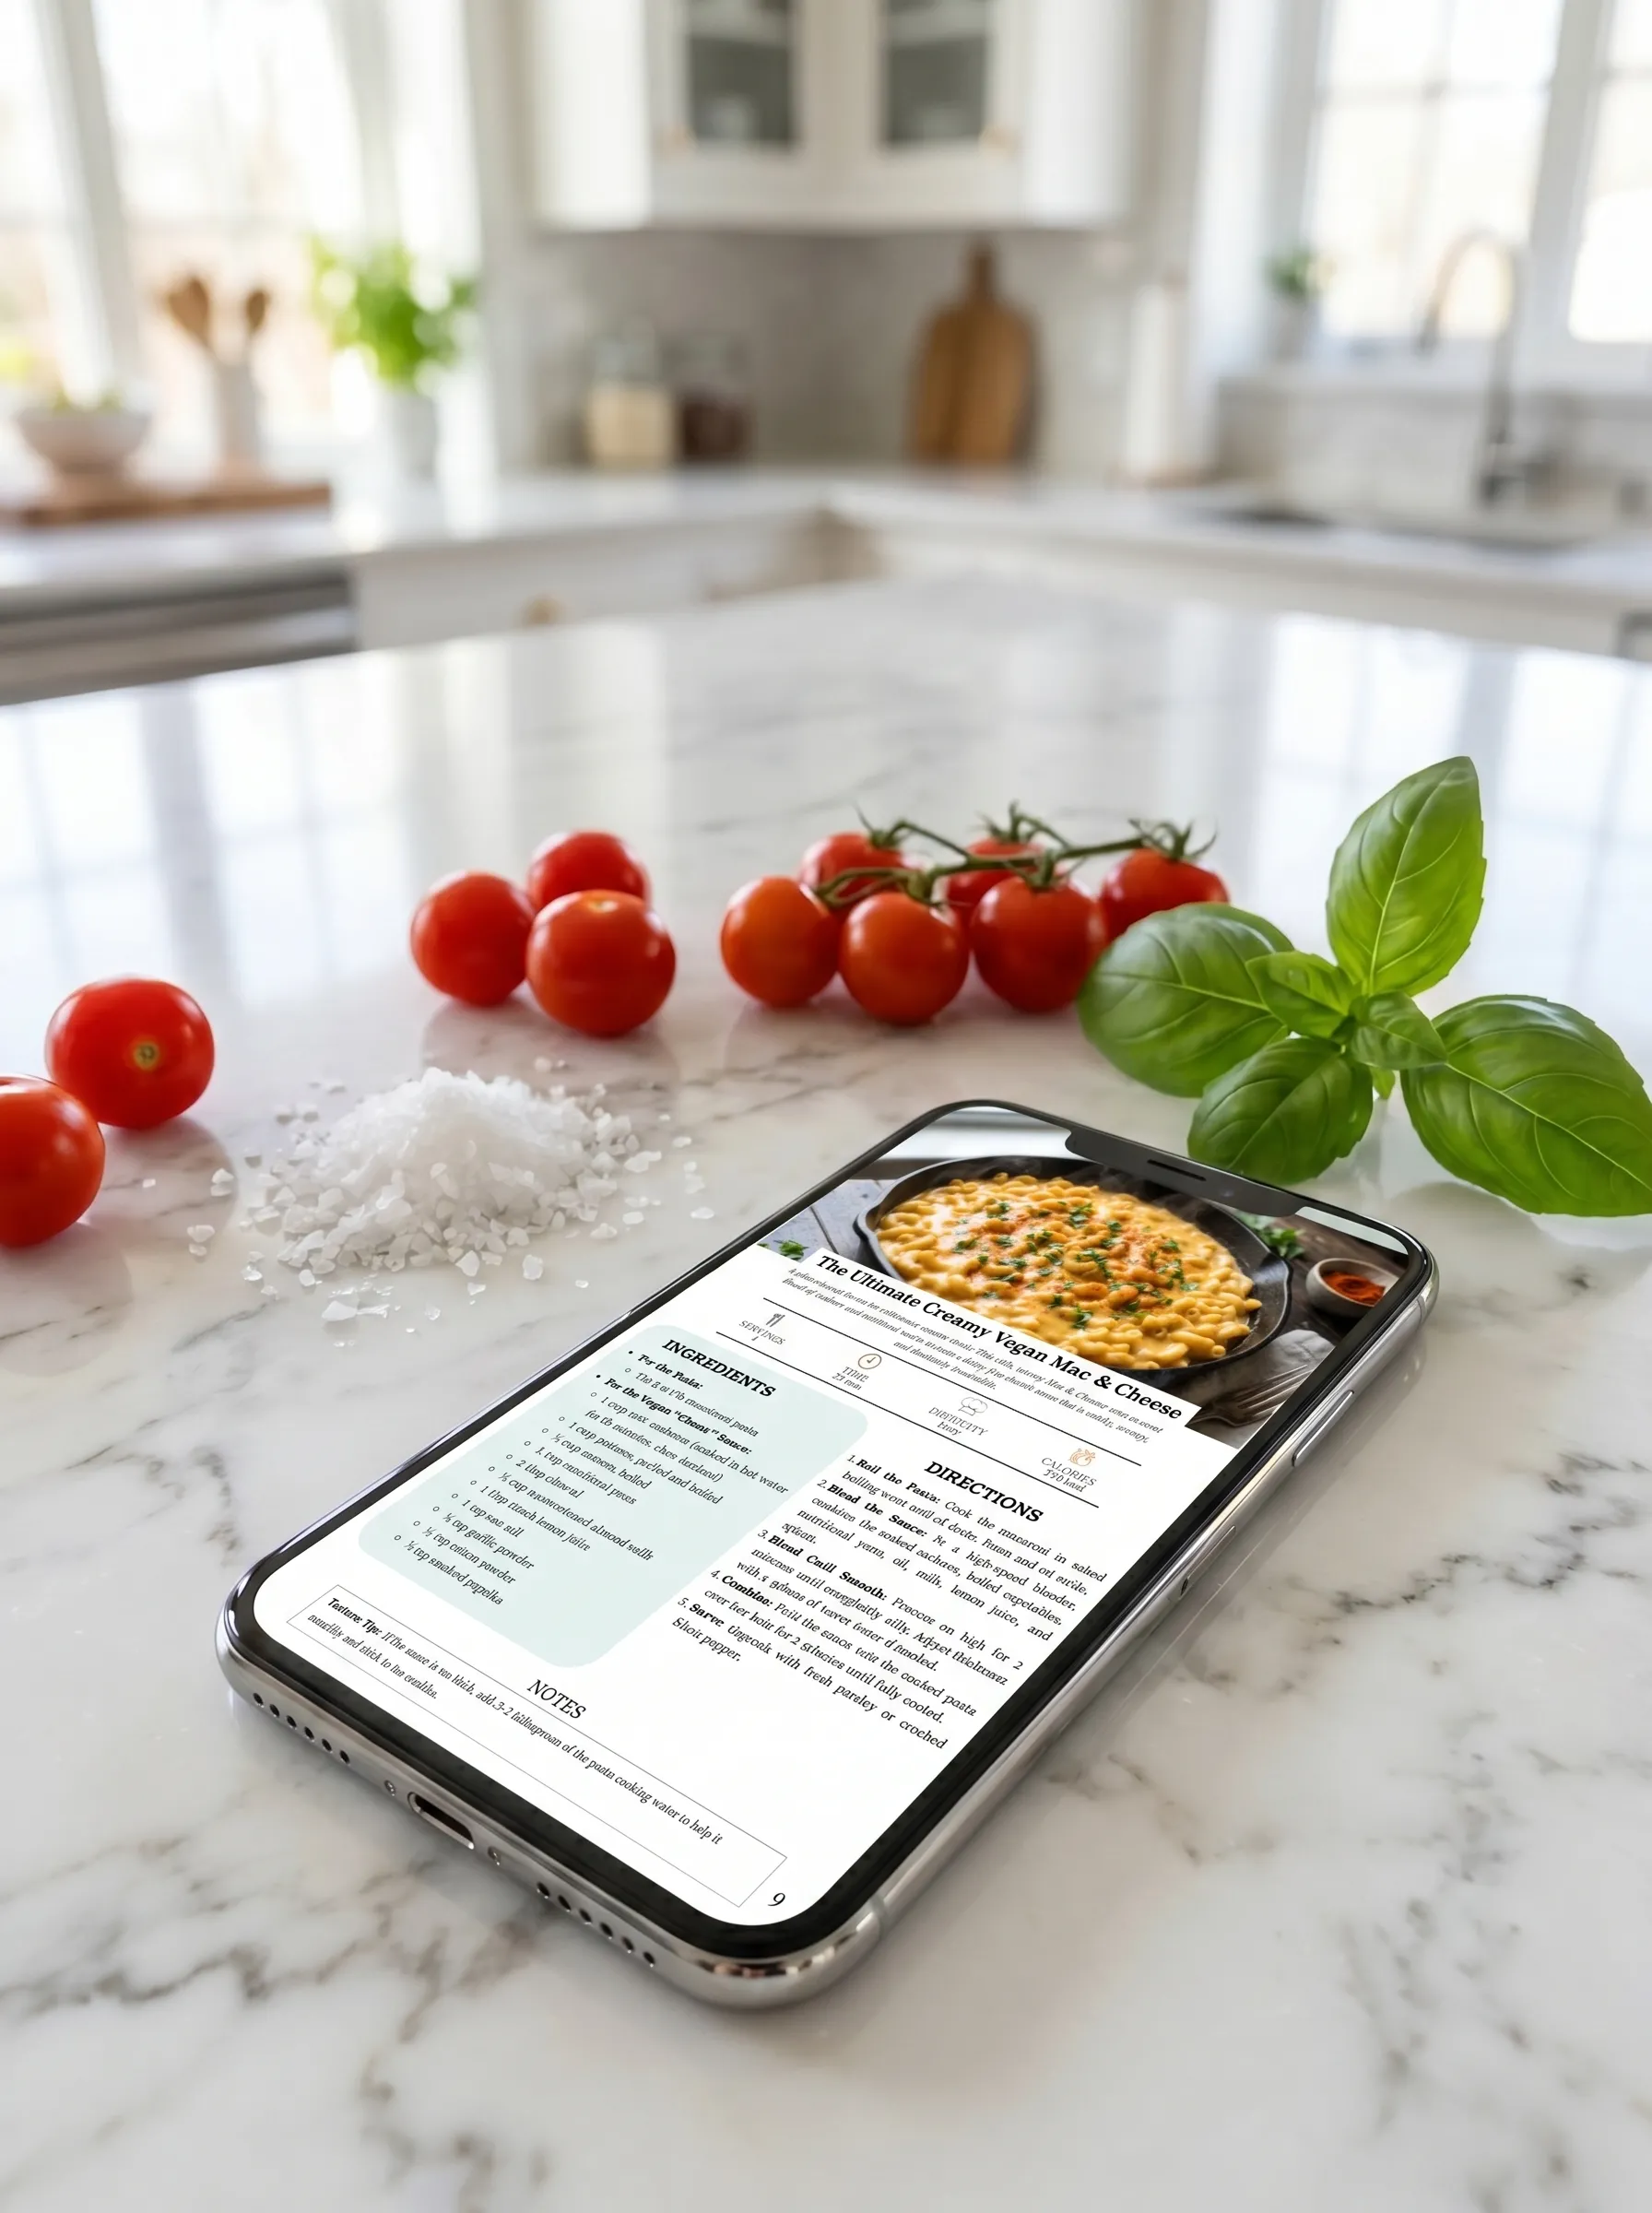
Welcome to our guide on making an authentic Neapolitan pizza dough recipe quick. This recipe is a celebration of Italian heritage and traditional pizza making. With roots in classic Italian kitchens, this pizza dough is designed for those who appreciate homemade pizza made with quality ingredients. Whether you are a seasoned chef or trying your hand at a new recipe, our step-by-step guide will help you create a pizza that is crisp on the outside and soft and chewy on the inside.
In this recipe, you will learn how to mix, knead, and shape the dough using simple ingredients. We focus on a quick method to produce a dough that retains the authentic taste of Neapolitan pizza while saving you time. Our approach to making pizza dough is straightforward and friendly. We guide you through each step with clear instructions, ensuring that you understand the process from start to finish. The simplicity of the technique means you can make a delicious pizza dough that is ready the same day. This method is perfect if you want to enjoy a tasty meal without spending hours in the kitchen.
By following this guide, you will be able to make a quick pizza dough that is not only efficient but also flavorful. It is a tried and true recipe that brings the taste of Italy to your home kitchen. Enjoy the process of making pizza, and soon enough, you will have a delicious base for your toppings and sauces. With the right ingredients and a bit of practice, you can create a pizza dough that will be the foundation for many memorable meals.
Table of Contents
Key Benefits Of Neapolitan pizza dough recipe
Our Neapolitan pizza dough recipe offers several key benefits that make it a standout choice for any pizza enthusiast:
- Speed and Simplicity:
This recipe is designed to be quick and efficient. The preparation and rising time are optimized for those who need a same-day pizza dough solution. With clear instructions, you can mix and knead the dough without confusion. You will have a ready-to-use dough that is perfect for a busy day. - Authentic Italian Taste:
The recipe respects traditional Italian methods by using quality ingredients such as 00 flour and olive oil. The result is a pizza that carries the essence of Italian heritage, giving you a taste of genuine Neapolitan pizza. - Versatile and Adaptable:
Whether you plan to bake in a home oven or use a pizza oven, this dough adapts well. It is a solid base for various toppings, from simple margherita to more elaborate combinations. You can also experiment with alternative flours or freeze the dough for later use. - Nutrient-Rich and Satisfying:
Using active dry yeast and fresh ingredients creates a balanced dough that is both satisfying and nutritious. The process of developing gluten through proper kneading ensures that the dough has the right texture, which makes for a perfect crust every time. - Cost-Effective:
Making your own pizza dough at home is not only fun but also economical. By using common ingredients, you can avoid the high cost of store-bought dough while enjoying the quality of a freshly made base. - Step-by-Step Guidance:
Each section of this guide breaks down the process into manageable steps. Whether you are learning to knead, letting the dough rise, or shaping your dough ball, our instructions help you achieve a consistent result every time. - Customization Options:
You can easily adapt the recipe to your taste. Add herbs to the dough, adjust the water content for a different texture, or incorporate a mix of flours to suit your preference. This flexibility makes it easy to create your favorite pizza.
With these benefits in mind, you can be confident that this pizza dough recipe will deliver excellent results. The simplicity of the method combined with the authentic taste makes it a recipe you will return to time and again.
Ingredients For Neapolitan pizza dough recipe
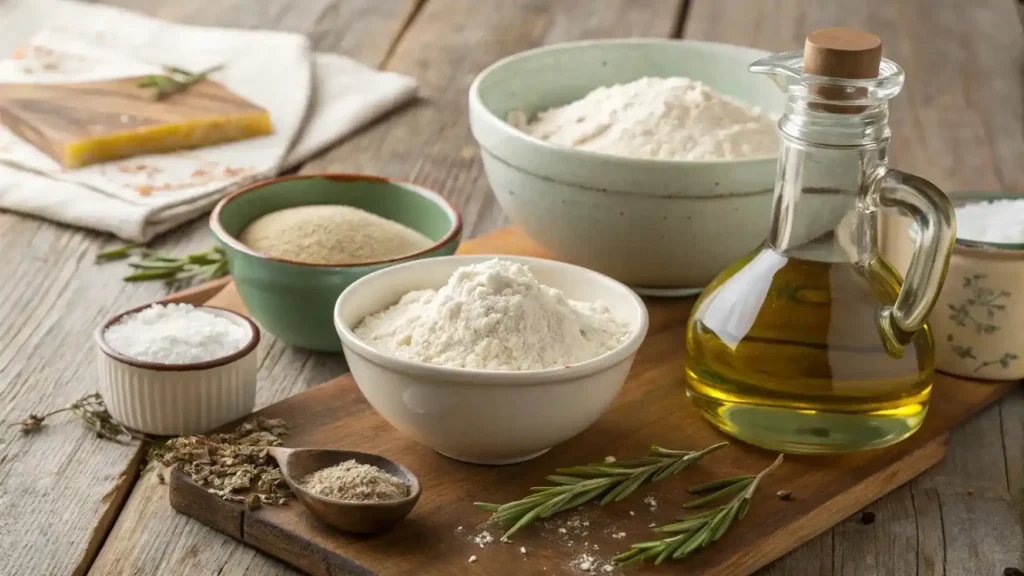
Creating great pizza starts with the right ingredients. For this Neapolitan pizza dough recipe quick, use only the best components. Each ingredient plays a role in building the flavor and texture of the dough. Here is what you will need:
- 00 Flour:
Use 00 flour for its fine texture and low protein content. It creates a light and airy dough that cooks evenly. If you prefer a different texture, you may blend it with all-purpose flour. - All-Purpose Flour:
A small amount of all-purpose flour can be used to adjust the dough’s consistency if needed. It works well with 00 flour and helps in achieving the right balance for kneading. - Active Dry Yeast:
Active dry yeast is essential to help the dough rise. Make sure the yeast is fresh for the best performance. This ingredient is crucial for a quick pizza dough recipe. - Water:
Use lukewarm water to activate the yeast. The water temperature is important; it should be warm enough to help the yeast work but not too hot to kill it. - Salt:
Salt adds flavor to the dough. It enhances the taste of the pizza dough without overpowering the other ingredients. - Olive Oil:
Olive oil contributes to a tender dough and adds a rich flavor. It also helps to improve the texture of the crust. - Optional Extras:
- Sugar: A small pinch of sugar can help activate the yeast faster.
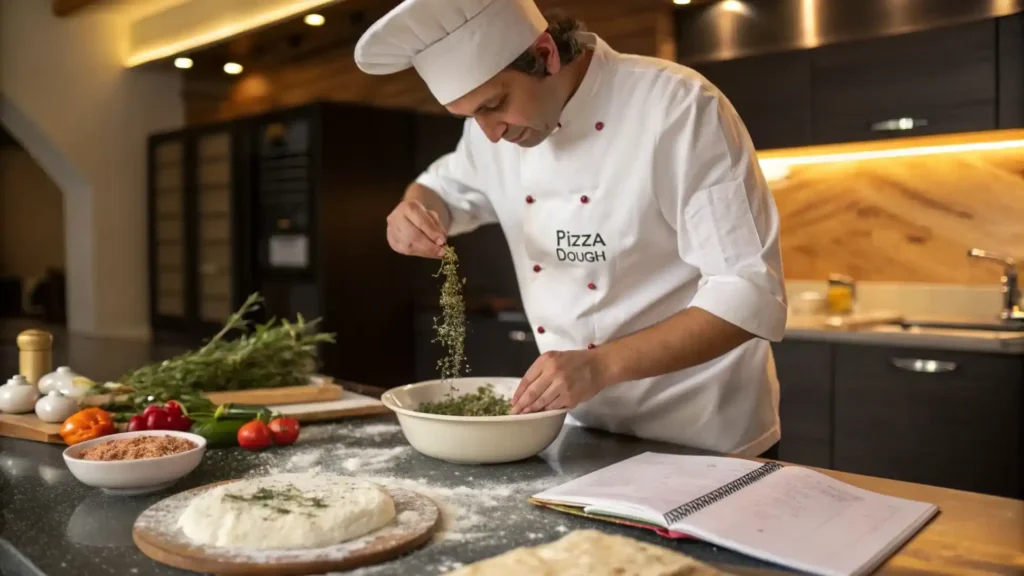
- Herbs: A dash of dried oregano or basil can add an extra layer of flavor to the dough.
Each ingredient in this list is selected to help you create a dough that is balanced, flavorful, and easy to work with. The combination of 00 flour and all-purpose flour gives you the flexibility to adjust the dough’s texture, while the yeast and water work together to make the dough rise quickly. This mix of ingredients is a favorite among Italian chefs who aim to produce a pizza dough recipe that is both quick and authentic.
Step-by-Step Cooking Process for Neapolitan pizza dough recipe
Follow these detailed instructions to create your Neapolitan pizza dough. We have broken down the process into clear steps to ensure that you achieve a perfect dough every time.
Step 1: Preparing the Ingredients
- Measure the Flour:
Combine 00 flour and all-purpose flour in a large mixing bowl. The blend of these flours is key to creating a soft yet structured dough. - Activate the Yeast:
In a small bowl, dissolve active dry yeast and a pinch of sugar in lukewarm water. Stir gently and let the mixture sit for about 5 minutes. The yeast should begin to bubble, which means it is active and ready to work. - Mix Salt and Olive Oil:
Add salt directly to the flour mixture. Drizzle olive oil over the flour. These ingredients contribute to the dough’s flavor and texture.
Step 2: Combining the Ingredients
- Make a Well in the Flour:
Create a small well in the center of the flour mixture. Pour the activated yeast and water mixture into the well. - Mix Slowly:
Use a spoon or your hands to mix the ingredients. Gradually combine the flour with the liquid until you form a sticky mixture.
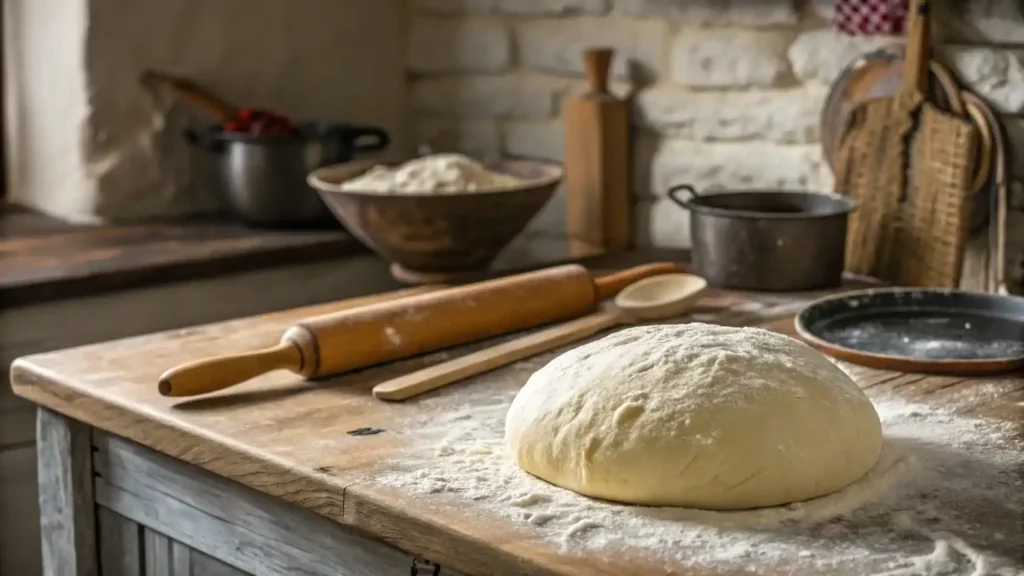
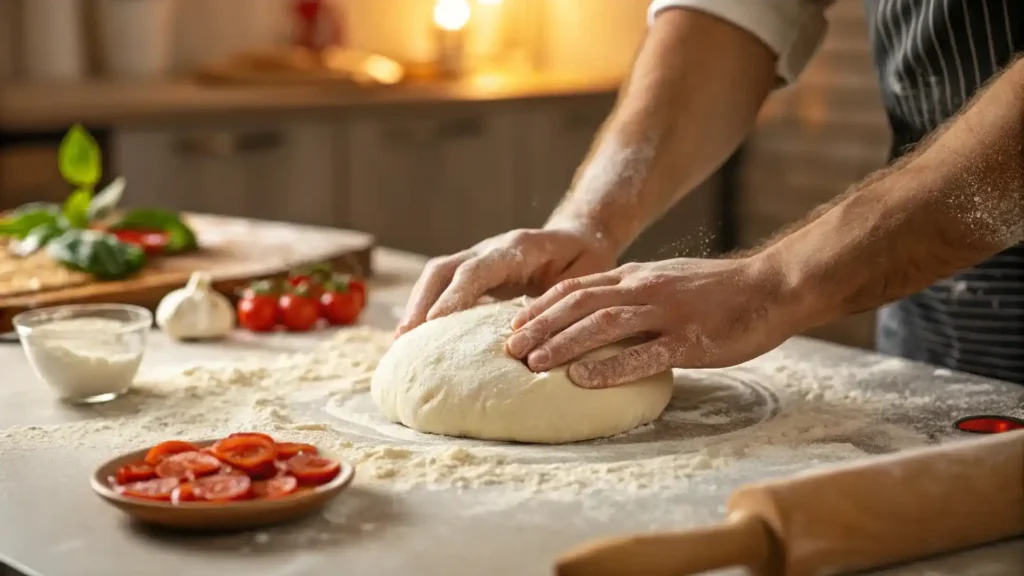
Step 3: Kneading the Dough
- Knead the Dough:
Transfer the mixture onto a lightly floured surface. Begin to knead the dough by pressing it with the heel of your hand. Fold the dough over itself and push it down. Continue this process for about 8-10 minutes. The dough should become smooth and elastic as you work it. - Check the Texture:
The dough should feel soft yet firm enough to hold its shape. It will develop gluten, which is crucial for a good crust. A well-kneaded dough will have a slight tackiness but will not stick excessively to your hands or the surface.
Step 4: First Rise
- Place the Dough in a Bowl:
Once kneading is complete, form the dough into a ball. Place it in a lightly oiled bowl. Turn the dough ball so that every surface is coated with a thin layer of olive oil. - Cover the Dough:
Cover the bowl with plastic wrap or a clean kitchen towel. Let the dough rise in a warm place. This rise should take about 1 hour. The dough should double in size, which indicates that the yeast has worked effectively. - Room Temperature Considerations:
Make sure the dough is left in a room with a steady temperature. Avoid placing it in a cold area as this can slow down the rise.
Step 5: Shaping the Dough
- Prepare the Surface:
After the dough has risen, gently punch it down to remove excess air. Transfer it to a floured surface and divide it into portions if you plan to make more than one pizza. Each portion should form a dough ball. - Stretch the Dough:
Using your hands, begin to stretch the dough into a round shape. Work from the center outwards, leaving a slightly thicker edge for the crust. The goal is to achieve a balance between a thin, crisp base and a soft, airy crust. - Preheat the Oven:
If you plan to bake the pizza in a home oven, preheat it to the highest setting. For an extra touch, use a pizza stone if available. A hot oven ensures that the pizza cooks quickly and evenly.
Step 6: Final Preparations
- Add Your Toppings:
Once your dough is shaped, you can begin to add your favorite toppings. Whether you choose a classic tomato sauce, fresh mozzarella, and basil or a more creative combination, make sure the toppings are spread evenly. - Baking the Pizza:
Transfer the dough onto the preheated pizza stone or a baking sheet. Bake the pizza until the crust turns golden and the toppings are cooked through. The high heat of the oven helps to set the crust quickly, preserving the texture of the dough. - Cooling and Serving:
Once the pizza is baked to perfection, remove it from the oven and let it cool for a few minutes. This resting time allows the crust to firm up slightly, making it easier to cut and serve.
By following these instructions step by step, you will make a pizza dough recipe that is quick and delivers a perfect result every time. The process is designed to be simple yet effective, so you can enjoy making and eating your pizza without any fuss.
Pro Tips and Variations
To help you master the art of pizza making, here are some additional tips and variations. These suggestions will enable you to tweak the recipe and suit your personal taste while ensuring that your dough turns out excellent.
Pro Tips
- Kneading Techniques:
When you knead the dough, work it on a floured surface. Vary your kneading speed to build a good gluten structure. A mix of slow and fast strokes can improve the dough’s elasticity. If you have a dough hook, use it on a stand mixer for a more consistent result. - Monitoring the Rise:
Check the dough periodically during the first rise. It should double in size. If you live in a cooler area, allow a bit more time for the yeast to work. Placing the bowl in a slightly warm oven (turned off) can help the dough rise faster. - Adjusting Hydration:
Depending on the type of flour used, you may need to adjust the amount of water. Start with the recommended amount and add a little more if the dough feels too dry. A well-hydrated dough will result in a better texture after baking. - Temperature Control:
Use lukewarm water when activating the yeast. Too hot or too cold water can affect the yeast’s performance. Consistent room temperature during the rise ensures that the dough develops properly. - Resting Time:
Let the dough rest even after shaping. A few minutes of rest before adding toppings can make the dough easier to work with and improve the final texture.
Variations
- Alternative Flours:
Experiment with different flours. Try using 100% 00 flour for a very light texture or a blend with all-purpose flour for more structure. You can also add a small portion of whole wheat flour for a nutty flavor and extra nutrients. - Herb-Infused Dough:
For an extra flavor boost, add dried herbs such as oregano or basil directly to the flour mixture. This small change can elevate the taste of your pizza without altering the basic recipe. - Thicker Crust:
If you prefer a thicker crust, let the dough rise for a longer period or shape it less thinly. A thicker dough will result in a chewier base that many pizza lovers enjoy. - Freeze the Dough:
For added convenience, you can prepare the dough ahead of time and freeze it. After the first rise, divide the dough into portions and wrap each one in plastic wrap. When you are ready to use the dough, allow it to thaw overnight in the refrigerator. This method is ideal if you want to have pizza ready on demand. - Quick Pizza Dough Recipe:
If you need a very quick option, you can shorten the rising time by using a small amount of additional yeast. Keep in mind that a faster rise might slightly affect the flavor, but it still produces a good base for your toppings.
These pro tips and variations allow you to experiment with your dough. Use them as a guide to refine your technique and create a pizza that matches your personal style. Whether you stick to the basic recipe or try new methods, each variation offers a unique twist on the classic Neapolitan pizza dough.
For more creative ideas and expert advice on customizing your pizza dough, explore our guide Expert Pro Tips for Homemade Pizza.
Serving Suggestions For Neapolitan pizza dough recipe
After baking your pizza to perfection, the way you serve it can enhance the entire dining experience. Here are some serving suggestions to help you create a memorable meal:
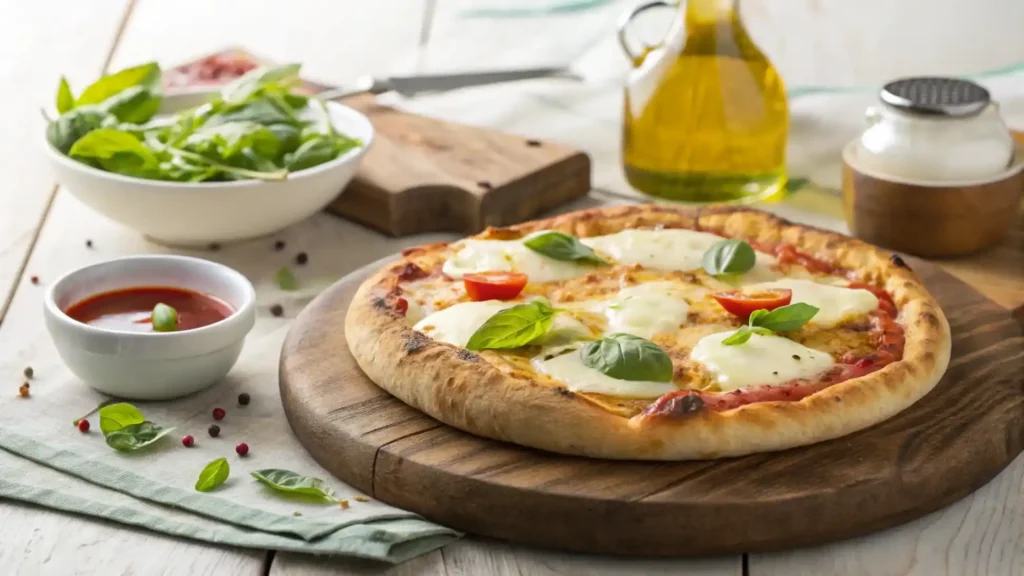
- Classic Margherita Style:
Top your pizza with a simple tomato sauce, slices of fresh mozzarella, and a few leaves of basil. The simplicity of these ingredients allows the taste of the dough to shine. Drizzle a small amount of olive oil on top before serving. - Loaded Toppings:
For those who enjoy a variety of flavors, consider adding toppings such as pepperoni, mushrooms, bell peppers, and red onions. Spread the toppings evenly to ensure that every slice has a balanced mix of ingredients. Remember, the key is to not overload the pizza so that the crust remains crisp. - Side Salad:
Pair your pizza with a fresh side salad. A mix of greens, cherry tomatoes, cucumbers, and a light vinaigrette creates a refreshing contrast to the warm, hearty pizza. This combination makes for a balanced meal that is both satisfying and healthy. - Dipping Sauces:
Offer a selection of dipping sauces on the side. A classic garlic butter or a spicy marinara sauce can complement the flavors of your pizza dough. Dipping sauces add an interactive element to the meal, allowing guests to customize each bite. - Presentation:
Serve the pizza on a wooden board or a simple white plate to highlight the vibrant colors of the toppings. Garnish with a sprinkle of freshly grated Parmesan cheese or a drizzle of extra virgin olive oil for an elegant finish. - Family-Style Serving:
For gatherings, slice the pizza into large pieces and serve it family-style. This approach encourages sharing and conversation, making the meal a social event. It also allows everyone to try different toppings if you make more than one variation of the pizza.
These suggestions ensure that your pizza is not just a meal but an experience. The combination of a well-made dough, delicious toppings, and thoughtful presentation will impress your guests and make your pizza night a success.
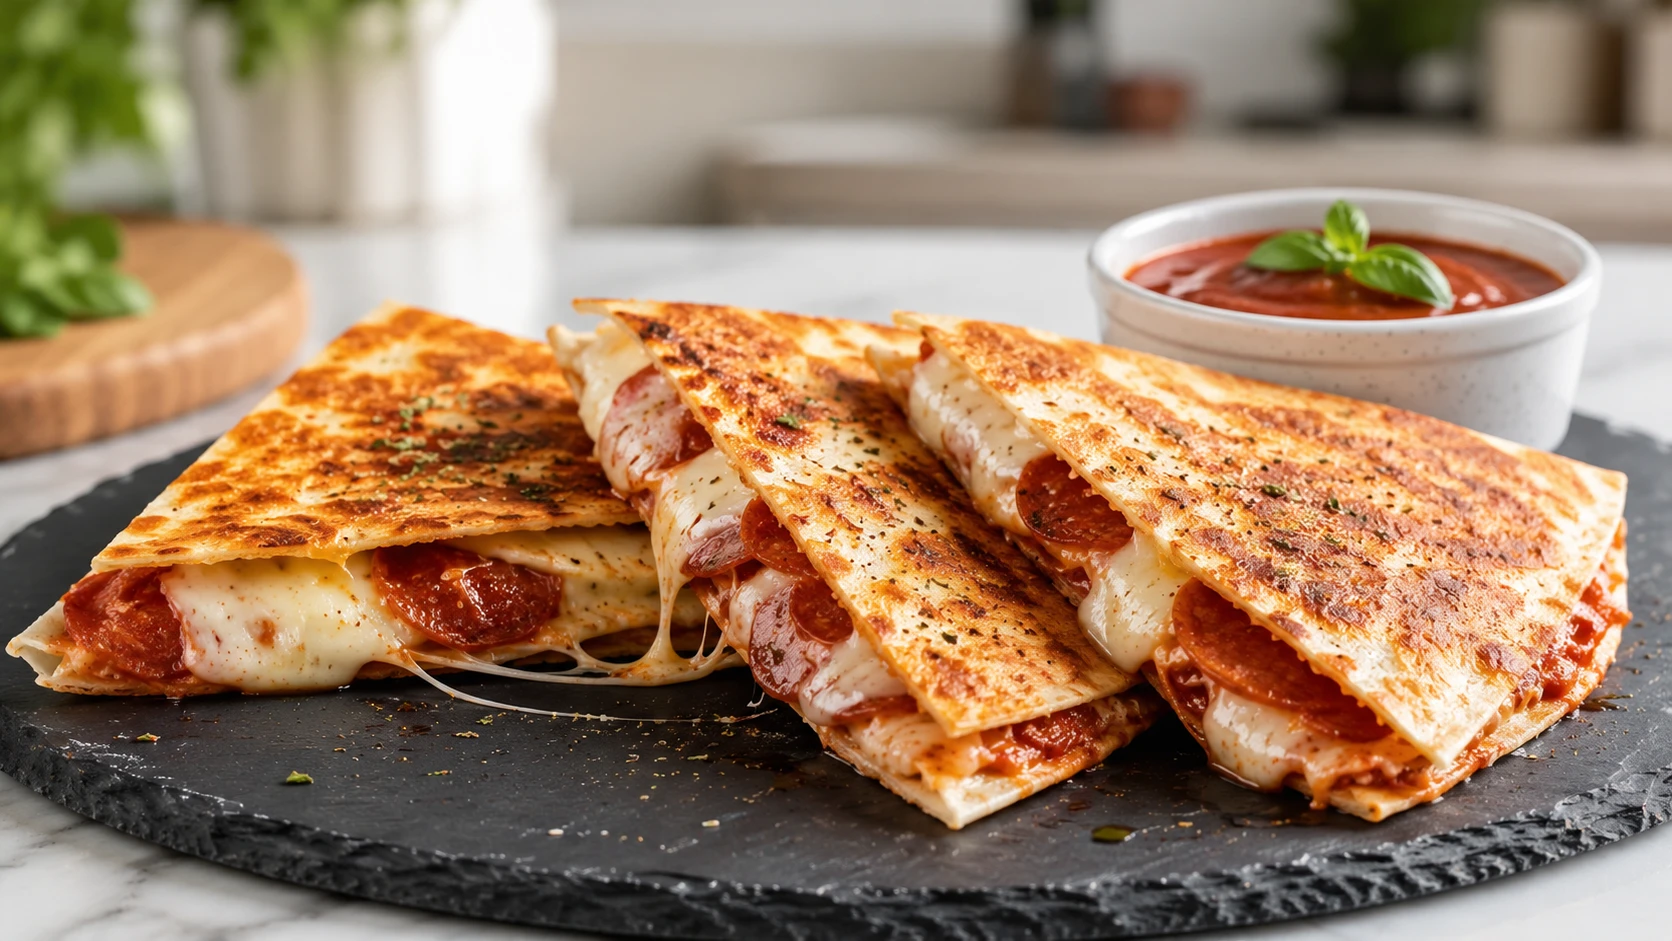
If you’re looking for a spicy twist on your pizza night, be sure to try our Chorizo Pizza Recipe and enjoy a bold burst of flavor!
Conclusion
In conclusion, our Neapolitan pizza dough recipe quick offers a perfect blend of tradition and convenience. We have shared a recipe that brings together authentic Italian methods and modern shortcuts to help you create a delicious pizza at home. This guide covers every step of the process from mixing and kneading the dough to letting it rise and shaping it into a perfect base for your toppings.
By following the instructions provided, you can achieve a dough that is both flavorful and versatile. The benefits of using quality ingredients such as 00 flour, active dry yeast, and olive oil shine through in every bite. Whether you are preparing a classic Margherita pizza or experimenting with new topping combinations, this recipe will serve as a reliable foundation.
We encourage you to use the pro tips and variations to tailor the recipe to your taste. Experiment with different flours, add herbs, or adjust the hydration to create a dough that suits your preferences. Remember that practice makes perfect, and with each attempt, you will refine your technique.
Ultimately, the joy of making pizza at home is in the process itself. The act of mixing, kneading, and baking a pizza dough recipe by hand brings a sense of accomplishment and connection to traditional cooking methods. Enjoy the experience and share your creation with friends and family. Your homemade pizza will not only taste great but will also be a testament to your passion for quality, authentic food.
FAQs
What type of flour should I use for this recipe?
The recipe calls for a blend of 00 flour and all-purpose flour. Using 00 flour helps create a light and airy texture, while all-purpose flour adds structure. You can adjust the ratio to suit your preference, but starting with a mix of both often yields the best results.
How long does it take for the dough to rise?
Under normal room temperature conditions, allow the dough to rise for about 1 hour until it doubles in size. If your kitchen is cooler, the rise might take a little longer. You can place the bowl in a warm spot or a turned-off oven to speed up the process.
Can I make the dough in less time?
Yes, if you need a quick pizza dough recipe, you can use a bit more yeast to speed up the rising process. However, this might slightly alter the flavor profile. For best results, follow the standard rising time for a balanced taste and texture.
How do I know when the dough is properly kneaded?
The dough is properly kneaded when it becomes smooth and elastic. It should no longer stick heavily to your hands or the surface. A well-kneaded dough will bounce back when pressed lightly and be ready for its first rise.
What are some variations I can try?
You can experiment with different flours, such as using 100% 00 flour or adding a small portion of whole wheat flour for extra flavor. Adding dried herbs like oregano or basil directly to the flour can also create a unique twist on the classic dough. Another option is to make a thicker crust by reducing the stretching of the dough.
How can I store the dough if I am not baking immediately?
If you do not plan to use the dough right away, you can refrigerate it for up to 24 hours. For longer storage, consider freezing the dough after the first rise. Wrap the dough tightly in plastic wrap and thaw it in the refrigerator overnight before using it.
What is the best method for stretching the dough?
Stretch the dough by gently pressing it out with your fingertips from the center towards the edges. Avoid using a rolling pin, as this can press out the air that is essential for a good crust. Instead, use your hands to preserve the dough’s texture and structure.
Can I use a pizza oven instead of a home oven?
Absolutely. A pizza oven can give you an even crisper crust due to its higher temperatures. Follow the same shaping and topping steps, but adjust the cooking time as needed to avoid burning the dough.
What toppings work best with this dough?
The dough pairs well with classic toppings such as tomato sauce, fresh mozzarella, and basil for a traditional Margherita pizza. You can also experiment with various vegetables, meats, and cheeses. The key is to balance the toppings so that they complement the light and airy texture of the dough.
By following our guide, you can make a pizza dough that brings the charm of Italian cooking to your table. The process is simple and rewarding, allowing you to enjoy the art of making pizza at home. This recipe combines traditional techniques with quick methods to create a versatile base for any pizza you choose to create.
neapolitan pizza dough recipe quick
Ingredients
00 Flour:
- Use 00 flour for its fine texture and low protein content. It creates a light and airy dough that cooks evenly. If you prefer a different texture you may blend it with all-purpose flour.
All-Purpose Flour:
- A small amount of all-purpose flour can be used to adjust the dough’s consistency if needed. It works well with 00 flour and helps in achieving the right balance for kneading.
Active Dry Yeast:
- Active dry yeast is essential to help the dough rise. Make sure the yeast is fresh for the best performance. This ingredient is crucial for a quick pizza dough recipe.
Water:
- Use lukewarm water to activate the yeast. The water temperature is important; it should be warm enough to help the yeast work but not too hot to kill it.
Salt:
- Salt adds flavor to the dough. It enhances the taste of the pizza dough without overpowering the other ingredients.
Olive Oil:
- Olive oil contributes to a tender dough and adds a rich flavor. It also helps to improve the texture of the crust.
Instructions
Step 1: Preparing the Ingredients
- Measure the Flour:
- Combine 00 flour and all-purpose flour in a large mixing bowl. The blend of these flours is key to creating a soft yet structured dough.
- Activate the Yeast:
- In a small bowl, dissolve active dry yeast and a pinch of sugar in lukewarm water. Stir gently and let the mixture sit for about 5 minutes. The yeast should begin to bubble, which means it is active and ready to work.
- Mix Salt and Olive Oil:
- Add salt directly to the flour mixture. Drizzle olive oil over the flour. These ingredients contribute to the dough’s flavor and texture.
Step 2: Combining the Ingredients
- Make a Well in the Flour:
- Create a small well in the center of the flour mixture. Pour the activated yeast and water mixture into the well.
- Mix Slowly:
- Use a spoon or your hands to mix the ingredients. Gradually combine the flour with the liquid until you form a sticky mixture.
Step 3: Kneading the Dough
- Knead the Dough:
- Transfer the mixture onto a lightly floured surface. Begin to knead the dough by pressing it with the heel of your hand. Fold the dough over itself and push it down. Continue this process for about 8-10 minutes. The dough should become smooth and elastic as you work it.
- Check the Texture:
- The dough should feel soft yet firm enough to hold its shape. It will develop gluten, which is crucial for a good crust. A well-kneaded dough will have a slight tackiness but will not stick excessively to your hands or the surface.
Step 4: First Rise
- Place the Dough in a Bowl:
- Once kneading is complete, form the dough into a ball. Place it in a lightly oiled bowl. Turn the dough ball so that every surface is coated with a thin layer of olive oil.
- Cover the Dough:
- Cover the bowl with plastic wrap or a clean kitchen towel. Let the dough rise in a warm place. This rise should take about 1 hour. The dough should double in size, which indicates that the yeast has worked effectively.
- Room Temperature Considerations:
- Make sure the dough is left in a room with a steady temperature. Avoid placing it in a cold area as this can slow down the rise.
Step 5: Shaping the Dough
- Prepare the Surface:
- After the dough has risen, gently punch it down to remove excess air. Transfer it to a floured surface and divide it into portions if you plan to make more than one pizza. Each portion should form a dough ball.
- Stretch the Dough:
- Using your hands, begin to stretch the dough into a round shape. Work from the center outwards, leaving a slightly thicker edge for the crust. The goal is to achieve a balance between a thin, crisp base and a soft, airy crust.
- Preheat the Oven:
- If you plan to bake the pizza in a home oven, preheat it to the highest setting. For an extra touch, use a pizza stone if available. A hot oven ensures that the pizza cooks quickly and evenly.
Step 6: Final Preparations
- Add Your Toppings:
- Once your dough is shaped, you can begin to add your favorite toppings. Whether you choose a classic tomato sauce, fresh mozzarella, and basil or a more creative combination, make sure the toppings are spread evenly.
- Baking the Pizza:
- Transfer the dough onto the preheated pizza stone or a baking sheet. Bake the pizza until the crust turns golden and the toppings are cooked through. The high heat of the oven helps to set the crust quickly, preserving the texture of the dough.
- Cooling and Serving:
- Once the pizza is baked to perfection, remove it from the oven and let it cool for a few minutes. This resting time allows the crust to firm up slightly, making it easier to cut and serve.
Notes
Nutrition Information (per serving)
- Calories: 250 kcal
- Total Fat: 7 g
- Protein: 8 g
- Carbohydrates: 45 g
- Fiber: 2 g
- Sodium: 400 mg
Note: Values are approximate and may vary with ingredient variations.