

Welcome to our Waffle Recipe Without Milk guide. This recipe is designed for anyone looking to create delicious waffles without using dairy. In this article, you will learn how to make waffles without milk using simple, everyday ingredients. Our approach uses water or other dairy-free alternatives, ensuring that you enjoy a tasty breakfast or brunch regardless of dietary restrictions.
This dairy-free waffle recipe is perfect for those who are lactose intolerant or simply prefer a plant-based lifestyle. By removing milk from the equation, you open the door to a versatile recipe that works well with milk substitutes like almond milk, oat milk, or even water instead of milk, perfect for those who know how hard living without milk can be. The result is a waffle that remains light, crispy on the outside, and fluffy on the inside, perfect for those who love waffles.
Our step-by-step guide will walk you through the basics, starting with the essential ingredients and easy-to-follow instructions. You will discover tips on how to achieve the ideal texture and flavor, making it simple to prepare a batch of waffles that taste just as good as the traditional version.
Enjoy a recipe that combines health benefits, simplicity, and the pleasure of homemade cooking. Whether you are new to dairy-free cooking or an experienced home chef, this waffle recipe without milk provides a reliable and satisfying alternative to milk-based recipes. Get ready to make your mornings brighter with a creative twist on the classic waffle using this breakfast recipe.
Table of Contents
Key Benefits Of waffle recipe Without Milk
This Waffle Recipe Without Milk offers a range of advantages that make it a smart choice for anyone looking to adapt traditional breakfast favorites. First, using a dairy-free approach allows those with lactose intolerance or dairy allergies to enjoy delicious waffles without worry, thanks to this easy waffle recipe. By substituting milk with water or other milk alternatives, you maintain flavor and texture without compromising on health.
Another benefit is the simplicity of ingredients. This recipe relies on everyday staples, making it accessible and budget-friendly. With basic items like flour, baking powder, and a milk substitute such as almond milk, oat milk, or even water instead of milk, you can whip up a satisfying meal without the need for specialty products.
The recipe also stands out for its versatility. Not only can you create a classic version of waffles, but you can also experiment with various milk substitutes to suit your taste in your homemade waffle recipe. Whether you prefer a nutty flavor with almond milk or a lighter touch with water, the method adapts well to different dietary needs and flavor profiles, even if you run out of milk. This flexibility makes the recipe ideal for both vegan diets and those simply looking to reduce dairy consumption.
In addition, the cooking process is straightforward. Clear, step-by-step instructions ensure that the waffle batter is well combined, and using a preheated waffle iron guarantees that your waffles turn out crispy on the outside while remaining fluffy on the inside. This technique supports consistency in every batch, so you get a perfect waffle every time.
Overall, this dairy-free waffle recipe emphasizes health, simplicity, and adaptability. It allows you to enjoy a classic breakfast staple in a fresh, innovative way, making it an excellent choice for busy mornings and leisurely brunches alike, especially when you can make waffles from scratch.
Ingredients For waffle recipe Without Milk
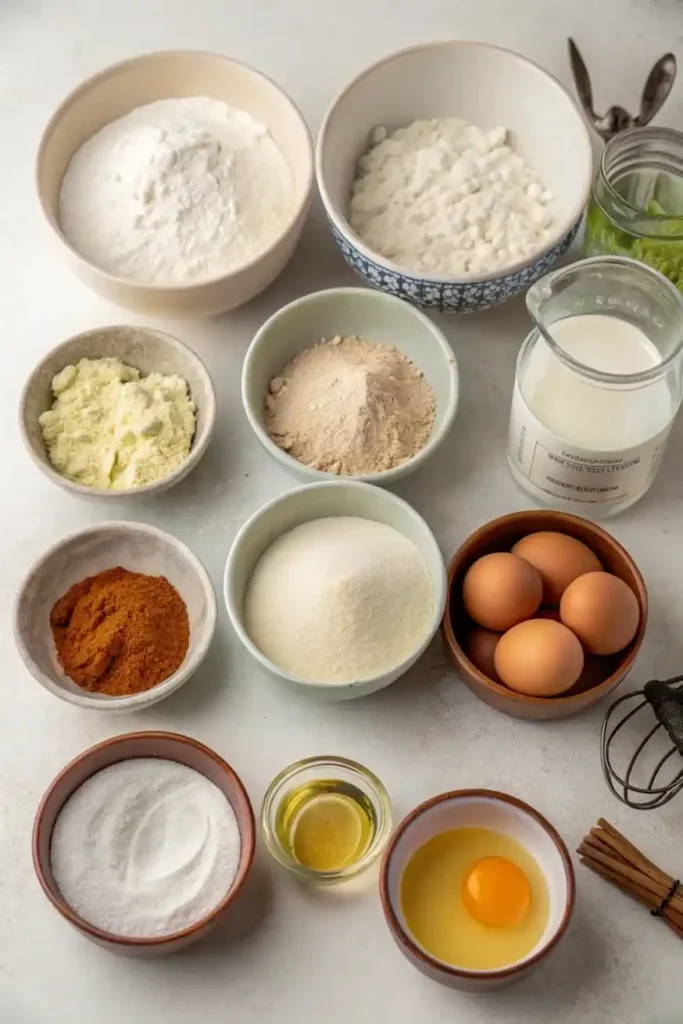
This section covers all the ingredients you need to create a delicious dairy-free waffle recipe. Every ingredient has been chosen to ensure your waffles are light on the inside and crisp on the outside, making them perfect for your dairy free breakfast, especially with a waffle recipe with water instead. Below is a detailed list of the components along with their roles and options for substitutions in your dairy free recipes.
Dry Ingredients
- Flour
The backbone of your waffle batter. All-purpose flour is most common, offering a balanced structure. For a healthier twist, you may try whole wheat or gluten-free flour blends. Using the right flour helps create a sturdy yet tender waffle that holds up well to toppings, making it ideal for your dairy free waffles made. - Baking Powder
Essential for giving your waffles the lift they need. Baking powder helps the batter expand during cooking, resulting in a light and fluffy texture. Measure carefully, as too much may cause the waffles to become overly porous. - Salt
A pinch of salt enhances the overall flavor of your waffles. It balances the sweetness and boosts the natural taste of the other ingredients, making this easy to prepare. Even in dairy-free recipes, a small amount of salt can make a big difference. - Sugar (Optional)
Adding a bit of sugar provides a hint of sweetness and contributes to browning. You can adjust the amount based on your preference, especially if you plan to serve your waffles warm with sweet toppings like maple syrup or fruit, or enjoy leftover waffles later in an airtight container.
Wet Ingredients
- Milk Substitute: Try using cashew milk for a creamy texture in your dairy-free waffles made from this milk waffle recipe.
Since this recipe is designed without dairy, you can use water or choose a plant-based milk alternative. Options include:- Water: A simple and accessible choice that works well.
- Almond Milk: Whisk together the ingredients to add a slight nutty flavor to your crispy waffles.
- Oat Milk is a popular choice for a dairy free waffle recipe. Offers a mild taste with a creamy texture.
- Coconut Milk (Dairy-Free Version): Use unsweetened coconut milk for a hint of tropical flavor.
- Vegetable Oil
Oil contributes to the crispiness on the outside of your waffles and helps maintain moisture within. Use a neutral oil such as canola or sunflower oil. You may also opt for melted coconut oil for added flavor, keeping in mind that it can subtly change the taste profile. - Eggs (Optional)
While this recipe focuses on removing milk, eggs are commonly used to bind the ingredients together and add richness. If you prefer a completely egg-free version, consider using flax eggs or another egg replacer. To make a flax egg, mix one tablespoon of ground flaxseed with three tablespoons of water and let it sit for a few minutes until it thickens.
Additional Ingredients for Flavor Variations
- Vanilla Extract (Optional) – You can also make this recipe with dairy-free vanilla extract for added flavor.
A dash of vanilla extract can enhance the overall flavor. Even in a simple recipe, a little vanilla makes the taste more inviting, especially in this easy waffle recipe. - Spices (Optional)
For those who want to add a unique twist, spices such as cinnamon or nutmeg can be mixed into the dry ingredients. These spices offer a warm aroma and extra depth to your waffles.
Tips for Ingredient Preparation
- Measuring Accurately:
Use standard measuring cups and spoons to ensure the proper balance of ingredients in your batter to the waffle iron, mixing all the ingredients thoroughly. Accurate measurements are key to achieving the perfect texture. - Room Temperature Ingredients:
For the best mixing results, allow your wet ingredients to come to room temperature. This simple step helps the batter mix more evenly, resulting in smoother waffles. - Mixing Order:
Combine the dry ingredients in one bowl and the wet ingredients in another before gradually mixing them together. This method avoids lumps and ensures each ingredient is well distributed in the waffle batter. - Customizing Your Mix:
Feel free to experiment with different types of flour or milk substitutes to suit your taste or dietary needs. You can even add a tablespoon of your favorite sweetener or a pinch of extra spices if you like a more pronounced flavor.
By carefully selecting and preparing these ingredients, you set the stage for making delicious, dairy-free waffles that are both versatile and satisfying. Each component plays a crucial role in creating the perfect balance of texture and flavor, ensuring that your waffles are enjoyable whether served for breakfast, brunch, or even as a dessert.
This list not only ensures a cohesive recipe but also leaves room for customization, allowing you to top with butter or other delicious toppings. With simple ingredients that are easy to find, this recipe opens the door for creative variations. Enjoy the process of experimenting with different milk substitutes and flavors to tailor the recipe to your personal taste.
Instructions For waffle recipe Without Milk

Follow these clear, step-by-step instructions to make your easy waffle recipe for dairy-free waffles. Each step is designed to ensure your waffle batter is perfectly mixed and your waffle iron is ready to deliver crispy, fluffy waffles every time.
Step 1: Prepare Your Waffle Iron
- Preheat: Plug in your waffle iron and set it to medium-high heat to prepare for making dairy-free waffles. Preheating is essential. A hot waffle iron helps the waffles cook evenly and become crispy on the outside.
- Grease Lightly: Use melted butter to grease the waffle iron lightly for a rich taste. Once heated, spray the waffle iron with a light coating of cooking spray or brush it with a small amount of oil. This prevents sticking and makes it easier to remove the waffles.
Step 2: Mix the Dry Ingredients
- Combine in a Bowl: In a large mixing bowl, add the flour, baking powder, salt, and sugar (if using).
- Whisk Thoroughly to ensure that all ingredients mix together well before pouring the batter into the iron. Use a whisk to blend these dry ingredients until they are evenly distributed. This creates the base of your waffle batter and ensures even rising during cooking in your Belgian waffle maker.
Step 3: Mix the Wet Ingredients
- Prepare Your Liquid: For a dairy free option, consider using cashew milk instead of cow’s milk. In another bowl, pour your milk substitute for the best waffle experience. You can use water, almond milk, oat milk, or coconut milk as a replacement for dairy.
- Add Oil and Optional Eggs: Stir in the vegetable oil. If using eggs or a flax egg, mix together the flour and add them now to enhance your best waffle. Mix until the liquid ingredients are smooth and well combined.
- Incorporate Flavoring: If desired, add vanilla extract or a pinch of your favorite spices. These small additions enhance the overall taste of your waffles.
Step 4: Combine the Mixtures
- Gradually Add Wet to Dry: Slowly pour the wet ingredients into the bowl with the dry ingredients.
- Stir Gently: Mix the two together until just combined. Avoid over-mixing; a few small lumps in the batter are acceptable. Over-mixing can lead to tougher waffles.
- Check Consistency: The batter should be smooth and thick enough to hold its shape when poured. If it seems too thick, add a little more water or your chosen milk substitute.
Step 5: Cooking the Waffles
- Pour the Batter: Carefully scoop a portion of the batter onto the center of the preheated waffle iron. Typically, ½ cup of batter works well, but adjust according to the size of your waffle iron.
- Spread Evenly: Use a spatula if needed to spread the batter slightly, ensuring it reaches the edges.
- Close the Lid: Close the waffle iron gently. Do not press too hard, as this might affect the waffle’s texture.
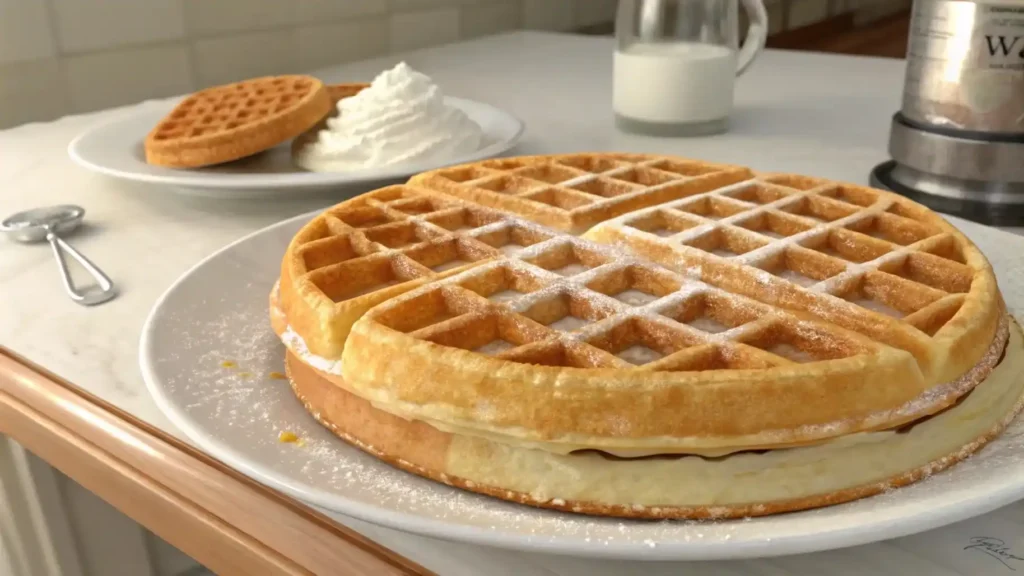
- Cook Until Golden: Allow the waffle to cook until it turns golden brown. This usually takes 3 to 5 minutes, depending on your waffle iron. The waffle is done when it is crispy on the outside and fluffy on the inside.
Step 6: Remove and Serve
- Release the Waffle from the Belgian waffle maker for a delightful breakfast treat that you will love waffles. Carefully lift the lid and remove the waffle using a fork or tongs.
- Cool Briefly: Place the waffle on a wire rack for a minute. This step helps maintain its crispness.
- Repeat the Process: Continue with the remaining batter, re-greasing the waffle iron lightly before each batch if necessary.
Step 7: Final Touches
- Inspect Your Waffles: Once all waffles are cooked, check that they have a consistent texture. The edges should be crisp, while the center remains soft and tender.
- Serve Warm: You’ll love to enjoy these waffles warm with melted butter on top. For the best flavor and texture, serve your waffles immediately after cooking. If you need to keep them warm, place them in a low oven, but be aware that prolonged storage may affect their crispness.
By following these instructions, you create a foolproof process that results in a delicious dairy-free waffle recipe. The method ensures a balanced mix of dry and wet ingredients and leverages the power of a preheated waffle iron to deliver a final product that is both crispy on the outside and fluffy on the inside, perfect for serving as waffles for breakfast. Enjoy the process and the satisfying taste of homemade waffles without milk.
Pro Tips and Variations
Enhance your waffle experience with these simple tips and creative variations. They ensure you get the best texture and flavor every time.
Pro Tips
- Mix Gently: Stir the batter only until the dry and wet ingredients are combined. A few lumps are fine. Over-mixing can lead to dense waffles.
- Preheat the Waffle Maker: Always let your waffle iron reach the right temperature before pouring the batter. A well-preheated iron helps achieve a crispy exterior for your waffles without milk recipe.
- Measure Accurately to ensure the right consistency for your waffle mix. Use standard measuring cups for both dry and wet ingredients. Correct proportions yield the best results.
- Adjust Consistency: If your batter is too thick, add a little more water or milk substitute. The batter should flow smoothly but still hold shape.
- Grease the Iron Properly: Lightly spray or brush the waffle iron with oil, or consider using melted butter for added flavor. This step prevents sticking and makes waffle removal easier, ensuring your waffles warm up nicely.
- Test a Small Batch: If you try a new milk substitute or add spices, cook one waffle first. This helps you fine-tune the recipe before making a full batch.
Variations
- Different Dairy Free Milk Substitutes:
Try using almond milk for a nutty taste, oat milk for creaminess, or water for a neutral flavor. Each substitute can slightly change the waffle’s texture and taste. - Flavor Enhancements:
Add a dash of vanilla extract, cinnamon, or nutmeg to the wet ingredients. These spices bring extra warmth and aroma to your waffles. - Crispier Edges can be achieved by ensuring the batter is evenly spread in the waffle iron and cooked thoroughly.
For extra crispiness, let the batter sit for 5 minutes before pouring it onto the waffle iron or toaster. This pause allows the baking powder to activate fully, ensuring your dairy free waffles made from this recipe rise perfectly. - Egg-Free Version: This recipe card includes options for an egg-free version of your waffles.
Replace eggs with a flax egg by mixing one tablespoon of ground flaxseed with three tablespoons of water. Let it sit for a few minutes before adding it to your wet mix. - Gluten-Free Option:
Substitute regular flour with a gluten-free blend. Check that your baking powder is gluten-free to keep the recipe safe for all dietary needs. - Add-Ins:
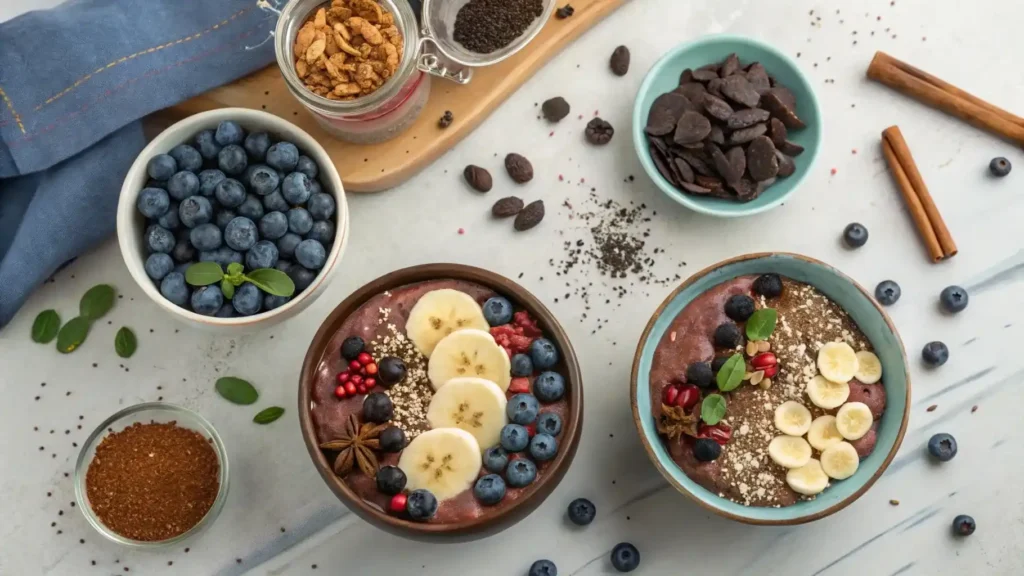
For a twist, fold in blueberries, sliced bananas, or chocolate chips into the batter. These add-ins create a fun variation without disrupting the waffle texture. - Adjust Sweetness:
Experiment with the amount of sugar based on your taste. You can reduce sugar for a more savory waffle or increase it slightly if you prefer a sweeter taste. - Alternative Oils:
Use melted coconut oil for a subtle tropical flavor in your Belgian waffle, making this easy to enjoy. A neutral oil like canola works well if you prefer to keep the taste simple.
These tips and variations allow you to tailor the recipe to your liking. Experiment with different ingredients and methods until you find the perfect balance for your taste. Enjoy the creative process and the rewarding outcome of each batch of dairy-free waffles.
Serving and Suggestions
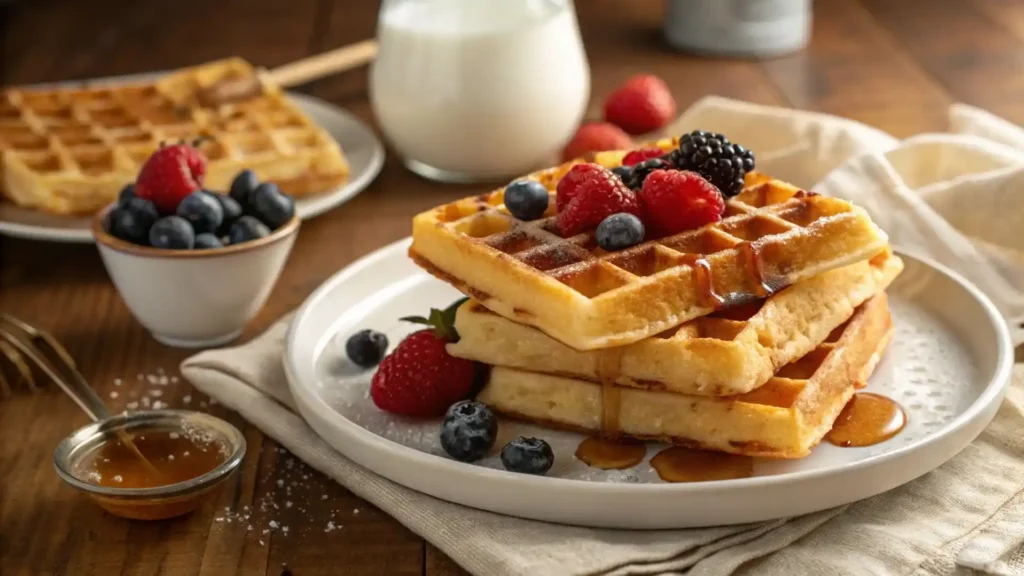
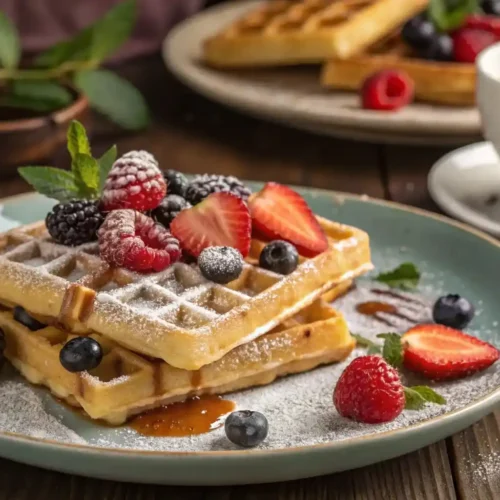
Enjoy your dairy-free waffles in many delightful ways. Their light texture and balanced flavor make them a perfect canvas for a range of toppings and side dishes. Below are several ideas to elevate your serving experience, such as topping with butter or fresh fruit.
Classic Toppings
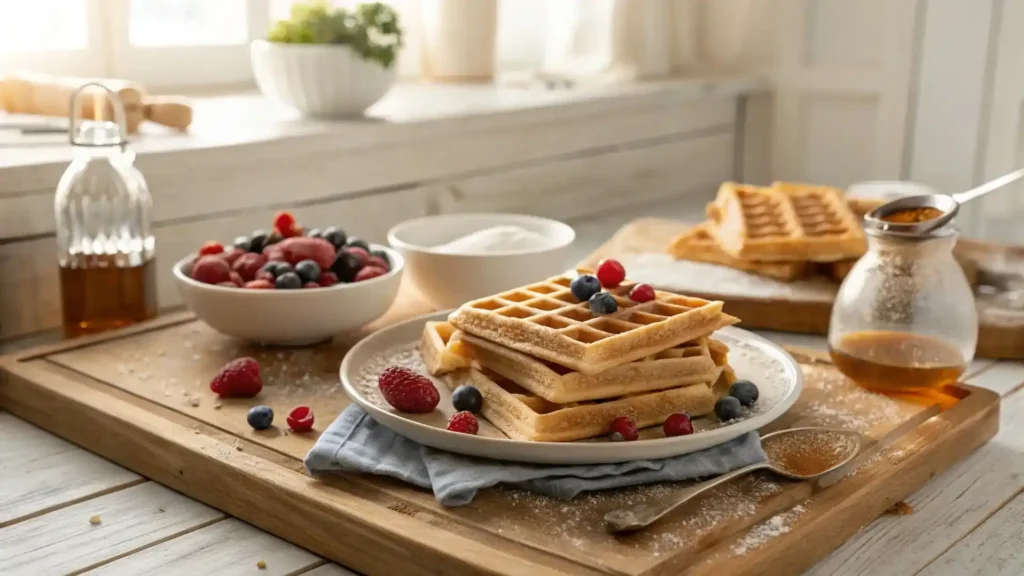
- Maple Syrup: Drizzle warm maple syrup over your waffles for a traditional, sweet finish.
- Fresh Fruits: Top with sliced strawberries, blueberries, or bananas for a burst of natural sweetness on your cooked waffles.
- Powdered Sugar: A light dusting of powdered sugar adds a touch of elegance without overpowering the flavor.
Creative Enhancements
- Nut Butters: Spread almond or peanut butter on warm waffles to add richness and a boost of protein.
- Yogurt and Granola: For a hearty brunch, layer dairy-free yogurt and crunchy granola on top.
- Citrus Zest: Sprinkle lemon or orange zest to give your waffles a refreshing, tangy note.
Savory Options
- Avocado and Tomato: Add sliced avocado and cherry tomatoes with a dash of salt and pepper for a savory twist to your homemade waffle recipe.
- Egg-Free Tofu Scramble: Pair your waffles with a spiced tofu scramble to create a balanced meal.
- Herbs and Spices: Mix all the ingredients, including herbs and spices, to elevate your waffle experience. Garnish with fresh herbs like basil or chives to enhance a more savory presentation.
Beverage Pairings
- Fresh Juice: Serve with a glass of freshly squeezed orange juice or a green detox smoothie.
- Coffee or Tea: Pair your waffles with a cup of coffee or tea for a delightful dairy free breakfast, perfect for eating waffles on a lazy morning. Enjoy your waffles alongside a hot cup of coffee or herbal tea to complete your meal.
Plating Ideas
- Stacked Presentation: Stack multiple waffles and layer toppings between each layer to create a delicious breakfast recipe you’ll love. Drizzle syrup over the top for a visually appealing look.
- Open-Faced Style: Arrange a single waffle on a plate and add toppings in neat sections. This method lets you highlight the different flavors.
- Diner-Style: Serve with a side of mixed berries and a small bowl of whipped coconut cream for a modern diner feel.
These serving suggestions help you transform a simple dairy-free waffle recipe into a memorable meal, perfect for freezing the waffles for later. Whether you prefer sweet or savory, these ideas allow you to customize your plate to suit any taste or occasion. Enjoy experimenting with these combinations and find the perfect pairing that suits your palate.
Conclusion
This dairy-free waffle recipe proves that you can enjoy a delicious breakfast without relying on traditional dairy ingredients. By using water or a plant-based milk alternative, you still achieve waffles that are crispy on the outside and soft on the inside. The recipe’s simplicity lies in using everyday ingredients like flour, baking powder, and vegetable oil, making it accessible for cooks of any skill level, especially for those who seek free recipes because I know how hard living without milk can be.
Throughout this guide, you learned the importance of accurate measurements, gentle mixing, and preheating your waffle iron to create the perfect texture. These clear, step-by-step instructions ensure that even those new to dairy-free cooking can produce satisfying waffles. The recipe’s flexibility encourages you to experiment with different milk substitutes, like soy milk, and flavorings, allowing you to tailor the dish to your taste.
Whether you choose to top your waffles with maple syrup and fresh berries or opt for a savory twist with avocado and tomatoes, this Belgian waffle recipe adapts to any meal or occasion. In summary, this guide offers a reliable method for creating delicious, dairy-free waffles that suit various dietary needs, including those avoiding dairy milk, and can be made using unsweetened almond milk. Enjoy making this versatile dish and feel free to share your creative variations with family and friends, especially when you make homemade waffles.
Finally, check out this Hawaiian French Toast recipe for a tropical twist on a classic breakfast – check out the recipe now and start your morning off right!
FAQs
What can I use instead of milk in waffles?
You can substitute milk with water or any plant-based milk, such as almond, oat, or coconut milk. Each option adds a unique flavor without compromising the texture.
Can you use water instead of milk in waffles?
Yes, water is a common substitute that works well, especially when making dairy free pancakes. It maintains the batter’s consistency and produces waffles that are crispy on the outside and soft on the inside.
Is pancake batter the same as waffle batter?
Not exactly. While both batters share similar ingredients, waffle batter typically has a thicker consistency. This difference helps achieve the signature crisp exterior of waffles.
Is milk used in waffles?
Traditional recipes do include milk to add richness and moisture. However, this recipe specifically replaces milk to cater to dairy-free preferences.
What can I use if I don’t have milk?
If you don’t have milk, you can use water or a preferred plant-based milk. These substitutes ensure your waffles still turn out light and delicious, making them great for easy breakfast or dairy free waffles.
What is a substitute for milk in pancake mix?
Similar to waffles, you can use water or a plant-based milk alternative in pancake mixes, maintaining a smooth consistency.
Can we make waffles without milk?
Absolutely. This recipe shows that you can create tasty waffles using alternatives like water, almond milk, or oat milk.
What is the best milk substitute for baking?
Almond milk is a popular choice due to its mild flavor, though oat milk offers creaminess. Experiment to see which best fits your taste.
Can I use water instead of milk?
Yes, water works well as a dairy-free option without significantly altering the waffle’s texture in your dairy free waffle.
What is a substitute for heavy cream in waffles?
For a lighter option, use a blend of dairy-free milk with a small amount of oil, or try using coconut cream for a richer texture in your dairy free waffle.
waffle recipe without milk
Ingredients
Dry Ingredients
- Flour
- Baking Powder
- Salt
- Sugar Optional
Wet Ingredients
- Milk Substitute
- Water: A simple and accessible choice that works well.
- Almond Milk: Adds a slight nutty flavor.
- Oat Milk: Offers a mild taste with a creamy texture.
- Coconut Milk Dairy-Free Version:
- Vegetable Oil
- Eggs Optional
Instructions
Step 1: Prepare Your Waffle Iron
- Preheat: Plug in your waffle iron and set it to medium-high heat. Preheating is essential. A hot waffle iron helps the waffles cook evenly and become crispy on the outside.
- Grease Lightly: Once heated, spray the waffle iron with a light coating of cooking spray or brush it with a small amount of oil. This prevents sticking and makes it easier to remove the waffles.
Step 2: Mix the Dry Ingredients
- Combine in a Bowl: In a large mixing bowl, add the flour, baking powder, salt, and sugar (if using).
- Whisk Thoroughly: Use a whisk to blend these dry ingredients until they are evenly distributed. This creates the base of your waffle batter and ensures even rising during cooking.
Step 3: Mix the Wet Ingredients
- Prepare Your Liquid: In another bowl, pour your milk substitute. You can use water, almond milk, oat milk, or coconut milk as a replacement for dairy.
- Add Oil and Optional Eggs: Stir in the vegetable oil. If using eggs or a flax egg, add them now. Mix until the liquid ingredients are smooth and well combined.
- Incorporate Flavoring: If desired, add vanilla extract or a pinch of your favorite spices. These small additions enhance the overall taste of your waffles.
Step 4: Combine the Mixtures
- Gradually Add Wet to Dry: Slowly pour the wet ingredients into the bowl with the dry ingredients.
- Stir Gently: Mix the two together until just combined. Avoid over-mixing; a few small lumps in the batter are acceptable. Over-mixing can lead to tougher waffles.
- Check Consistency: The batter should be smooth and thick enough to hold its shape when poured. If it seems too thick, add a little more water or your chosen milk substitute.
Step 5: Cooking the Waffles
- Pour the Batter: Carefully scoop a portion of the batter onto the center of the preheated waffle iron. Typically, ½ cup of batter works well, but adjust according to the size of your waffle iron.
- Spread Evenly: Use a spatula if needed to spread the batter slightly, ensuring it reaches the edges.
- Close the Lid: Close the waffle iron gently. Do not press too hard, as this might affect the waffle’s texture.
- Cook Until Golden: Allow the waffle to cook until it turns golden brown. This usually takes 3 to 5 minutes, depending on your waffle iron. The waffle is done when it is crispy on the outside and fluffy on the inside.
Step 6: Remove and Serve
- Release the Waffle: Carefully lift the lid and remove the waffle using a fork or tongs.
- Cool Briefly: Place the waffle on a wire rack for a minute. This step helps maintain its crispness.
- Repeat the Process: Continue with the remaining batter, re-greasing the waffle iron lightly before each batch if necessary.
Step 7: Final Touches
- Inspect Your Waffles: Once all waffles are cooked, check that they have a consistent texture. The edges should be crisp, while the center remains soft and tender.
- Serve Warm: For the best flavor and texture, serve your waffles immediately after cooking. If you need to keep them warm, place them in a low oven, but be aware that prolonged storage may affect their crispness.
Notes
Nutrition Information (per serving)
- Calories: 250 kcal
- Total Fat: 9 g
– Saturated Fat: 1.5 g - Cholesterol: 50 mg
- Sodium: 250 mg
- Carbohydrates: 35 g
– Dietary Fiber: 2 g
– Sugars: 5 g - Protein: 6 g