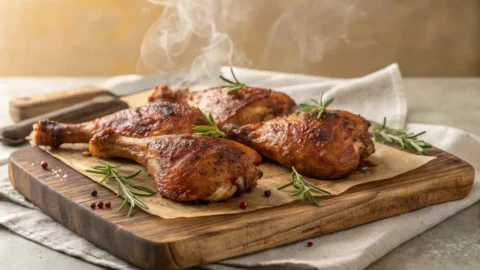
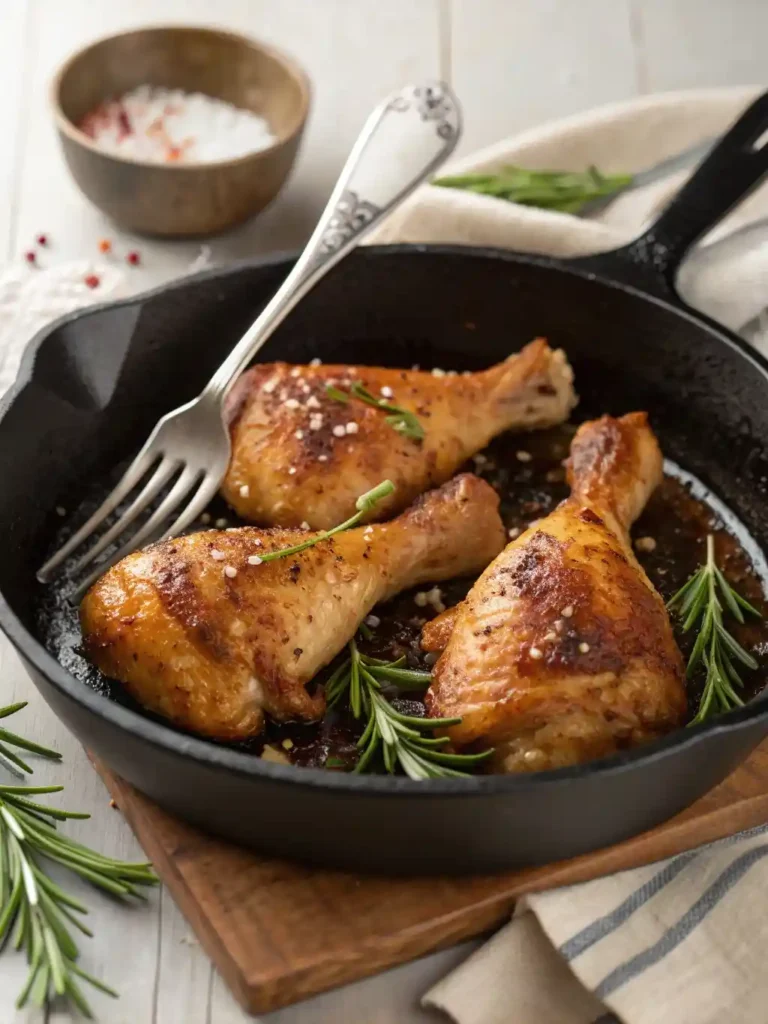
Say goodbye to dry, lackluster baked chicken! This recipe for perfectly baked chicken hindquarters (also known as leg quarters) is your new secret weapon for weeknight dinners and meal prep. We’re talking incredibly crispy skin, succulent, fall-off-the-bone dark meat, and a burst of flavor in every bite. Forget the guesswork and conflicting advice – we’ll guide you through the precise steps and food science to ensure juicy, tender results every time, proving that baking chicken hindquarters can be a truly superior experience. Let’s make some magic!
Table of Contents
Why You’ll Love Crispy Baked Chicken Hindquarters
- Crispy Skin & Juicy Meat: Master the art of perfectly baked chicken with unbelievably crispy skin and succulent, fall-off-the-bone dark meat every single time.
- Effortless Elegance: This recipe transforms simple chicken hindquarters into a flavorful, impressive meal with minimal hands-on time, perfect for busy weeknights or special occasions.
- Budget-Friendly & Versatile: Chicken hindquarters are an economical choice, and this recipe serves as a fantastic base for countless meal variations, pairing wonderfully with almost any side dish.
- Foolproof & Flavorful: Say goodbye to dry chicken! Our precise method and aromatic spice blend guarantee a deeply satisfying dish that everyone will love, making you a kitchen hero.
Ingredients
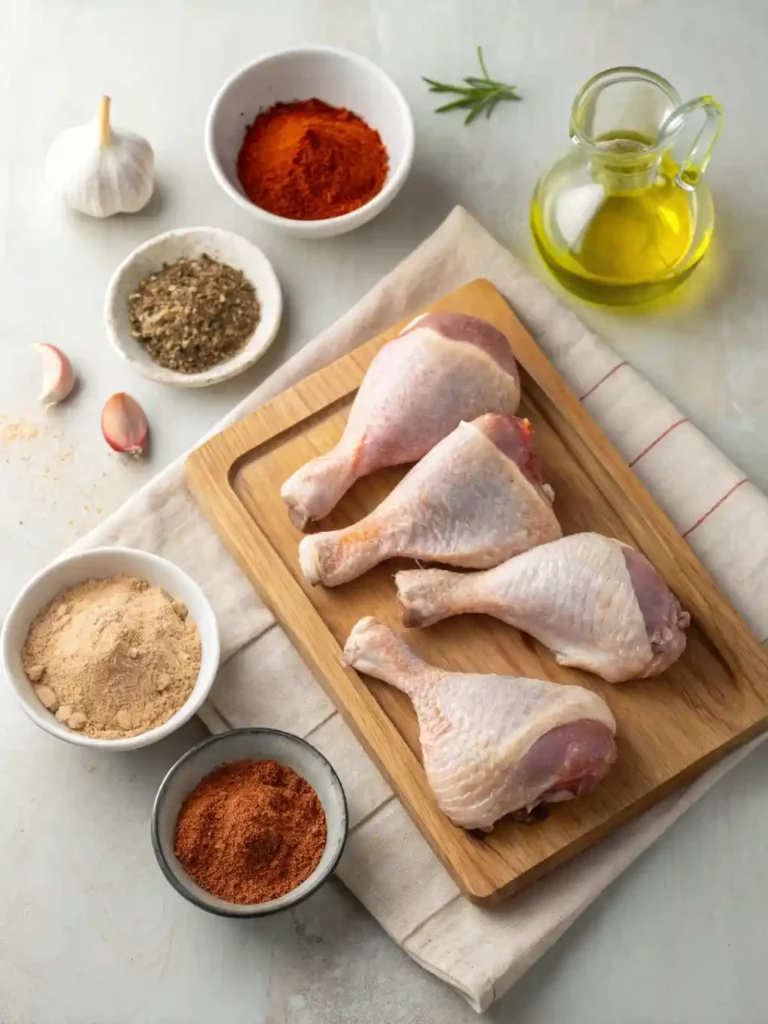
- 4 large chicken leg quarters (also known as hindquarters), bone-in, skin-on
- 2 tablespoons olive oil (or melted unsalted butter)
- 1 tablespoon smoked paprika
- 1.5 teaspoons granulated garlic
- 1 teaspoon onion powder
- 1 teaspoon dried oregano
- 0.5 teaspoon cayenne pepper (optional, for a hint of heat)
- 1.5 teaspoons coarse sea salt
- 1 teaspoon freshly ground black pepper
- Fresh parsley or cilantro, chopped (for garnish, optional)
Instructions
Step 1
- Prepare Your Workspace: Preheat your oven to a robust 400°F (200°C). Line a large, sturdy baking sheet with aluminum foil for easier cleanup, then place an oven-safe wire rack on top. Using a wire rack is crucial here – it allows air to circulate all around the chicken, ensuring truly crispy skin on every surface, not just the top.
Step 2
- Craft Your Flavorful Rub: In a small bowl, combine the smoked paprika, granulated garlic, onion powder, dried oregano, cayenne pepper (if using), coarse sea salt, and freshly ground black pepper. Stir them together until well blended. This simple, yet powerful blend provides a deep, savory flavor with a hint of smokiness.
Step 3
- Master the Chicken Prep: Begin by thoroughly patting the chicken leg quarters dry with paper towels. This step is non-negotiable for crispy skin! Excess moisture creates steam, which prevents the skin from crisping. Next, gently lift the skin over the thigh portion of each quarter, being careful not to detach it completely. This creates a pocket. Sprinkle about 1/2 to 1 teaspoon of your spice blend directly onto the meat under the skin, using your fingertips to rub it in. Seasoning directly on the meat ensures flavor penetrates deeply, beyond just the skin. Now, lightly brush both sides of each chicken quarter with olive oil (or melted butter). The fat helps to distribute the spices and encourages beautiful browning and crisping.
Step 4
- Season & Arrange: Evenly sprinkle the remaining spice mixture over the entire surface of each chicken quarter, ensuring good coverage. Place the seasoned chicken leg quarters, skin-side up, on the prepared wire rack. Make sure there’s ample space between each piece for optimal air circulation during baking.
Step 5
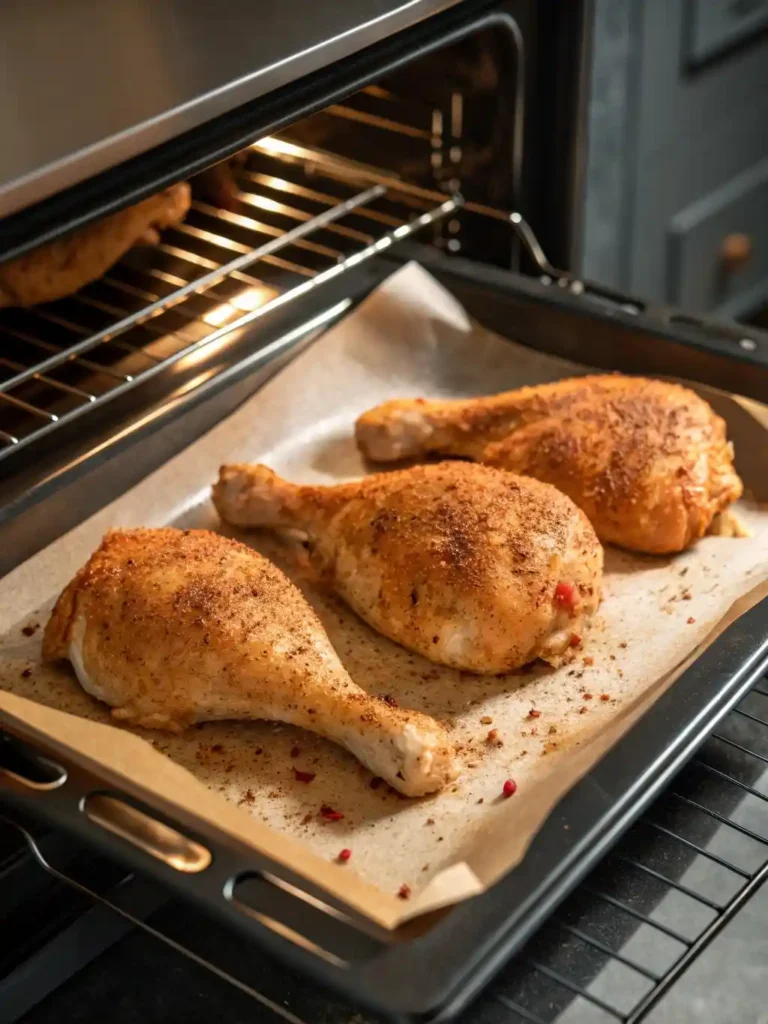
- Initial High-Heat Bake: Transfer the baking sheet to the center rack of your preheated 400°F (200°C) oven. Bake for 30 minutes. This initial high heat blast is key to rendering the fat under the skin and kickstarting the browning process, leading to that irresistible crispy texture.
Step 6
- Flip & Finish Baking: After 30 minutes, carefully remove the baking sheet from the oven. Using sturdy tongs, flip each chicken quarter over so it’s now skin-side down. Return to the oven and continue baking for another 15-25 minutes, or until an instant-read thermometer inserted into the thickest part of the thigh (avoiding the bone) registers between 175°F and 185°F (80-85°C). While 165°F is safe, dark meat like leg quarters benefits greatly from cooking to a slightly higher temperature, as it allows collagen to break down more effectively, resulting in incredibly tender, juicy meat that practically falls off the bone.
Step 7
- Crisp Up Under the Broiler (Optional but Recommended): For extra-crispy, golden-brown skin, turn your oven’s broiler to high. Keep a close eye on the chicken! Broil the chicken, skin-side up, for 3-5 minutes, watching constantly to prevent burning. If desired, you can briefly flip and broil the other side for a minute or two, but the main goal is to crisp the top skin. This step gives you that perfect, crackling skin finish.
Step 8
- The All-Important Rest: Once the chicken has reached its ideal temperature and desired crispness, transfer the leg quarters to a clean cutting board or serving platter. Tent them loosely with aluminum foil and let them rest for 5-10 minutes. This crucial resting period allows the juices to redistribute throughout the meat, ensuring every bite is as tender and succulent as possible. Skipping this step often leads to dry chicken!
Step 9
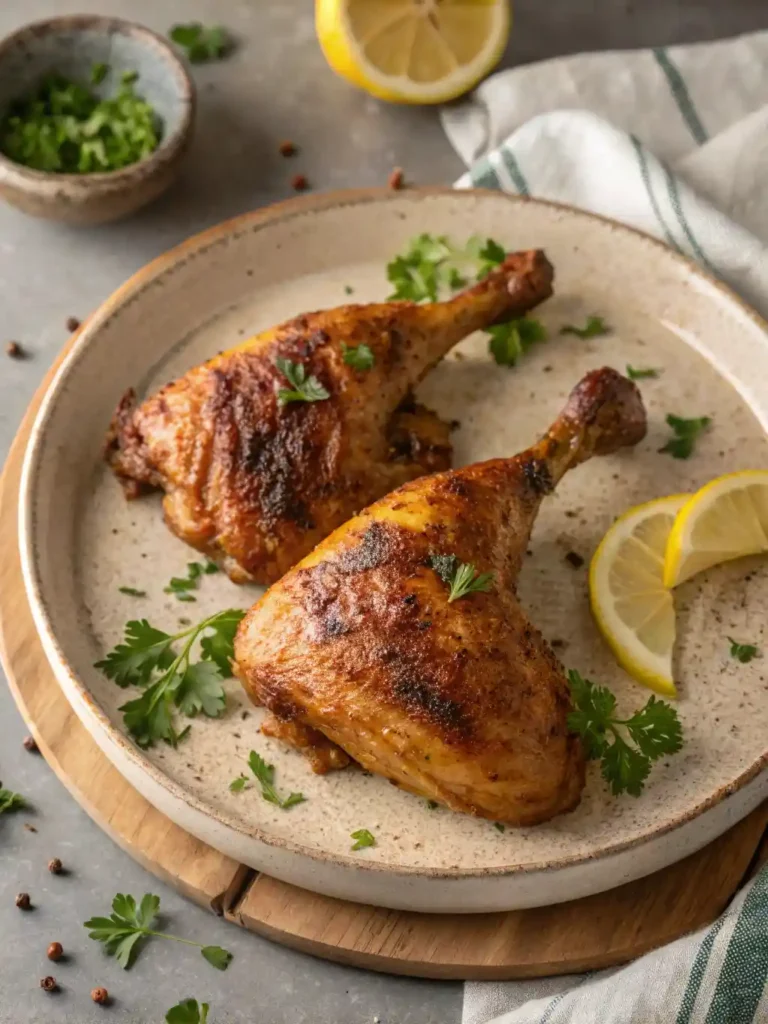
- Serve & Enjoy: Garnish with fresh chopped parsley or cilantro, if using. Serve your perfectly baked chicken hindquarters hot alongside your favorite side dishes, like roasted vegetables, mashed potatoes, or a fresh salad. Enjoy your perfectly juicy, crispy, and flavorful chicken!
Serving and Storage Tips
Serve these delicious crispy baked chicken hindquarters with your favorite sides like creamy mashed potatoes, roasted seasonal vegetables, fluffy rice, or a crisp green salad for a complete meal. For best results, allow the chicken to rest for 5-10 minutes before serving. Store any leftovers in an an airtight container in the refrigerator for up to 3-4 days. To reheat, warm gently in a preheated oven at 300°F (150°C) until heated through, or use an air fryer at 350°F (175°C) for 5-7 minutes to help crisp up the skin again.
Helpful Notes
- For the ultimate crispy skin, ensure you pat the chicken very dry with paper towels before seasoning. Moisture is the enemy of crispiness!
- Experiment with different herb and spice blends! Try a lemon-herb mix (rosemary, thyme, lemon zest) or a smoky BBQ rub for a new flavor profile.
- Remember, dark meat benefits from cooking to a higher internal temperature than white meat. While 165°F is safe, aiming for 175-195°F (80-90°C) will yield far more tender, fall-off-the-bone results as collagen breaks down.
Conclusion
There you have it – your new go-to recipe for the Ultimate Crispy Baked Chicken Leg Quarters! No more dry, disappointing chicken. With our simple yet precise methods, you’ll consistently achieve succulent dark meat encased in gloriously crispy skin, bursting with flavor from our perfectly balanced spice blend. This dish is not just a meal; it’s an experience that brings joy to any dinner table, proving that truly delicious food doesn’t have to be complicated. We are confident this will become a staple in your rotation. We love hearing from you, so please, if you try this recipe, leave a comment below, give it a star rating, and share your delicious creations on social media! Your feedback helps our community grow.
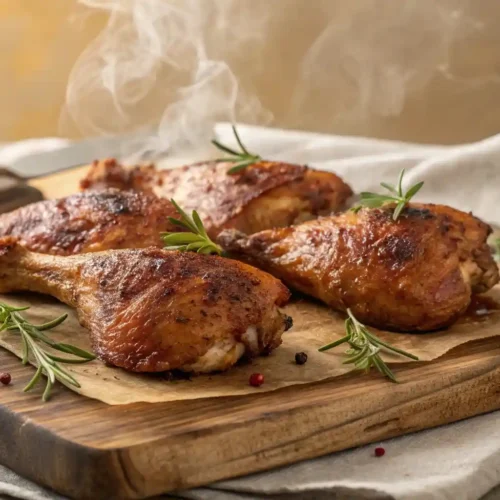
The Ultimate Crispy Baked Chicken Hindquarters
Ingredients
- 4 large chicken leg quarters also known as hindquarters, bone-in, skin-on
- 2 tablespoons olive oil or melted unsalted butter
- 1 tablespoon smoked paprika
- 1.5 teaspoons granulated garlic
- 1 teaspoon onion powder
- 1 teaspoon dried oregano
- 0.5 teaspoon cayenne pepper optional, for a hint of heat
- 1.5 teaspoons coarse sea salt
- 1 teaspoon freshly ground black pepper
- Fresh parsley or cilantro chopped (for garnish, optional)
Instructions
Prepare Your Workspace:
- Preheat your oven to a robust 400°F (200°C). Line a large, sturdy baking sheet with aluminum foil for easier cleanup, then place an oven-safe wire rack on top. Using a wire rack is crucial here – it allows air to circulate all around the chicken, ensuring truly crispy skin on every surface, not just the top.
Craft Your Flavorful Rub:
- In a small bowl, combine the smoked paprika, granulated garlic, onion powder, dried oregano, cayenne pepper (if using), coarse sea salt, and freshly ground black pepper. Stir them together until well blended. This simple, yet powerful blend provides a deep, savory flavor with a hint of smokiness.
Master the Chicken Prep:
- Begin by thoroughly patting the chicken leg quarters dry with paper towels. This step is non-negotiable for crispy skin! Excess moisture creates steam, which prevents the skin from crisping. Next, gently lift the skin over the thigh portion of each quarter, being careful not to detach it completely. This creates a pocket. Sprinkle about 1/2 to 1 teaspoon of your spice blend directly onto the meat under the skin, using your fingertips to rub it in. Seasoning directly on the meat ensures flavor penetrates deeply, beyond just the skin. Now, lightly brush both sides of each chicken quarter with olive oil (or melted butter). The fat helps to distribute the spices and encourages beautiful browning and crisping.
Season & Arrange:
- Evenly sprinkle the remaining spice mixture over the entire surface of each chicken quarter, ensuring good coverage. Place the seasoned chicken leg quarters, skin-side up, on the prepared wire rack. Make sure there’s ample space between each piece for optimal air circulation during baking.
Initial High-Heat Bake:
- Transfer the baking sheet to the center rack of your preheated 400°F (200°C) oven. Bake for 30 minutes. This initial high heat blast is key to rendering the fat under the skin and kickstarting the browning process, leading to that irresistible crispy texture.
Flip & Finish Baking:
- After 30 minutes, carefully remove the baking sheet from the oven. Using sturdy tongs, flip each chicken quarter over so it’s now skin-side down. Return to the oven and continue baking for another 15-25 minutes, or until an instant-read thermometer inserted into the thickest part of the thigh (avoiding the bone) registers between 175°F and 185°F (80-85°C). While 165°F is safe, dark meat like leg quarters benefits greatly from cooking to a slightly higher temperature, as it allows collagen to break down more effectively, resulting in incredibly tender, juicy meat that practically falls off the bone.
Crisp Up Under the Broiler (Optional but Recommended):
- For extra-crispy, golden-brown skin, turn your oven’s broiler to high. Keep a close eye on the chicken! Broil the chicken, skin-side up, for 3-5 minutes, watching constantly to prevent burning. If desired, you can briefly flip and broil the other side for a minute or two, but the main goal is to crisp the top skin. This step gives you that perfect, crackling skin finish.
The All-Important Rest:
- Once the chicken has reached its ideal temperature and desired crispness, transfer the leg quarters to a clean cutting board or serving platter. Tent them loosely with aluminum foil and let them rest for 5-10 minutes. This crucial resting period allows the juices to redistribute throughout the meat, ensuring every bite is as tender and succulent as possible. Skipping this step often leads to dry chicken!
Serve & Enjoy:
- Garnish with fresh chopped parsley or cilantro, if using. Serve your perfectly baked chicken hindquarters hot alongside your favorite side dishes, like roasted vegetables, mashed potatoes, or a fresh salad. Enjoy your perfectly juicy, crispy, and flavorful chicken!
Notes
Nutritional Information (Estimated)
Note: These values are approximate and can vary based on specific ingredients, brands, and serving sizes. Approximate values per serving: Calories: 620 Protein: 48g Fat: 45g Carbs: 3g (primarily from spices) Sodium: 750mg4 Juicy Chicken Recipes Similar to Baked Chicken Hindquarters
Juicy Air Fryer Chicken Breast : Tender, flavorful chicken breast cooked to perfection in the air fryer.
Smoked Chicken Breast Recipe : Smoky, juicy chicken breast packed with bold BBQ flavor.
Garlic Parmesan Chicken Pasta Bake : Creamy pasta bake loaded with garlic, parmesan, and chicken.
Cheesy Garlic Chicken Wraps : Soft tortillas filled with cheesy, garlicky chicken goodness.
Frequently Asked Questions (FAQ)
What’s the difference between chicken hindquarters and leg quarters?
They are essentially the same! Chicken leg quarters refer to the entire leg, comprising both the drumstick and the thigh. Sometimes they’re called hindquarters, particularly in butchery, but for cooking purposes, you can use the terms interchangeably for this recipe.
My chicken skin isn’t getting crispy. What am I doing wrong?
The most common culprits are moisture and not enough heat. Ensure your chicken is thoroughly patted dry before seasoning. Also, make sure your oven is fully preheated and consider using a wire rack to allow air circulation all around the chicken during baking.
Can I prepare the chicken ahead of time?
Yes! You can season the chicken leg quarters and store them covered in the refrigerator for up to 24 hours before baking. This can actually enhance the flavor even more, allowing the spices to penetrate deeper into the meat.
What internal temperature should baked chicken hindquarters be?
While 165°F (74°C) is the safe minimum internal temperature for chicken, for dark meat like hindquarters, we recommend cooking until it reaches 175-195°F (80-90°C). This higher temperature allows the collagen and connective tissues to break down, resulting in incredibly tender, fall-off-the-bone meat without drying it out.