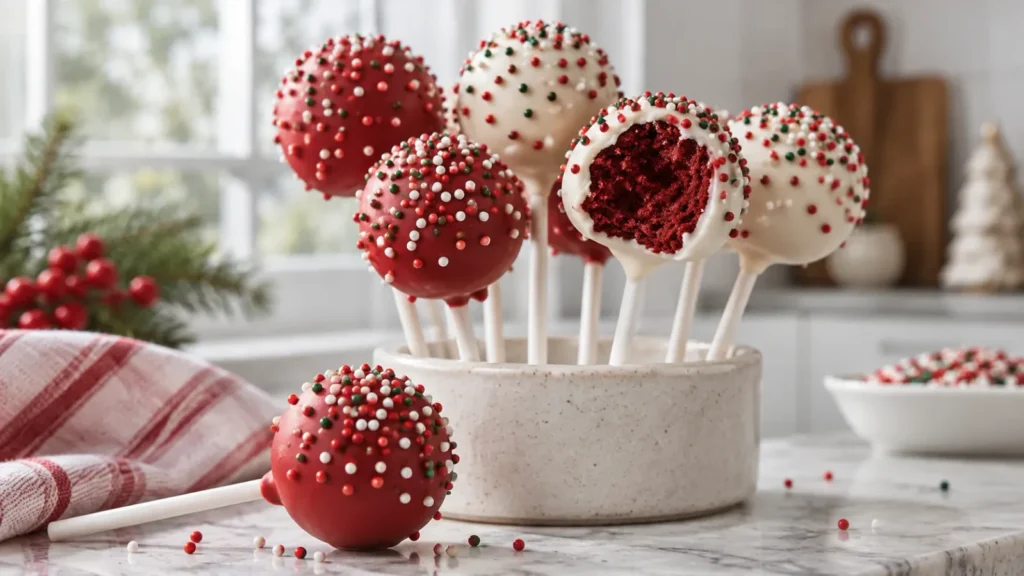
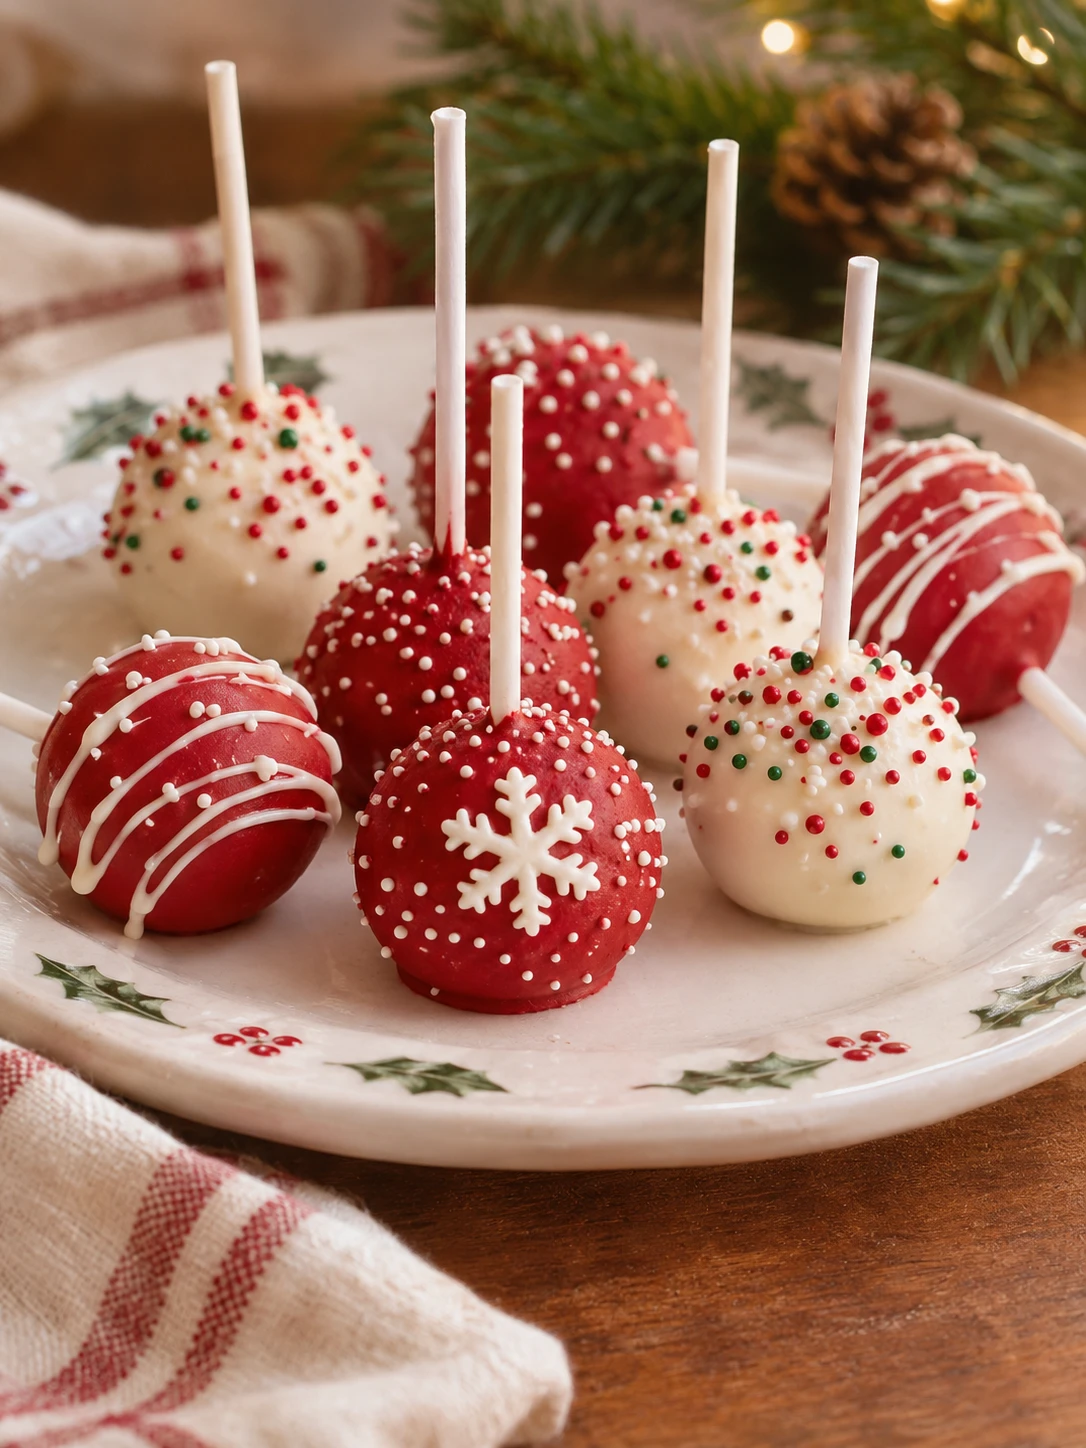
These holiday-themed treats bring together moist red velvet cake crumbs and sweet vanilla frosting beneath a smooth, vibrant shell. Making homemade christmas cake pops is one of the most rewarding ways to celebrate the season, whether you are hosting a neighborhood gathering, packaging gifts for teachers, or building a dessert spread. With their bright colors and festive sprinkles, these handheld treats offer all the flavor of traditional layer cake in a convenient, mess-free format that guests of all ages enjoy.
Achieving a bakery-level finish on cake pops often intimidates home bakers, but the process relies entirely on simple temperature control and proper technique. By chilling the rolled cake centers thoroughly and thinning your melted coating to the right fluidity, you eliminate common issues like slipping sticks and clumpy shells. This guide outlines every phase of the process, from establishing the correct crumb texture to mastering the dip, giving you reliable results every time you make holiday treats.
Table of Contents
Why You’ll Love This Recipe
- Sturdy stick anchoring: Dipping the lollipop sticks into melted candy before inserting them creates a firm bond that keeps the cake balls from falling into the coating.
- Controlled sweetness and texture: Balancing moist red velvet cake with just enough frosting creates a dense, fudgy interior that holds its shape without becoming mushy.
- Streamlined decorating: Using two complementary coating colors alongside festive nonpareil sprinkles allows you to create varied, eye-catching holiday designs with minimal equipment.
- Party-friendly finger food: Served on sticks, these portions eliminate the need for plates or forks, making them practical for walk-around holiday entertaining.
Key Ingredients & Substitutions
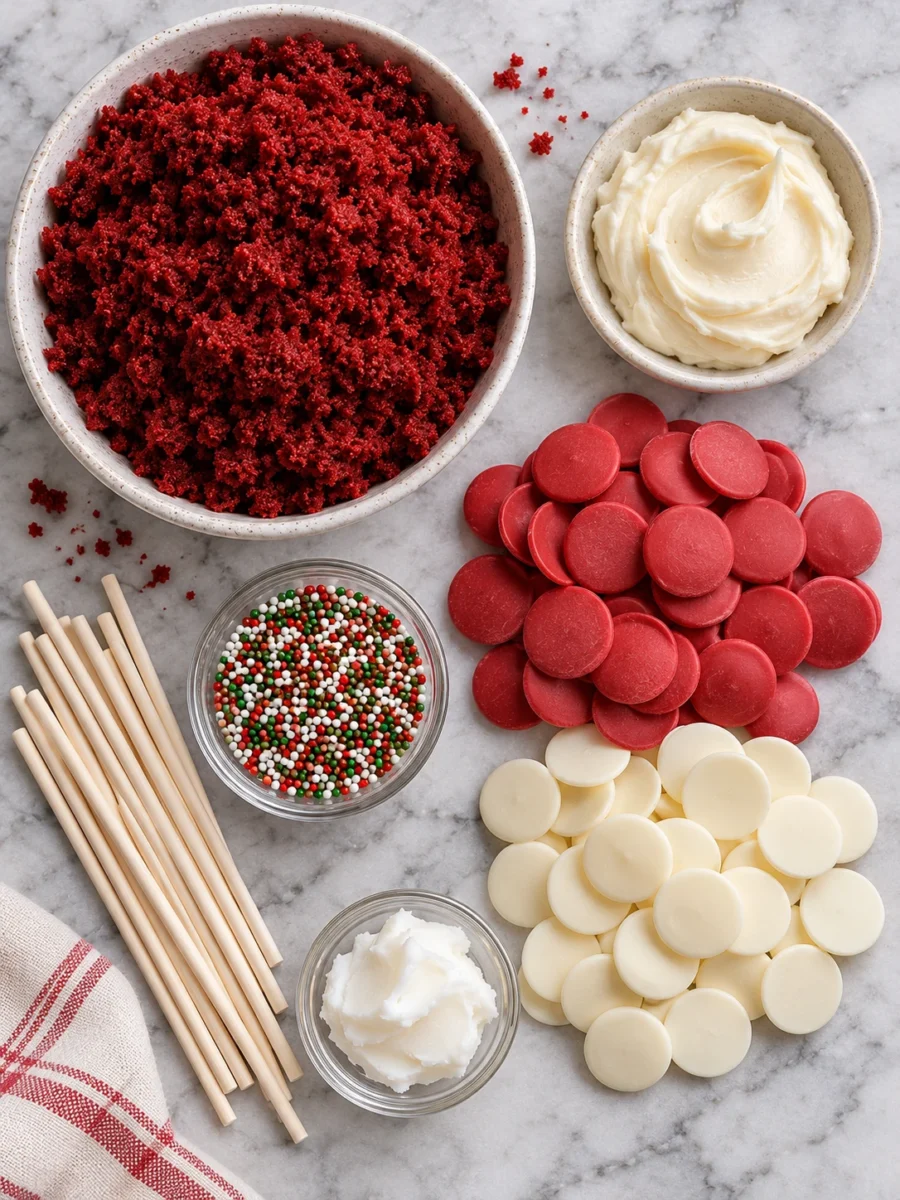
Selecting the right ingredients ensures your cake pops have a cohesive structure and an even, glossy exterior.
- Red Velvet Cake: A fully baked and cooled 9×13-inch cake forms the base. Red velvet provides a classic holiday hue and subtle cocoa flavor, but yellow cake, chocolate cake, or spiced gingerbread cake work equally well. Ensure the cake has cooled to room temperature before crumbling so steam does not make the mixture gummy.
- Vanilla Frosting: Standard prepared vanilla frosting binds the cake crumbs into a moldable dough. Homemade buttercream or cream cheese frosting can also be used. Add the frosting slowly; too much moisture makes the balls heavy and prone to slipping off the stick.
- White and Red Candy Melts: These confectionery coatings melt smoothly and set firm at room temperature without requiring traditional chocolate tempering. High-quality melting chocolate wafers or white chocolate baking bars can be substituted, though pure white chocolate requires gentler heat to prevent scorching.
- Vegetable Shortening: Stirred into the warm melted candy, shortening reduces viscosity and creates a thin, fluid coating that drizzles off smoothly rather than clumping. Neutral coconut oil can be substituted in equal measure.
- Festive Nonpareil Sprinkles: Small red, green, and white sprinkles adhere quickly to the wet coating and add a crisp textural contrast to the soft cake interior. Coarse sanding sugar or edible glitter can also be used.
- Lollipop Sticks: Standard 6-inch paper or wooden treat sticks provide the necessary structural support for dipping and serving.
Step-by-Step Instructions
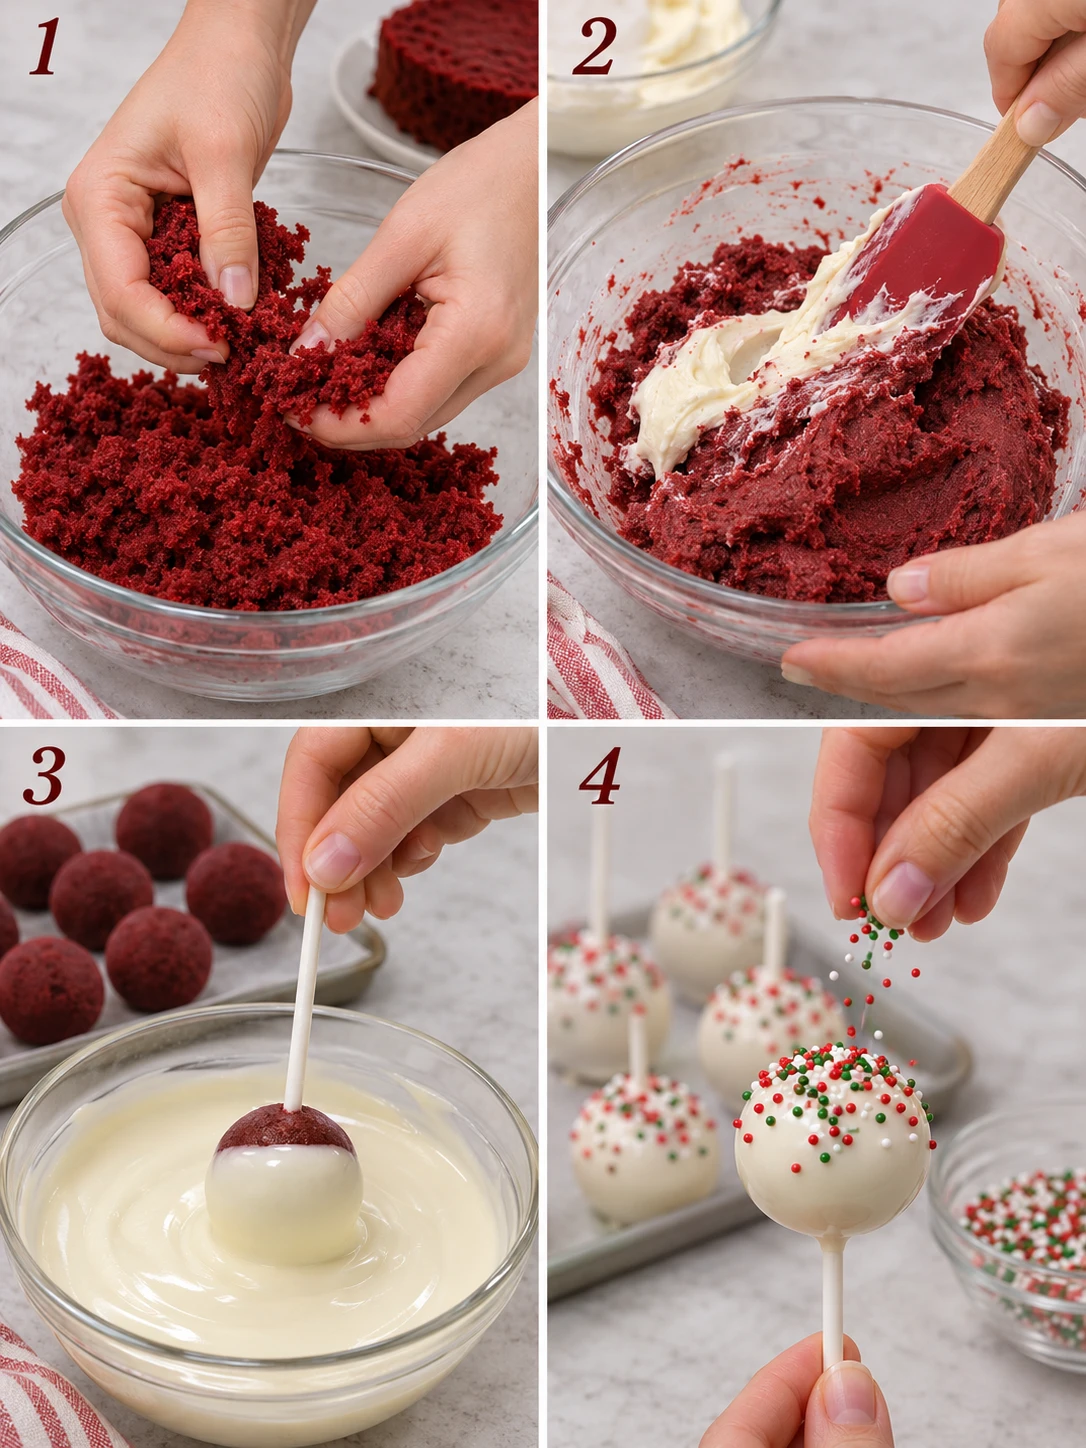
Follow these sequenced instructions to prepare, roll, anchor, and coat your cake pops.
1. Crumble the cooled red velvet cake into a large mixing bowl using your hands or a fork until it reaches a fine, uniform crumb consistency with no large chunks remaining.
2. Add the vanilla frosting to the cake crumbs. Use a spatula or your hands to fold and mix the frosting into the crumbs until a thick, dough-like mixture forms that holds its shape when squeezed.
3. Scoop approximately 1.5 tablespoons of the mixture and roll it firmly between your palms to create a smooth, 1.5-inch ball. Repeat with the remaining mixture to create approximately 24 cake balls.
4. Place the balls on a baking sheet lined with parchment paper and refrigerate for at least 30 minutes, or freeze for 15 minutes, until very firm but not frozen solid.
5. Place 1/2 cup of the white candy melts in a small microwave-safe bowl. Microwave in 30-second intervals, stirring in between, until completely smooth.
6. Dip the tip of one lollipop stick about 1/2 inch into the melted candy, then insert it halfway into a chilled cake ball. Repeat for all balls and return them to the refrigerator for 10 minutes to set the sticks.
7. Place the remaining white and red candy melts into two separate deep, narrow microwave-safe bowls. Add 1 tablespoon of vegetable shortening to each bowl to thin the coating for a smoother finish.
8. Microwave each bowl in 30-second increments, stirring well each time, until the coating is fluid and smooth.
9. Dip one cake pop vertically into the melted coating until the cake is completely submerged. Lift it out and gently tap the stick against the edge of the bowl to allow excess coating to drip off. Turn the stick slowly to ensure an even coat.
10. Immediately apply the festive sprinkles while the coating is still wet. Place the finished cake pops upright in a foam block or cake pop stand and allow them to dry completely for about 20 minutes before serving.
Expert Chef Tips & Troubleshooting
Mastering the physical dynamics of dipping prevents the most common cake pop mishaps.
Managing Temperature Contrast
The most frequent cause of cracked coating is a dramatic temperature gap between cold cake and hot coating. If you dip frozen cake balls directly into hot candy melts, the cake expands slightly as it warms, fracturing the hardened candy shell. Aim for chilled, firm cake balls that have rested at room temperature for roughly 5 to 10 minutes before dipping, and ensure your melted coating is warm to the touch rather than piping hot.
Achieving the Correct Coating Viscosity
Candy melts can sometimes melt into a thick, paste-like consistency depending on brand and freshness. If your melted coating feels sluggish when lifted with a spoon, stir in an extra teaspoon of vegetable shortening. The melted candy should run off the spoon in a steady, unbroken ribbon. Deep, narrow containers like glass measuring cups or ceramic mugs work best for dipping because they give you ample depth to submerge the pop in one fluid motion without tilting.
Tapping Off Excess Smoothly
When pulling the submerged pop out of the coating, resist the urge to swirl or shake the stick violently. Instead, hold the pop upright or at a slight angle and gently tap your wrist with your free hand. The gentle vibration causes excess coating to slide off the bottom of the ball back into the bowl, resulting in a thin, professional shell without pooling at the base of the stick.
Serving Ideas & Party Presentation
Cake pops make an engaging visual centerpiece for holiday buffets when displayed upright in decorative stands, wooden blocks drilled with holes, or vases filled with dried beans or festive colored sugar.
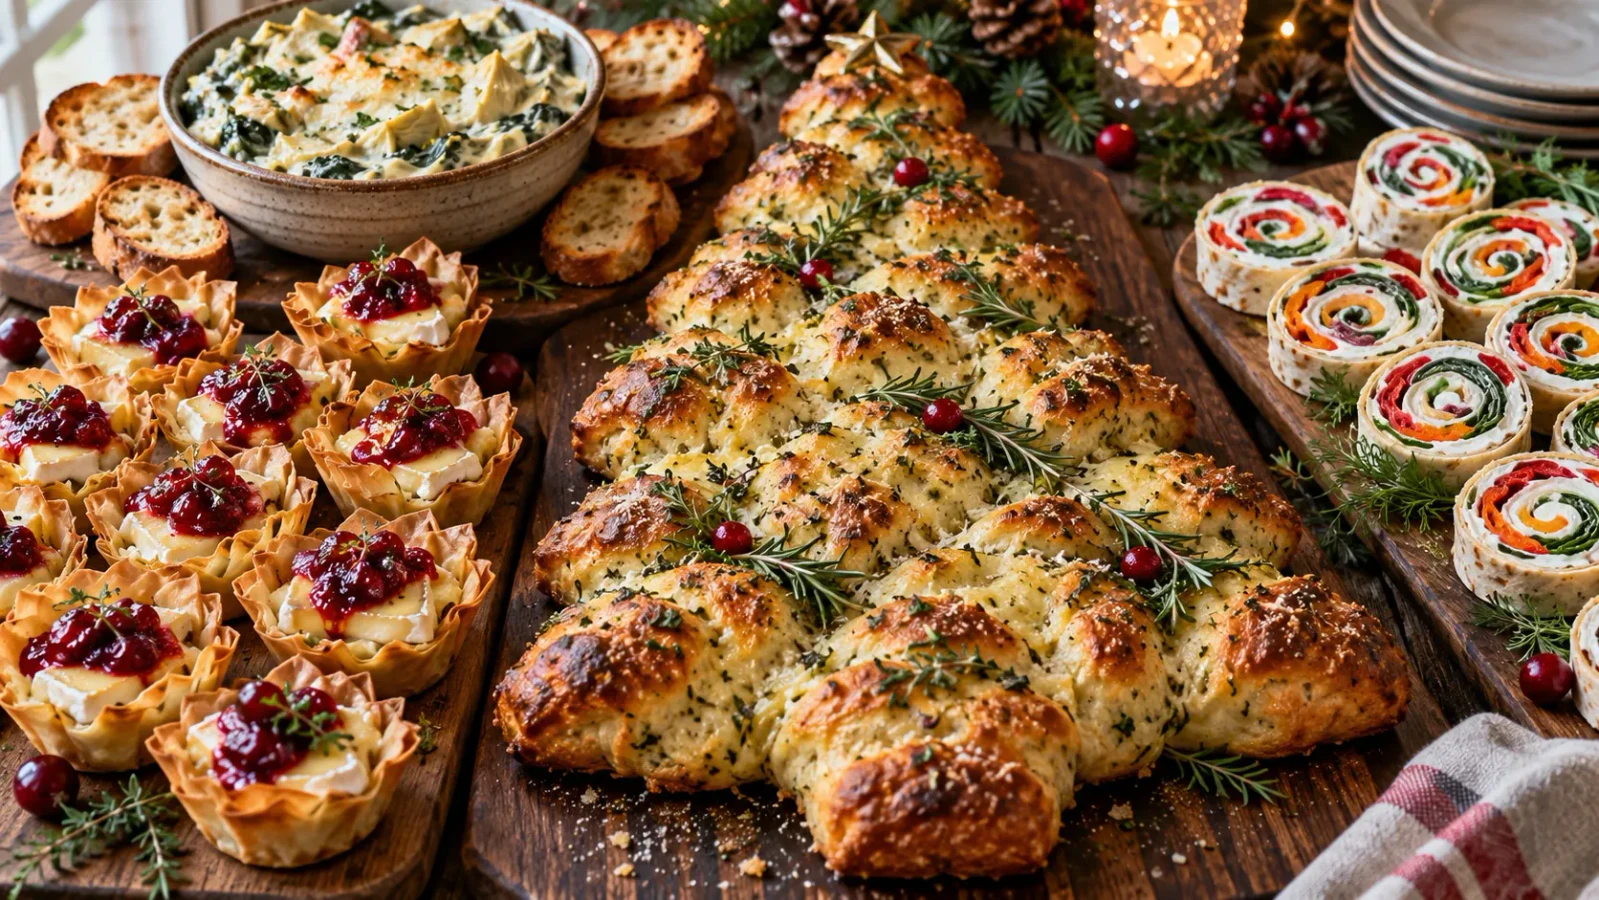
When planning a holiday appetizer table, balancing sweet and savory items keeps guests satisfied. These rich, chocolate-dipped pops contrast naturally with savory party spreads. Consider setting out a warm platter alongside your dessert display featuring our Artichoke Spinach and White Bean Dip or a cheese board centered around this homemade Boursin Cheese Recipe. If your party menu includes warm savory dishes, review the USDA safe internal temperature chart to ensure hot buffet items remain held at safe serving temperatures throughout the event.
Storage, Make-Ahead & Reheating
Cake pops are ideal for advance preparation because the candy coating seals in moisture, keeping the cake interior soft and fresh for several days.
- Room Temperature: If your kitchen stays cool, fully set cake pops can be kept in an airtight container at room temperature for up to 3 days. Place parchment paper between layers to prevent the coatings from scuffing.
- Refrigeration: Store decorated cake pops in a sealed container in the refrigerator for up to 1 week. When removing them from the fridge, allow the container to come to room temperature before opening. This simple step prevents airborne moisture from condensing on the chocolate surface and dulling the finish. For broader food safety rules regarding perishables and cream-based fillings on event tables, consult the official cold food storage guidelines.
- Freezing: Undipped cake balls freeze well for up to 6 weeks when sealed tightly in a freezer bag. Thaw them in the refrigerator overnight before inserting sticks and dipping. Avoid freezing fully dipped cake pops, as moisture expansion often causes the candy shell to crack during thawing.
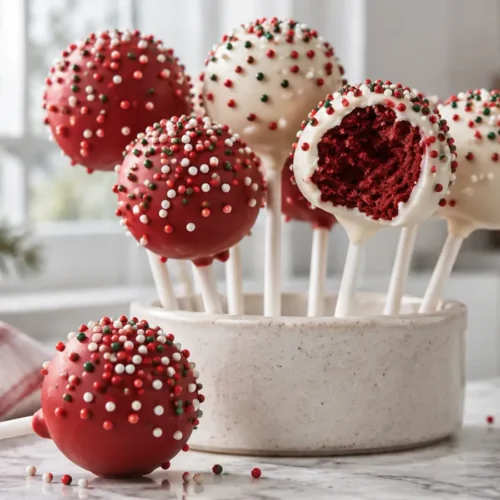
Christmas Cake Pops with Chocolate Coating

Equipment
- Large mixing bowl
- Baking Sheet
- Parchment paper
- Microwave-safe bowls
- Cake pop stand or foam block
Ingredients
Cake Center
- 1 9×13-inch red velvet cake baked and cooled completely
- 1/2 cup vanilla frosting
Coating and Assembly
- 16 ounces white candy melts
- 16 ounces red candy melts
- 2 tablespoons vegetable shortening divided
- 2 tablespoons festive Christmas nonpareil sprinkles
- 24 wooden lollipop sticks
Instructions
- Crumble the cooled red velvet cake into a large mixing bowl using your hands or a fork until it reaches a fine, uniform crumb consistency with no large chunks remaining.
- Add the vanilla frosting to the cake crumbs. Use a spatula or your hands to fold and mix the frosting into the crumbs until a thick, dough-like mixture forms that holds its shape when squeezed.
- Scoop approximately 1.5 tablespoons of the mixture and roll it firmly between your palms to create a smooth, 1.5-inch ball. Repeat with the remaining mixture to create approximately 24 cake balls.
- Place the balls on a baking sheet lined with parchment paper and refrigerate for at least 30 minutes, or freeze for 15 minutes, until very firm but not frozen solid.
- Place 1/2 cup of the white candy melts in a small microwave-safe bowl. Microwave in 30-second intervals, stirring in between, until completely smooth.
- Dip the tip of one lollipop stick about 1/2 inch into the melted candy, then insert it halfway into a chilled cake ball. Repeat for all balls and return them to the refrigerator for 10 minutes to set the sticks.
- Place the remaining white and red candy melts into two separate deep, narrow microwave-safe bowls. Add 1 tablespoon of vegetable shortening to each bowl to thin the coating for a smoother finish.
- Microwave each bowl in 30-second increments, stirring well each time, until the coating is fluid and smooth.
- Dip one cake pop vertically into the melted coating until the cake is completely submerged. Lift it out and gently tap the stick against the edge of the bowl to allow excess coating to drip off. Turn the stick slowly to ensure an even coat.
- Immediately apply the festive sprinkles while the coating is still wet. Place the finished cake pops upright in a foam block or cake pop stand and allow them to dry completely for about 20 minutes before serving.
Notes
- Calories: 195
- Protein: 1g
- Carbohydrates: 26g
- Fat: 10g
- Saturated fat: 6g
- Cholesterol: 5mg
- Sodium: 115mg
- Potassium: 45mg
- Fiber: 0g
- Sugar: 19g
- Vitamin A: 0 IU
- Vitamin C: 0mg
- Calcium: 20mg
- Iron: 0.5mg
Frequently Asked Questions
How do I prevent my Christmas cake pops from falling off the sticks?
To ensure your cake pops stay secure, dip the tip of each lollipop stick into the melted chocolate before inserting it halfway into the chilled cake ball. This acts as a “glue” that anchors the cake to the stick once it hardens. Additionally, make sure the cake balls are properly chilled but not frozen, as frozen balls can expand and cause the coating to crack or slip.
Why is my chocolate coating cracking after it sets?
Cracking usually occurs when there is an extreme temperature difference between the cold cake ball and the warm melted chocolate. To avoid this, let your chilled cake balls sit at room temperature for about 10 minutes before dipping so they aren’t ice-cold. It also helps to melt your chocolate at a lower temperature to ensure it isn’t too hot when you begin the dipping process.
Can I make these Christmas cake pops in advance?
Yes, cake pops are a fantastic make-ahead treat for holiday parties. You can store fully decorated cake pops in an airtight container in the refrigerator for up to 5 days, or freeze the undipped cake balls for up to 6 weeks. If you are refrigerating decorated pops, let them come to room temperature slowly to prevent condensation from forming on the chocolate.
How can I make these cake pops if I have dietary restrictions?
To make these treats gluten-free or vegan, simply substitute the cake and frosting with your favorite dietary-friendly versions. Ensure your chocolate coating or candy melts are also certified dairy-free or gluten-free depending on your needs. The process of crumbling and dipping remains exactly the same, though you may need to add the frosting gradually to achieve the right “dough” consistency.