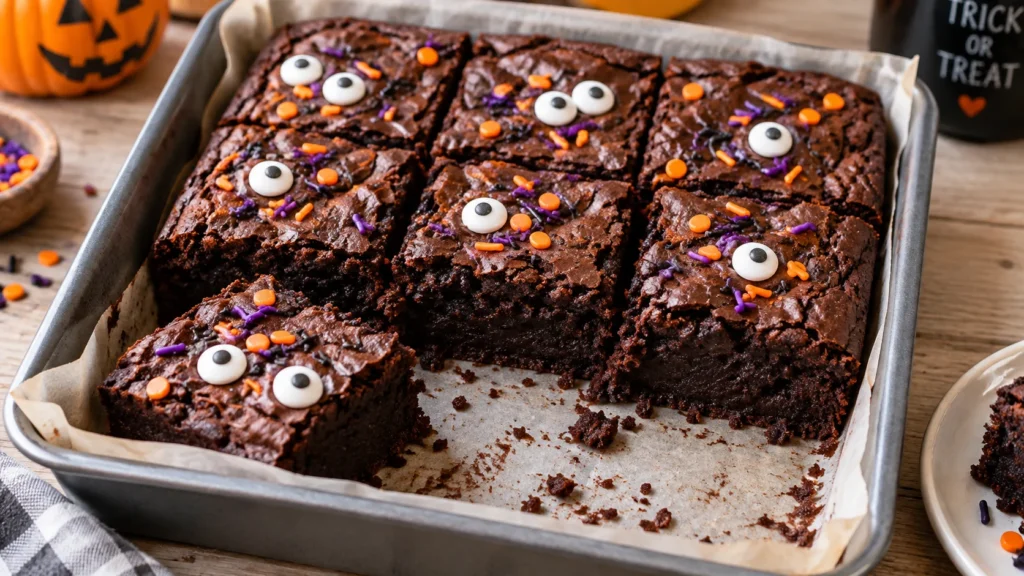
Are you looking for a spooky and delicious treat to serve at your Halloween party? Look no further than these easy Halloween brownies. Made with Dutch-processed cocoa powder, these brownies are not only rich and fudgy but also have a deep, dark color that’s perfect for the spooky season. You’ll love these brownies because they’re easy to make, fun to decorate, and perfect for a crowd. Whether you’re hosting a Halloween party or just want a tasty treat to enjoy with your family, these brownies are sure to be a hit.
Table of Contents
Why You’ll Love This Recipe
- Easy to make with just a few ingredients
- Fun to decorate with Halloween-themed candies
- Perfect for a crowd, makes 9 large brownies
- Rich, fudgy texture and deep, dark color
Key Ingredients & Substitutions
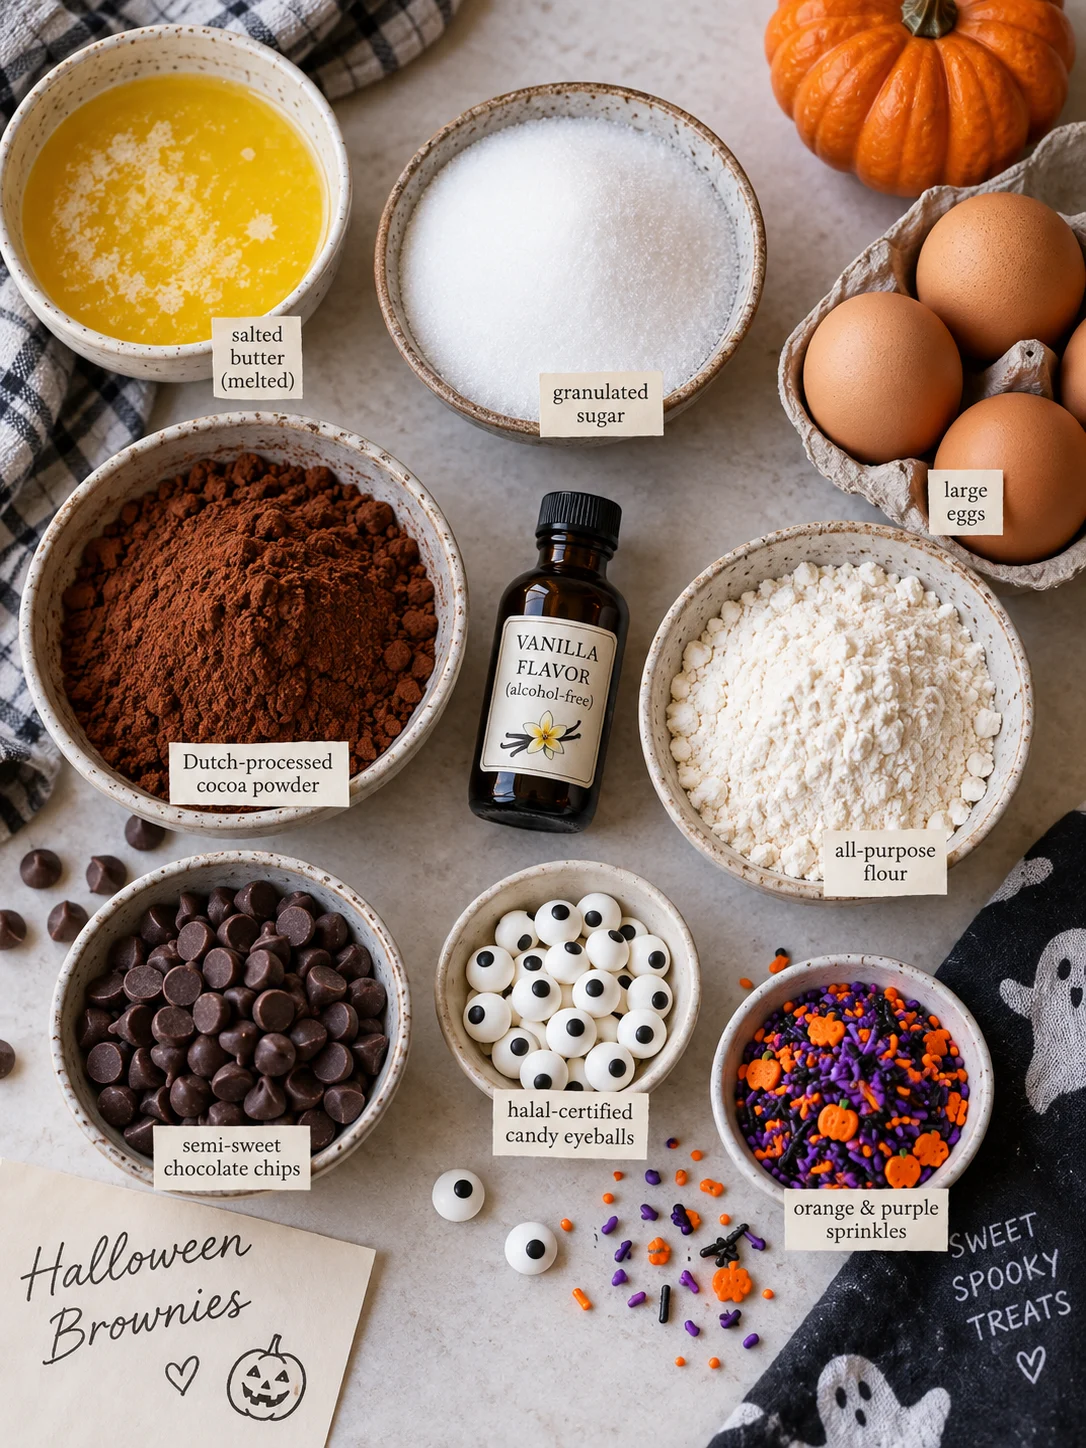
To make these brownies, you’ll need the following ingredients:
- 1/2 cup salted butter, melted
- 1 cup granulated sugar
- 2 large eggs
- 1 teaspoon alcohol-free vanilla flavor
- 2/3 cup Dutch-processed cocoa powder
- 1/2 cup all-purpose flour
- 1/2 cup semi-sweet chocolate chips
- 2 tablespoons candy eyeballs (halal-certified)
- 1/4 cup orange and purple sprinkles
If you want to make these brownies even more special, you can substitute the semi-sweet chocolate chips with chocolate sandwich cookies for an extra-decadent treat. The Dutch-processed cocoa powder is essential for achieving the deep, dark color and rich flavor of these brownies. When selecting cocoa powder, make sure to choose a high-quality brand that is free from additives and preservatives.
Step-by-Step Instructions
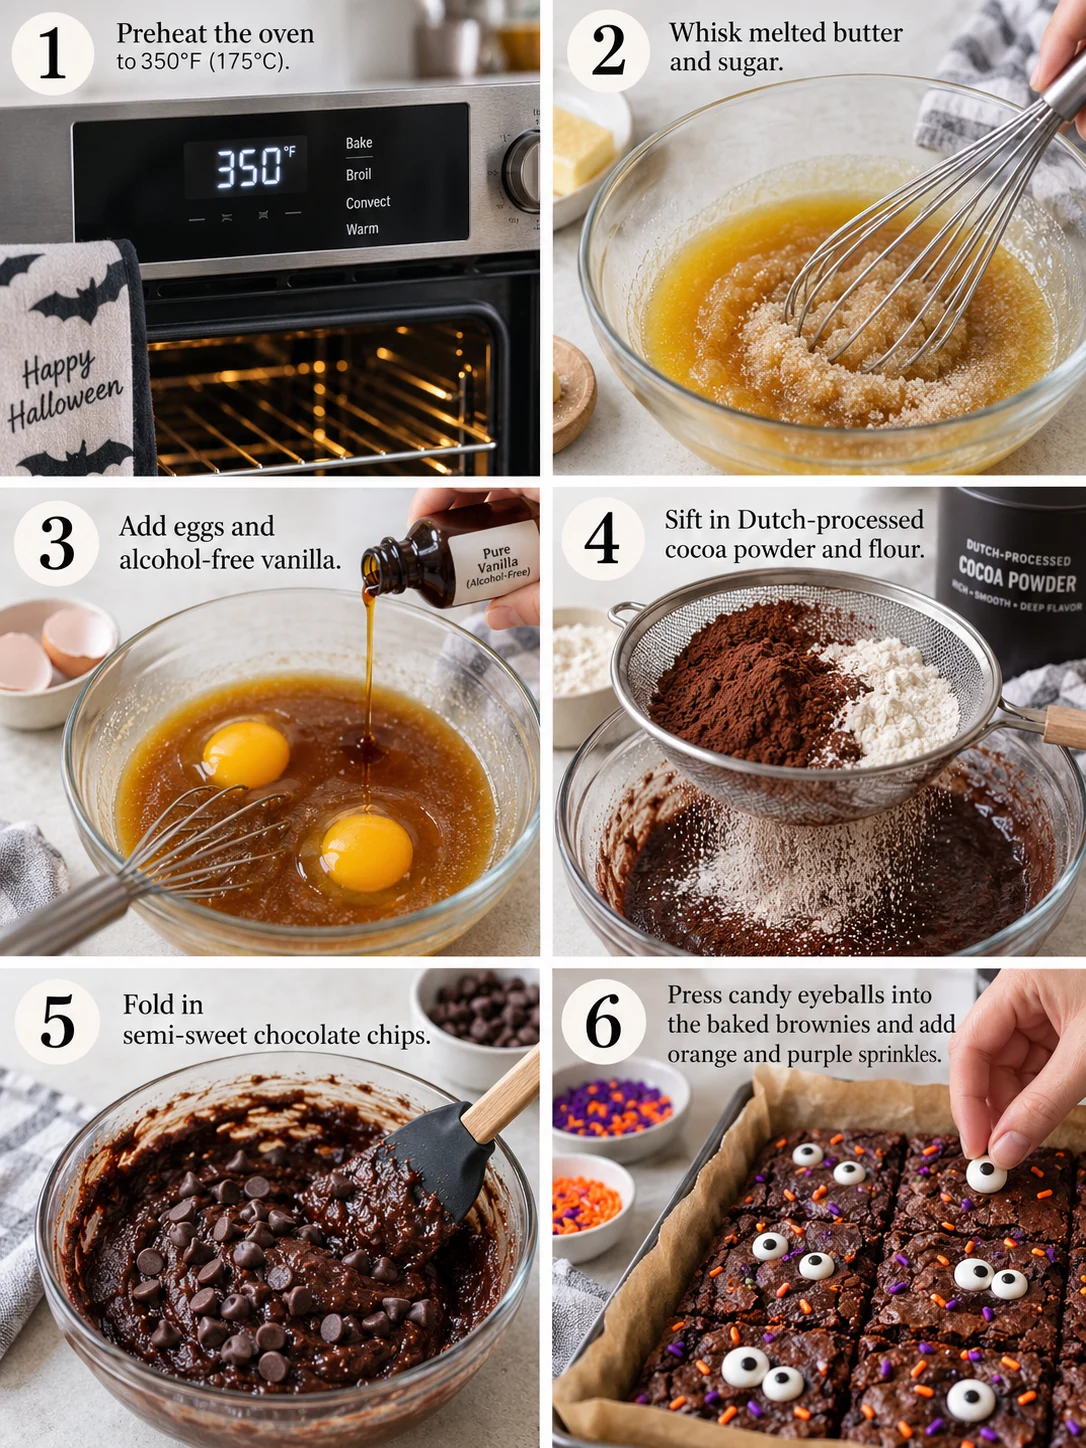
1. Preheat your oven to 350°F (175°C). Line an 8×8-inch square baking pan with parchment paper, leaving an overhang on the sides for easy removal.
2. In a large mixing bowl, whisk together the melted salted butter and granulated sugar until the mixture is well combined and grainy.
3. Add the eggs and alcohol-free vanilla flavor. Whisk vigorously by hand for about 1 to 2 minutes until the batter looks smooth and shiny; this helps create a crackly top.
4. Sift in the Dutch-processed cocoa powder and all-purpose flour to ensure there are no lumps. Use a rubber spatula to fold the dry ingredients into the wet mixture until just combined.
5. Gently fold in the semi-sweet chocolate chips.
6. Pour the batter into the prepared baking pan and spread it evenly into the corners using a spatula.
7. Bake for 22 to 26 minutes. Test for doneness by inserting a toothpick into the center; it should come out with a few moist, fudgy crumbs attached, but not raw batter.
8. Remove the pan from the oven. While the brownies are still hot, randomly press the candy eyeballs into the surface to create a ‘spooky’ look. Scatter the orange and purple sprinkles over the top so they adhere to the warm chocolate.
9. Allow the brownies to cool completely in the pan for at least 1 hour. This is critical for achieving a fudgy texture and clean cuts.
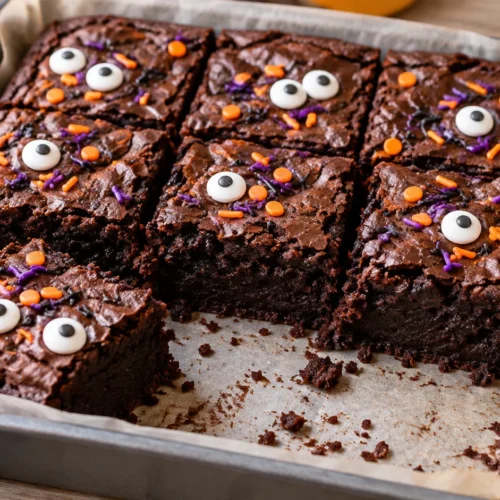
10. Lift the brownies out of the pan using the parchment edges. Using a sharp knife dipped in hot water and wiped dry, cut the brownies into 9 large squares, cleaning the blade between each cut for a professional finish.
For more tips on achieving a fudgy texture, check out our creamy hamburger potato soup recipe, which also uses a similar technique to create a rich and creamy soup.
Expert Chef Tips & Troubleshooting
To ensure that your brownies turn out perfectly, make sure to not overmix the batter, as this can result in a dense and tough texture. Also, be careful not to overbake the brownies, as this can cause them to dry out.
When it comes to storing and reheating leftovers, it’s essential to follow safe minimum internal temperatures and food safety guidelines for leftovers to prevent foodborne illness.
To prevent sogginess, make sure to cool the brownies completely in the pan before cutting them. If you notice that your brownies are becoming too soggy, you can try refrigerating them for about 30 minutes to firm them up before serving.
Storage, Make-Ahead & Reheating
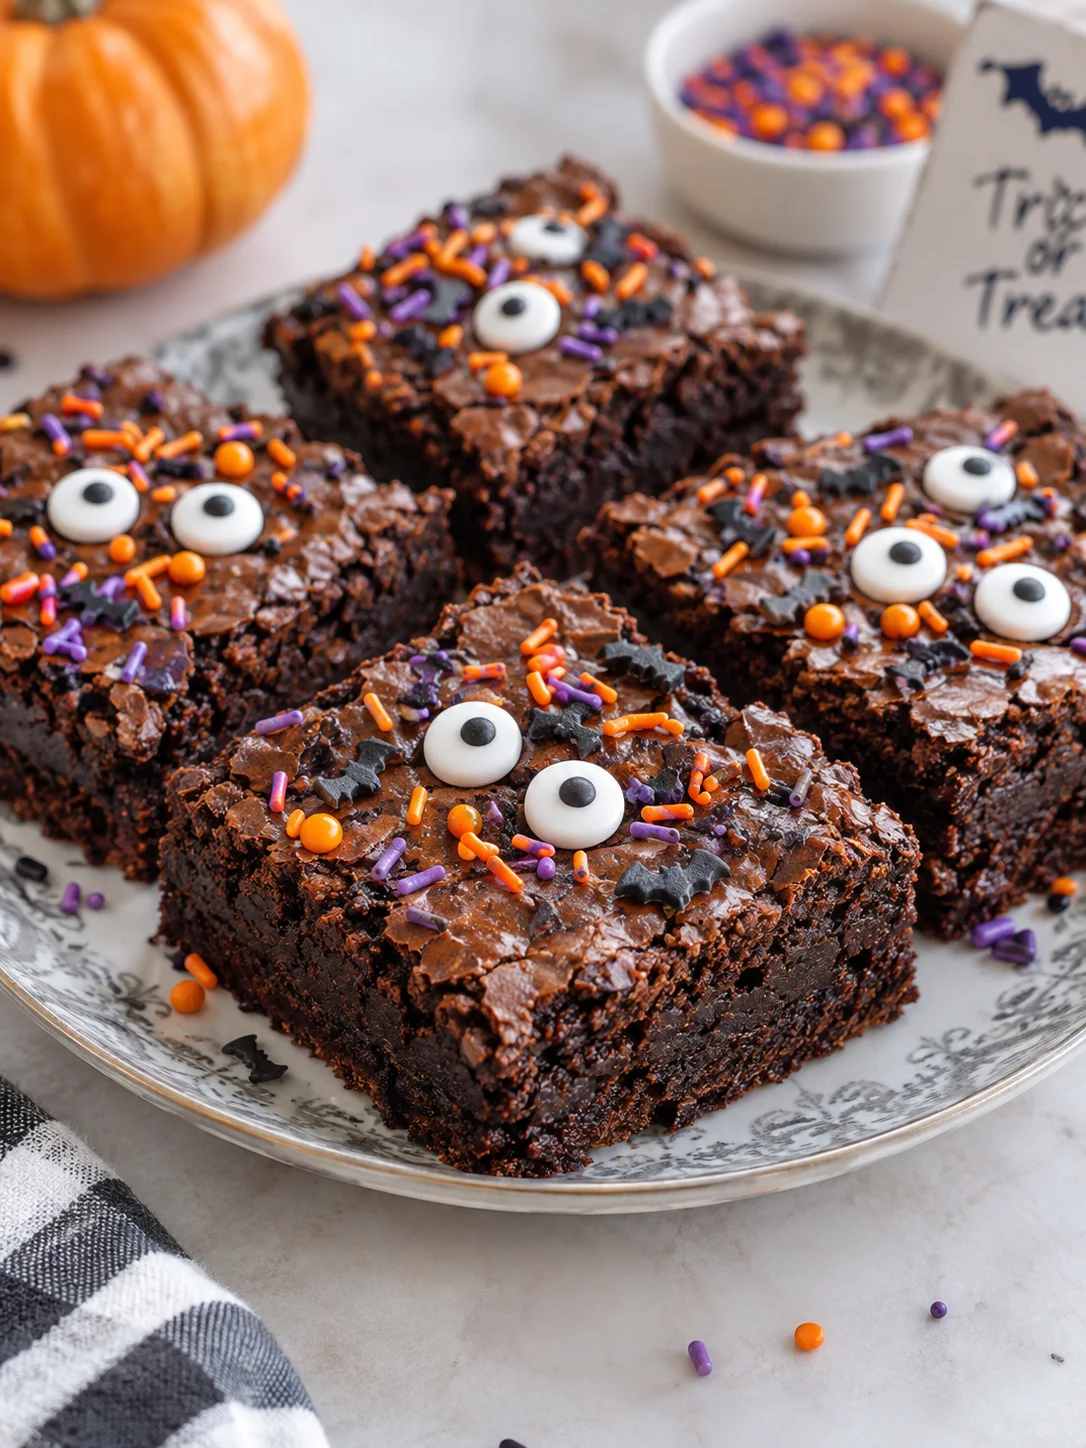
These brownies can be stored at room temperature for up to 4 days or frozen for up to 1 month. To freeze, wrap the brownies tightly in plastic wrap or aluminum foil and place them in a freezer-safe bag. To reheat, simply thaw the brownies at room temperature or reheat them in the microwave for a few seconds.
Recipe Variations and Flavor Adaptations
To give your brownies a unique twist, you can try adding different mix-ins such as chopped nuts, dried cranberries, or even candy pieces. You can also experiment with different types of cocoa powder, such as black cocoa powder or natural cocoa powder, to change the flavor and texture of the brownies.
For a gluten-free version, you can substitute the all-purpose flour with a gluten-free flour blend. Just be sure to adjust the ratio of flours and add xanthan gum as needed to achieve the right texture.
Halloween Brownies

Equipment
- 8×8-inch square baking pan
- Parchment paper
- Mixing bowl
- Whisk
- Rubber spatula
Ingredients
Brownies
- 1/2 cup salted butter, melted
- 1 cup granulated sugar
- 2 large eggs
- 1 teaspoon alcohol-free vanilla flavor
- 2/3 cup Dutch-processed cocoa powder
- 1/2 cup all-purpose flour
- 1/2 cup semi-sweet chocolate chips
- 2 tablespoons candy eyeballs (halal-certified)
- 1/4 cup orange and purple sprinkles
Instructions
- Preheat your oven to 350°F (175°C). Line an 8×8-inch square baking pan with parchment paper, leaving an overhang on the sides for easy removal.
- In a large mixing bowl, whisk together the melted salted butter and granulated sugar until the mixture is well combined and grainy.
- Add the eggs and alcohol-free vanilla flavor. Whisk vigorously by hand for about 1 to 2 minutes until the batter looks smooth and shiny; this helps create a crackly top.
- Sift in the Dutch-processed cocoa powder and all-purpose flour to ensure there are no lumps. Use a rubber spatula to fold the dry ingredients into the wet mixture until just combined.
- Gently fold in the semi-sweet chocolate chips.
- Pour the batter into the prepared baking pan and spread it evenly into the corners using a spatula.
- Bake for 22 to 26 minutes. Test for doneness by inserting a toothpick into the center; it should come out with a few moist, fudgy crumbs attached, but not raw batter.
- Remove the pan from the oven. While the brownies are still hot, randomly press the candy eyeballs into the surface to create a ‘spooky’ look. Scatter the orange and purple sprinkles over the top so they adhere to the warm chocolate.
- Allow the brownies to cool completely in the pan for at least 1 hour. This is critical for achieving a fudgy texture and clean cuts.
- Lift the brownies out of the pan using the parchment edges. Using a sharp knife dipped in hot water and wiped dry, cut the brownies into 9 large squares, cleaning the blade between each cut for a professional finish.
Notes
- Calories: 315
- Protein: 4g
- Carbohydrates: 42g
- Fat: 18g
- Saturated fat: 11g
- Cholesterol: 75mg
- Sodium: 110mg
- Potassium: 0mg
- Fiber: 3g
- Sugar: 32g
Frequently Asked Questions
How can I make these brownies look extra dark without using food coloring?
To achieve a spooky “midnight” look, use Dutch-processed or black cocoa powder instead of standard natural cocoa. These varieties are alkalized, resulting in a deeper, more intense chocolate flavor and a naturally dark appearance that serves as the perfect backdrop for colorful Halloween sprinkles.
How do I choose Halloween toppings that are gelatin-free and halal-compliant?
Many traditional festive candies, like certain candy corn or marshmallows, contain pork-based gelatin, so it is essential to opt for pectin-based or beef-gelatin alternatives. For a safe and spooky look, stick to chocolate-based candies, sugar-based candy eyeballs, and sprinkles that are explicitly labeled as halal-friendly or vegan.
What is the secret to cutting fudgy brownies into perfectly clean squares?
The best way to get professional-looking edges is to let the brownies cool completely and then use a sharp knife dipped in hot water. Wipe the blade clean with a cloth after every single slice to prevent the fudgy center or sticky candy toppings from dragging and smearing.
Should I add the candy decorations before or after baking?
It is best to press larger items like candy eyeballs or chocolate pieces into the brownies immediately after they come out of the oven while they are still soft and warm. For more delicate decorations or chocolate sandwich cookies, wait until the brownies have cooled slightly and use a small dab of melted chocolate as “glue” to secure them in place.