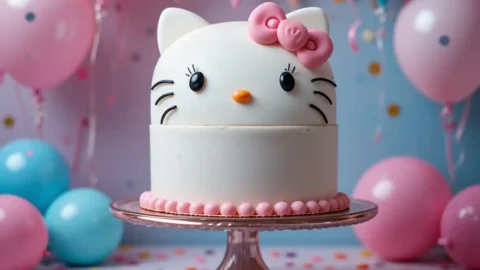
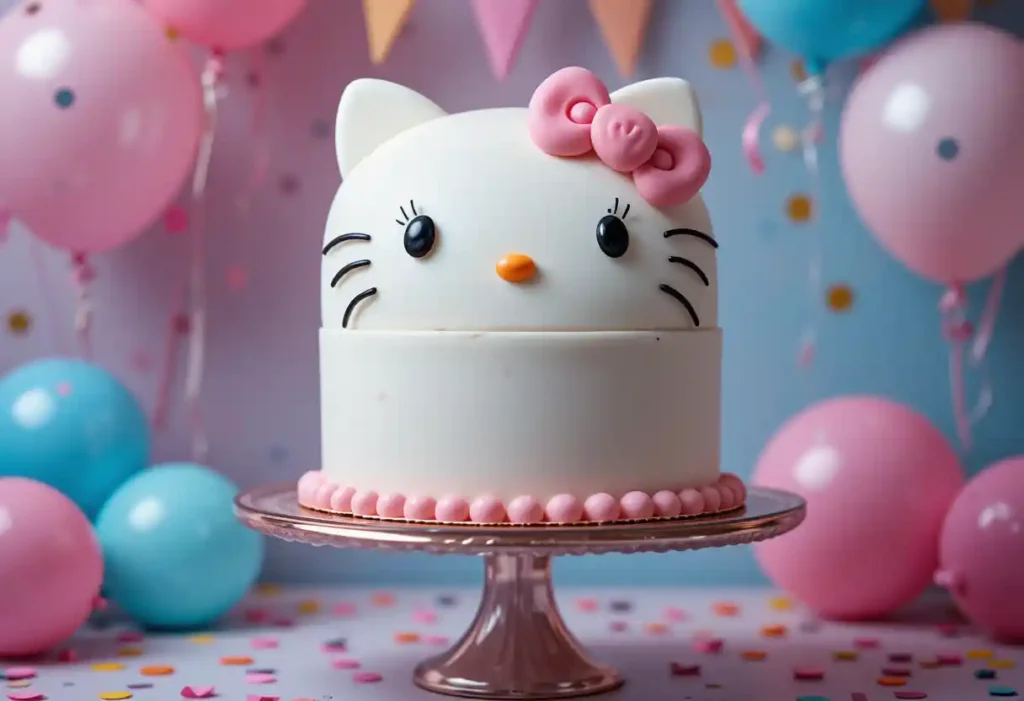
Who doesn’t love a cake that’s as adorable as it is delicious? If you’re planning a party or simply want to brighten someone’s day, a Hello Kitty cake is the perfect way to add a touch of magic to your celebration. Whether you’re a seasoned baker or trying your hand at cake decorating for the first time, this festive dessert is surprisingly easy to create and endlessly customizable. Imagine the smiles on your guests’ faces when they see this kid-friendly cake adorned with Hello Kitty’s iconic bow and whiskers!
From birthday parties to themed gatherings, this creative cake design is a showstopper that’s sure to spark joy. Plus, with a few simple baking hacks and decorating tips, you can make it uniquely yours. Ready to bring a little Hello Kitty charm to your kitchen? Let’s dive in and create a cake that’s as fun to make as it is to eat!
Key Benefits of a Hello Kitty Cake
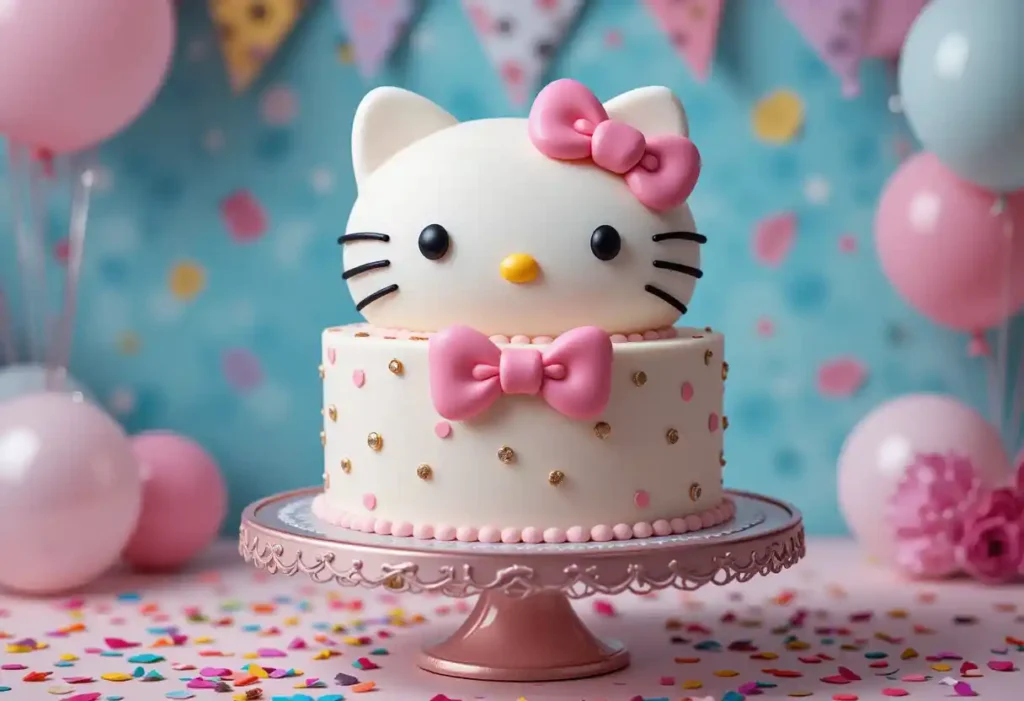
When it comes to party desserts, a Hello Kitty cake isn’t just a treat—it’s an experience! Here’s why this festive cake deserves a spot at your next celebration:
- Kid-Friendly Fun: Perfect for birthdays or themed parties, this cake is a hit with Hello Kitty fans of all ages. Its playful design brings smiles and creates lasting memories.
- Customizable Creativity: Whether you’re a beginner or a pro, this cake is incredibly versatile. Swap colors, add edible glitter, or experiment with flavors to make it your own.
- Festive Centerpiece: A Hello Kitty-themed cake instantly elevates your dessert table, becoming the star of the party. Pair it with matching decorations for a cohesive look.
- Easy to Make: Don’t let the adorable design intimidate you! With simple baking hacks and step-by-step instructions, even novice bakers can create a stunning cake.
- Perfect for Sharing: Beyond its visual appeal, this cake is deliciously moist and flavorful, making it a crowd-pleaser for both kids and adults.
Whether you’re celebrating a birthday, hosting a themed gathering, or simply indulging your love for creative baking, this Hello Kitty cake is a delightful way to add a touch of magic to any occasion. Ready to get started? Let’s gather our ingredients and bring this charming dessert to life!
Ingredients for Your Hello Kitty Cake
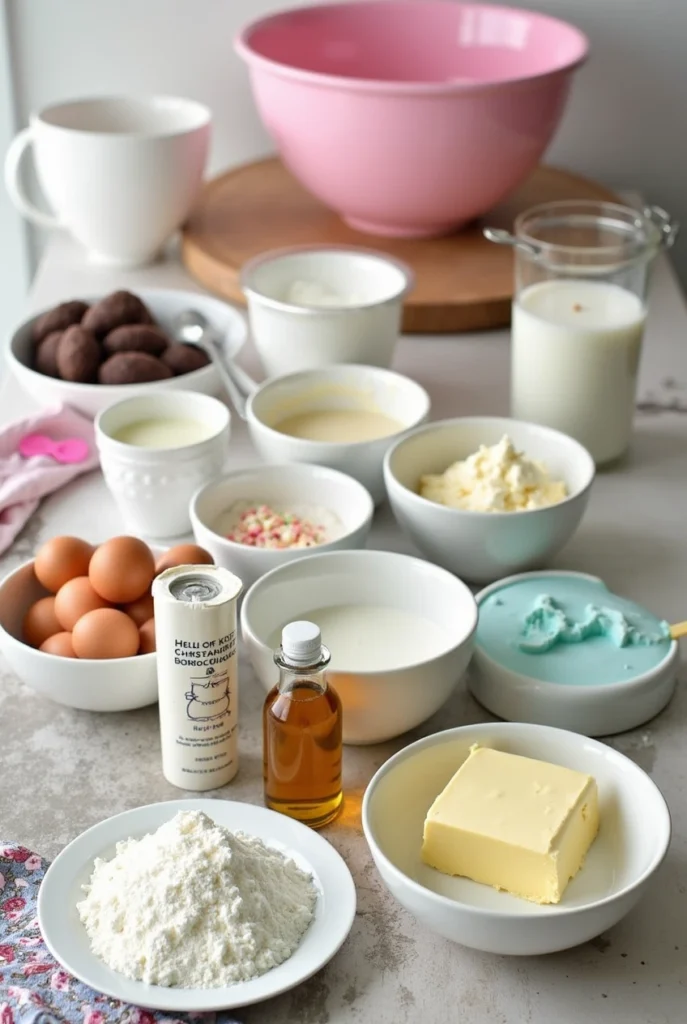
Creating a Hello Kitty cake is easier than you think, especially when you have the right ingredients on hand. Here’s everything you’ll need to bring this festive dessert to life:
For the Cake:
- 2 ½ cups (315g) all-purpose flour
- 2 ½ tsp baking powder
- ½ tsp salt
- 1 cup (225g) unsalted butter, softened
- 1 ¾ cups (350g) granulated sugar
- 4 large eggs, room temperature
- 2 tsp vanilla extract
- 1 cup (240ml) whole milk
For the Frosting:
- 1 ½ cups (340g) unsalted butter, softened
- 4 cups (500g) powdered sugar
- 2-3 tbsp heavy cream or milk
- 1 tsp vanilla extract
- Pink and black gel food coloring (for Hello Kitty’s bow and details)
For Decorating:
- 1 lb (450g) white fondant (for Hello Kitty’s face)
- ½ lb (225g) pink fondant (for the bow)
- Edible black marker or black fondant (for whiskers and eyes)
- Optional: Edible glitter, sprinkles, or edible pearls for extra sparkle
Tools You’ll Need:
- 8-inch round cake pans (2)
- Piping bags and tips (optional)
- Fondant rolling pin and shaping tools
- Cake turntable (for easy decorating)
________________________
Pro Tips for Ingredient Prep:
- Room Temperature Ingredients: Ensure your butter, eggs, and milk are at room temperature for a smoother batter and fluffier cake.
- Gel Food Coloring: Gel-based colors are more vibrant and won’t alter the consistency of your frosting.
- Fondant Fun: If you’re new to fondant, knead it well to make it pliable and easier to work with.
With these ingredients and tools ready, you’re all set to bake and decorate a Hello Kitty cake that’s as delightful to make as it is to eat. Let’s move on to the fun part—baking and assembling your masterpiece!
Step-by-Step Instructions for Your Hello Kitty Cake
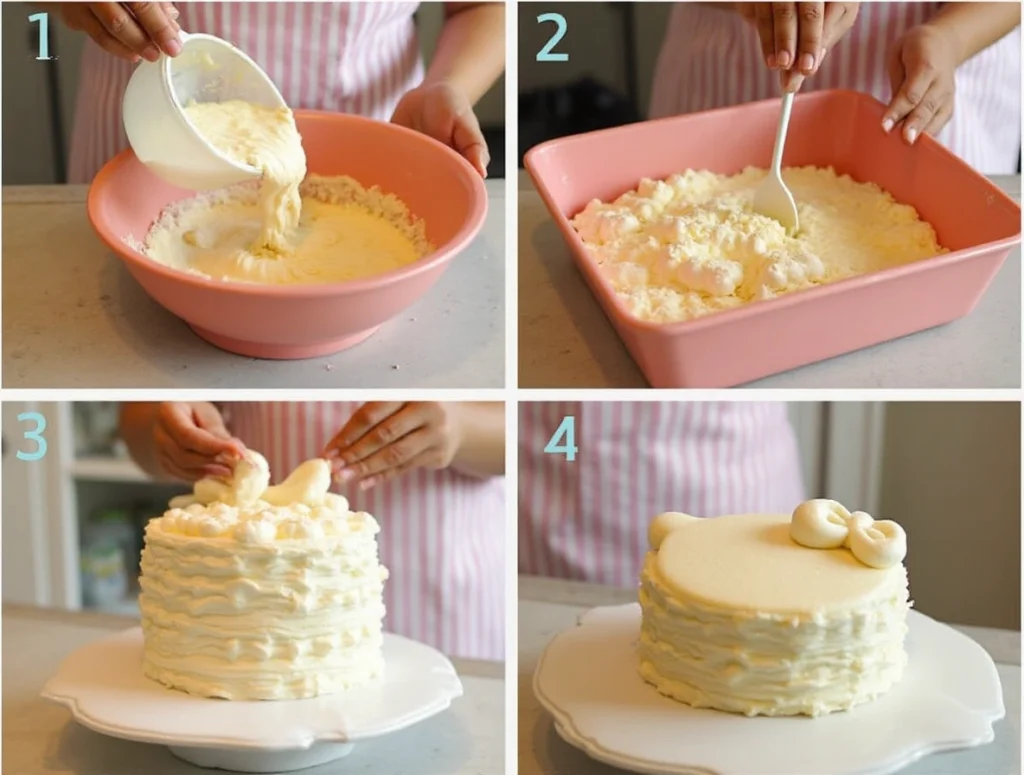
Ready to bring your Hello Kitty cake to life? Follow these easy steps to bake, frost, and decorate a cake that’s as charming as it is delicious. Let’s get started!
1. Bake the Cake
- Preheat and Prep: Preheat your oven to 350°F (175°C). Grease two 8-inch round cake pans and line them with parchment paper for easy removal.
- Mix Dry Ingredients: In a medium bowl, whisk together the flour, baking powder, and salt. Set aside.
- Cream Butter and Sugar: In a large mixing bowl, beat the softened butter and sugar until light and fluffy (about 3-4 minutes).
- Add Eggs and Vanilla: Beat in the eggs one at a time, followed by the vanilla extract.
- Combine Wet and Dry Ingredients: Gradually add the dry ingredients to the butter mixture, alternating with the milk. Mix until just combined—don’t overmix!
- Bake: Divide the batter evenly between the prepared pans. Bake for 25-30 minutes, or until a toothpick inserted into the center comes out clean. Let the cakes cool completely before decorating.
2. Prepare the Frosting
- Beat the Butter: In a large bowl, beat the softened butter until smooth and creamy.
- Add Powdered Sugar: Gradually add the powdered sugar, mixing on low speed to avoid a sugar cloud. Once incorporated, increase the speed and beat until fluffy.
- Adjust Consistency: Add heavy cream or milk, one tablespoon at a time, until the frosting reaches your desired consistency. Stir in the vanilla extract.
- Color the Frosting: Divide the frosting into two bowls. Tint one portion pink (for the bow) and leave the other white (for the base).
3. Assemble and Frost the Cake
- Level the Cakes: If needed, trim the tops of the cooled cakes to create an even surface.
- Layer and Frost: Place one cake layer on a cake stand or plate. Spread a thin layer of white frosting on top. Add the second layer and cover the entire cake with a crumb coat (a thin layer of frosting to seal in crumbs). Chill for 15-20 minutes.
- Final Frosting: Apply a thick, even layer of white frosting over the chilled cake. Use a spatula or bench scraper to smooth the sides and top.
4. Decorate with Fondant
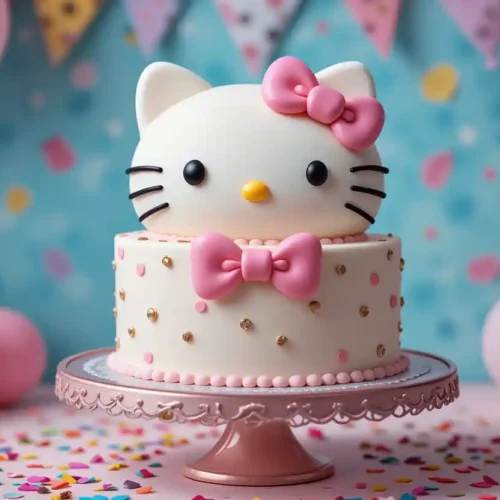
- Create Hello Kitty’s Face: Roll out the white fondant to about ¼-inch thickness. Cut out a large circle to cover the top of the cake. Gently press it onto the frosted surface.
- Make the Bow: Roll out the pink fondant and cut out two teardrop shapes for the bow loops and a small rectangle for the center. Assemble the bow and place it on the side of the cake.
- Add Details: Use an edible black marker or black fondant to draw Hello Kitty’s eyes, whiskers, and nose. For extra sparkle, add edible glitter or sprinkles around the edges.
5. Final Touches
- Chill the Cake: Let the cake set in the fridge for 15-20 minutes before serving.
- Slice and Serve: Use a sharp knife to cut clean slices, revealing the beautiful layers inside.
Pro Tips for Success:
- Patience is Key: Let the cake cool completely before frosting to prevent melting.
- Fondant Tricks: If the fondant sticks, lightly dust your work surface with powdered sugar.
- Get Creative: Add edible pearls, sprinkles, or even a personalized message to make the cake uniquely yours.
With these steps, you’ll have a Hello Kitty cake that’s not only adorable but also a delicious centerpiece for your celebration. Ready to wow your guests? Let’s move on to some creative variations and serving ideas!
Pro Tips and Variations for Your Hello Kitty Cake
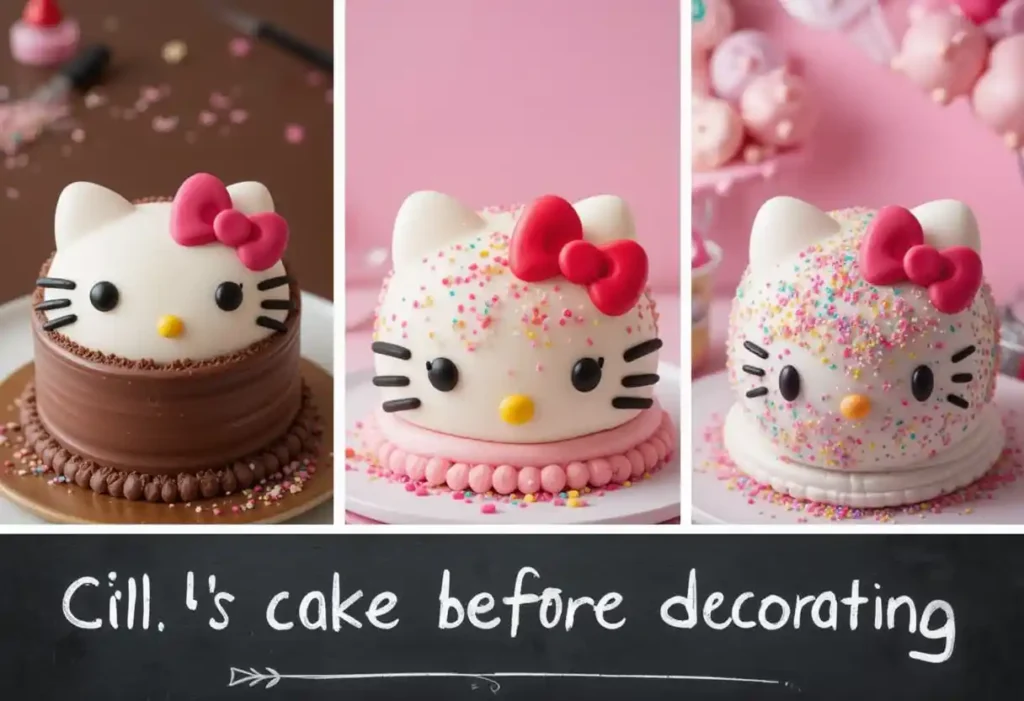
Want to take your Hello Kitty cake to the next level? Whether you’re looking to save time, experiment with flavors, or add a personal twist, these pro tips and creative variations will help you customize your cake like a pro.
Pro Tips for Perfect Results
- Even Layers: Use a cake leveler or a serrated knife to trim the tops of your cakes for a perfectly even surface.
- Crumb Coat Magic: Apply a thin crumb coat of frosting before the final layer to seal in crumbs and create a smooth base.
- Fondant Smoothing: Use a fondant smoother or your hands to gently press out any air bubbles or wrinkles in the fondant.
- Chill for Success: If the cake or frosting feels too soft, pop it in the fridge for 15-20 minutes to firm up before decorating.
- Edible Marker Hack: If you’re nervous about freehanding Hello Kitty’s face, lightly sketch the design with a toothpick before using the edible marker.
Flavor Variations
- Chocolate Lovers: Swap the vanilla cake for a rich chocolate version. Use cocoa powder in the batter and chocolate frosting for a decadent twist.
- Fruity Fun: Add a layer of strawberry or raspberry jam between the cake layers for a burst of fruity flavor.
- Lemon Zest: Mix lemon zest into the batter and frosting for a bright, citrusy kick that pairs perfectly with the sweet design.
- Almond Delight: Replace the vanilla extract with almond extract for a nutty, aromatic flavor.
Dietary Adaptations
- Gluten-Free: Use a 1:1 gluten-free flour blend to make the cake celiac-friendly.
- Vegan: Substitute the butter with vegan margarine, eggs with flax eggs, and milk with almond or oat milk.
- Sugar-Free: Replace granulated sugar with a sugar alternative like erythritol or stevia for a lower-calorie option.
Creative Decorating Ideas
- Edible Glitter: Add a sprinkle of edible glitter to the fondant for a magical, sparkling effect.
- Mini Hello Kitties: Use fondant to create small Hello Kitty toppers for cupcakes or cake pops.
- Themed Toppers: Pair the cake with Hello Kitty figurines, candles, or even a matching tablecloth for a cohesive party theme.
- Color Swap: Change the bow color to match your party’s color scheme—think gold for a glamorous look or pastel shades for a spring celebration.
Time-Saving Hacks
- Pre-Made Fondant: Save time by using store-bought fondant instead of making it from scratch.
- Box Mix Shortcut: Use a high-quality vanilla cake mix as a base, then focus your energy on decorating.
- Pre-Colored Frosting: Opt for pre-tinted frosting tubes for small details like the bow or whiskers.
With these pro tips and variations, you can tailor your Hello Kitty cake to suit any occasion, skill level, or dietary need. Whether you’re baking for a birthday, a themed party, or just because, these ideas will help you create a cake that’s as unique as it is adorable. Ready to serve it up? Let’s talk presentation!
Serving Suggestions for Your Hello Kitty Cake
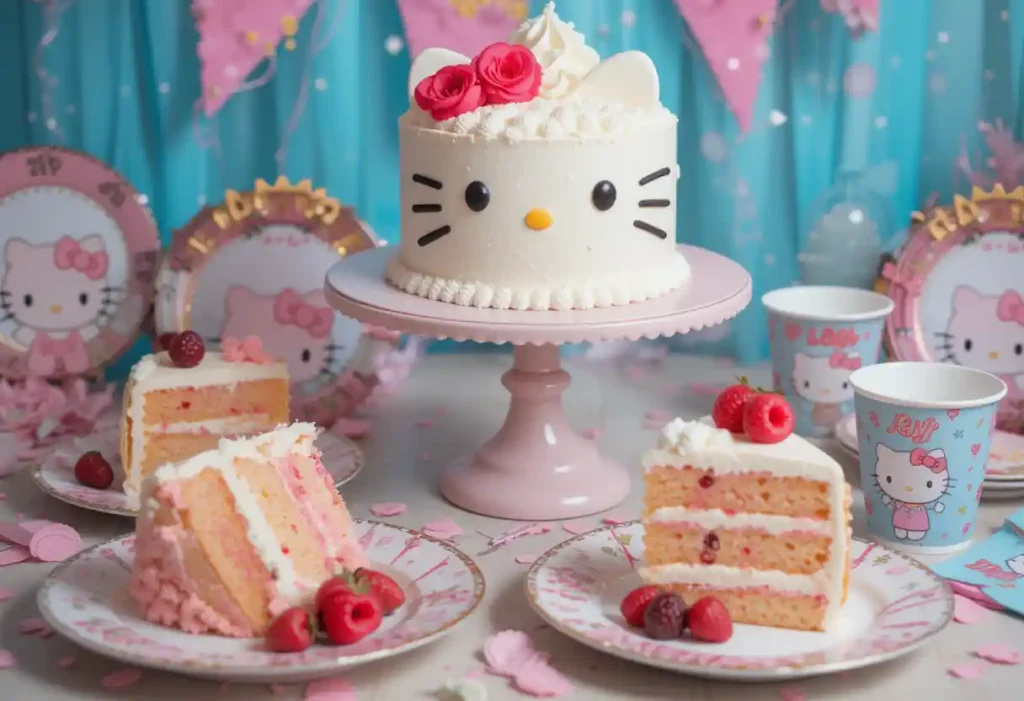
Your Hello Kitty cake is ready to shine, and now it’s time to make it the star of your celebration! Here are some creative serving ideas and practical tips to ensure your cake not only looks amazing but also delights your guests from the first slice to the last.
Presentation Tips
- Cake Stand Centerpiece: Display your cake on a elegant cake stand to elevate its presence on the dessert table.
- Themed Decor: Surround the cake with Hello Kitty-themed plates, napkins, and party favors for a cohesive look.
- Edible Accents: Add a sprinkle of edible glitter or fresh berries around the base of the cake for a pop of color and texture.
- Lighting Magic: Place the cake under soft lighting or a cake dome to highlight its adorable design.
Pairing Ideas
- Complementary Desserts: Serve the cake alongside Hello Kitty-themed cupcakes, cookies, or cake pops for a dessert spread that wows.
- Beverage Pairings: Offer a selection of drinks like pink lemonade, strawberry milkshakes, or sparkling cider to match the cake’s playful vibe.
- Fruit Platter: Balance the sweetness with a fresh fruit platter featuring strawberries, grapes, and pineapple chunks.
Serving Tips
- Clean Slices: Use a sharp knife dipped in hot water and wiped dry between cuts to create clean, neat slices.
- Portion Control: For larger parties, cut smaller slices to ensure everyone gets a taste of this festive dessert.
- Garnish Plates: Add a dollop of whipped cream or a sprinkle of powdered sugar to each plate for an extra touch of elegance.
Storage Advice
- Room Temperature: If serving within a day, store the cake at room temperature under a cake dome to keep it fresh.
- Refrigeration: For longer storage, refrigerate the cake in an airtight container for up to 3 days. Let it come to room temperature before serving for the best texture.
- Freezing Option: Wrap individual slices in plastic wrap and freeze for up to 1 month. Thaw in the fridge overnight before enjoying.
Pro Tip for Leftovers
- Cake Trifle: Transform leftover cake into a delicious trifle by layering chunks with whipped cream and fresh berries in a glass bowl.
With these serving suggestions, your Hello Kitty cake will not only look stunning but also create a memorable experience for your guests. Ready to wrap things up? Let’s move on to the conclusion and answer some common questions!
Conclusion: Celebrate with a Hello Kitty Cake
There’s something truly magical about a Hello Kitty cake—it’s not just a dessert; it’s a celebration of joy, creativity, and love. Whether you’re baking for a birthday, a themed party, or just because, this cake is sure to bring smiles and create unforgettable memories.

From its adorable design to its delicious flavor, this cake is a testament to how baking can be both fun and rewarding. With the step-by-step instructions, pro tips, and creative variations we’ve shared, you’re equipped to make a cake that’s as unique as the occasion you’re celebrating.
So, gather your ingredients, roll up your sleeves, and let your creativity shine. Whether you’re a seasoned baker or trying your hand at cake decorating for the first time, this Hello Kitty cake is a delightful project that’s worth every moment.
Don’t forget to share your masterpiece with friends and family—or even on social media! Tag your photos with #HelloKittyCake and inspire others to create their own edible works of art.
Craving a fun and delicious treat? 🦓✨ Check out our irresistible Zebra Cakes recipe and learn how to create these striped delights—perfect for any occasion!
Thank you for joining us on this sweet adventure. Happy baking, and may your party sparkle with the charm of Hello Kitty!
FAQs: Your Hello Kitty Cake Questions Answered
Got questions about making your Hello Kitty cake? Don’t worry—we’ve got you covered! Here are answers to some of the most common questions to help you bake and decorate with confidence.
1. Can I make this cake ahead of time?
Absolutely! You can bake the cake layers up to 2 days in advance. Wrap them tightly in plastic wrap and store them at room temperature or in the fridge. Frost and decorate the cake the day of your event for the freshest results.
2. How do I prevent my fondant from cracking?
- Knead Well: Make sure to knead the fondant thoroughly until it’s soft and pliable.
- Use Shortening: A tiny bit of vegetable shortening on your hands can help smooth out cracks.
- Avoid Air Exposure: Keep unused fondant covered with plastic wrap to prevent it from drying out.
3. Can I use buttercream instead of fondant?
Yes! If fondant isn’t your thing, you can use buttercream to create Hello Kitty’s face and bow. Pipe the design using a round tip for the face and a star tip for the bow. It’s a great option for a softer, more rustic look
4. How do I store leftover cake?
- Room Temperature: Store the cake in an airtight container at room temperature for up to 2 days.
- Refrigerate: For longer storage, refrigerate for up to 5 days. Let it come to room temperature before serving.
- Freeze: Wrap individual slices in plastic wrap and freeze for up to 1 month. Thaw in the fridge overnight.
5. Can I make this cake gluten-free or vegan?
Definitely!
- Gluten-Free: Use a 1:1 gluten-free flour blend in place of all-purpose flour.
- Vegan: Substitute butter with vegan margarine, eggs with flax eggs, and milk with almond or oat milk. Check that your fondant and food coloring are vegan-friendly too.
6. My frosting is too runny. What should I do?
- Chill It: Pop the frosting in the fridge for 15-20 minutes to firm it up.
- Add More Sugar: Gradually mix in more powdered sugar until you reach the desired consistency.
7. How can I make the cake more festive?
- Add Sprinkles: Use colorful sprinkles or edible pearls around the edges of the cake.
- Edible Glitter: Dust the cake with edible glitter for a magical sparkle.
- Themed Toppers: Add Hello Kitty figurines, candles, or even a personalized message to make it extra special.
8. What if I don’t have an edible marker?
No problem! You can use black fondant to create Hello Kitty’s eyes, whiskers, and nose. Roll tiny pieces of fondant into thin strips or small dots and gently press them onto the cake.
9. Can I use a different cake pan size?
Yes, but adjust the baking time accordingly. For example:
- 6-inch pans: Increase the baking time by 5-10 minutes.
- 9-inch pans: Reduce the baking time by 5-10 minutes. Always check for doneness with a toothpick.
10. How do I transport the cake safely?
- Use a Cake Carrier: A sturdy cake carrier with a flat base is ideal.
- Non-Slip Mat: Place a non-slip mat or damp paper towel under the cake stand to prevent sliding.
- Chill First: Refrigerate the cake for 20-30 minutes before transporting to firm up the frosting and fondant.
____________________
hello kitty cake
Ingredients
For the Cake:
- 2 ½ cups 315g all-purpose flour
- 2 ½ tsp baking powder
- ½ tsp salt
- 1 cup 225g unsalted butter, softened
- 1 ¾ cups 350g granulated sugar
- 4 large eggs room temperature
- 2 tsp vanilla extract
- 1 cup 240ml whole milk
For the Frosting:
- 1 ½ cups 340g unsalted butter, softened
- 4 cups 500g powdered sugar
- 2-3 tbsp heavy cream or milk
- 1 tsp vanilla extract
- Pink and black gel food coloring for Hello Kitty’s bow and details
For Decorating:
- 1 lb 450g white fondant (for Hello Kitty’s face)
- ½ lb 225g pink fondant (for the bow)
- Edible black marker or black fondant for whiskers and eyes
- Optional: Edible glitter sprinkles, or edible pearls for extra sparkle
Tools You’ll Need:
- 8- inch round cake pans 2
- Piping bags and tips optional
- Fondant rolling pin and shaping tools
- Cake turntable for easy decorating
Instructions
Bake the Cake
- Preheat and Prep: Preheat your oven to 350°F (175°C). Grease two 8-inch round cake pans and line them with parchment paper for easy removal.
- Mix Dry Ingredients: In a medium bowl, whisk together the flour, baking powder, and salt. Set aside.
- Cream Butter and Sugar: In a large mixing bowl, beat the softened butter and sugar until light and fluffy (about 3-4 minutes).
- Add Eggs and Vanilla: Beat in the eggs one at a time, followed by the vanilla extract.
- Combine Wet and Dry Ingredients: Gradually add the dry ingredients to the butter mixture, alternating with the milk. Mix until just combined—don’t overmix!
- Bake: Divide the batter evenly between the prepared pans. Bake for 25-30 minutes, or until a toothpick inserted into the center comes out clean. Let the cakes cool completely before decorating.
Prepare the Frosting
- Beat the Butter: In a large bowl, beat the softened butter until smooth and creamy.
- Add Powdered Sugar: Gradually add the powdered sugar, mixing on low speed to avoid a sugar cloud. Once incorporated, increase the speed and beat until fluffy.
- Adjust Consistency: Add heavy cream or milk, one tablespoon at a time, until the frosting reaches your desired consistency. Stir in the vanilla extract.
- Color the Frosting: Divide the frosting into two bowls. Tint one portion pink (for the bow) and leave the other white (for the base).
Assemble and Frost the Cake
- Level the Cakes: If needed, trim the tops of the cooled cakes to create an even surface.
- Layer and Frost: Place one cake layer on a cake stand or plate. Spread a thin layer of white frosting on top. Add the second layer and cover the entire cake with a crumb coat (a thin layer of frosting to seal in crumbs). Chill for 15-20 minutes.
- Final Frosting: Apply a thick, even layer of white frosting over the chilled cake. Use a spatula or bench scraper to smooth the sides and top.
Decorate with Fondant
- Create Hello Kitty’s Face: Roll out the white fondant to about ¼-inch thickness. Cut out a large circle to cover the top of the cake. Gently press it onto the frosted surface.
- Make the Bow: Roll out the pink fondant and cut out two teardrop shapes for the bow loops and a small rectangle for the center. Assemble the bow and place it on the side of the cake.
- Add Details: Use an edible black marker or black fondant to draw Hello Kitty’s eyes, whiskers, and nose. For extra sparkle, add edible glitter or sprinkles around the edges.
Final Touches
- Chill the Cake: Let the cake set in the fridge for 15-20 minutes before serving.
- Slice and Serve: Use a sharp knife to cut clean slices, revealing the beautiful layers inside.
Notes
Nutrition Information (Per Serving)
- Calories: 450 kcal
- Fat: 22g
- Saturated Fat: 14g
- Carbohydrates: 60g
- Sugar: 45g
- Protein: 5g
- Cholesterol: 95mg
- Sodium: 150mg

