
Are you looking for a classic cookie recipe that’s easy to make and always a crowd-pleaser? Look no further than this thumbprint cookies recipe, featuring jam-filled centers and a delicious shortbread texture. You’ll love this recipe because it’s simple, requires minimal ingredients, and can be made ahead of time for a stress-free baking experience. Whether you’re a beginner or an experienced baker, this recipe is perfect for holiday gatherings, special occasions, or just a sweet treat any time of the year.
Table of Contents
Why You’ll Love This Recipe
- Easy to make with a short ingredient list
- Delicious shortbread texture with a sweet jam-filled center
- Perfect for holiday baking, gift-giving, or everyday treats
- Can be made ahead of time and frozen for convenience
Key Ingredients & Substitutions
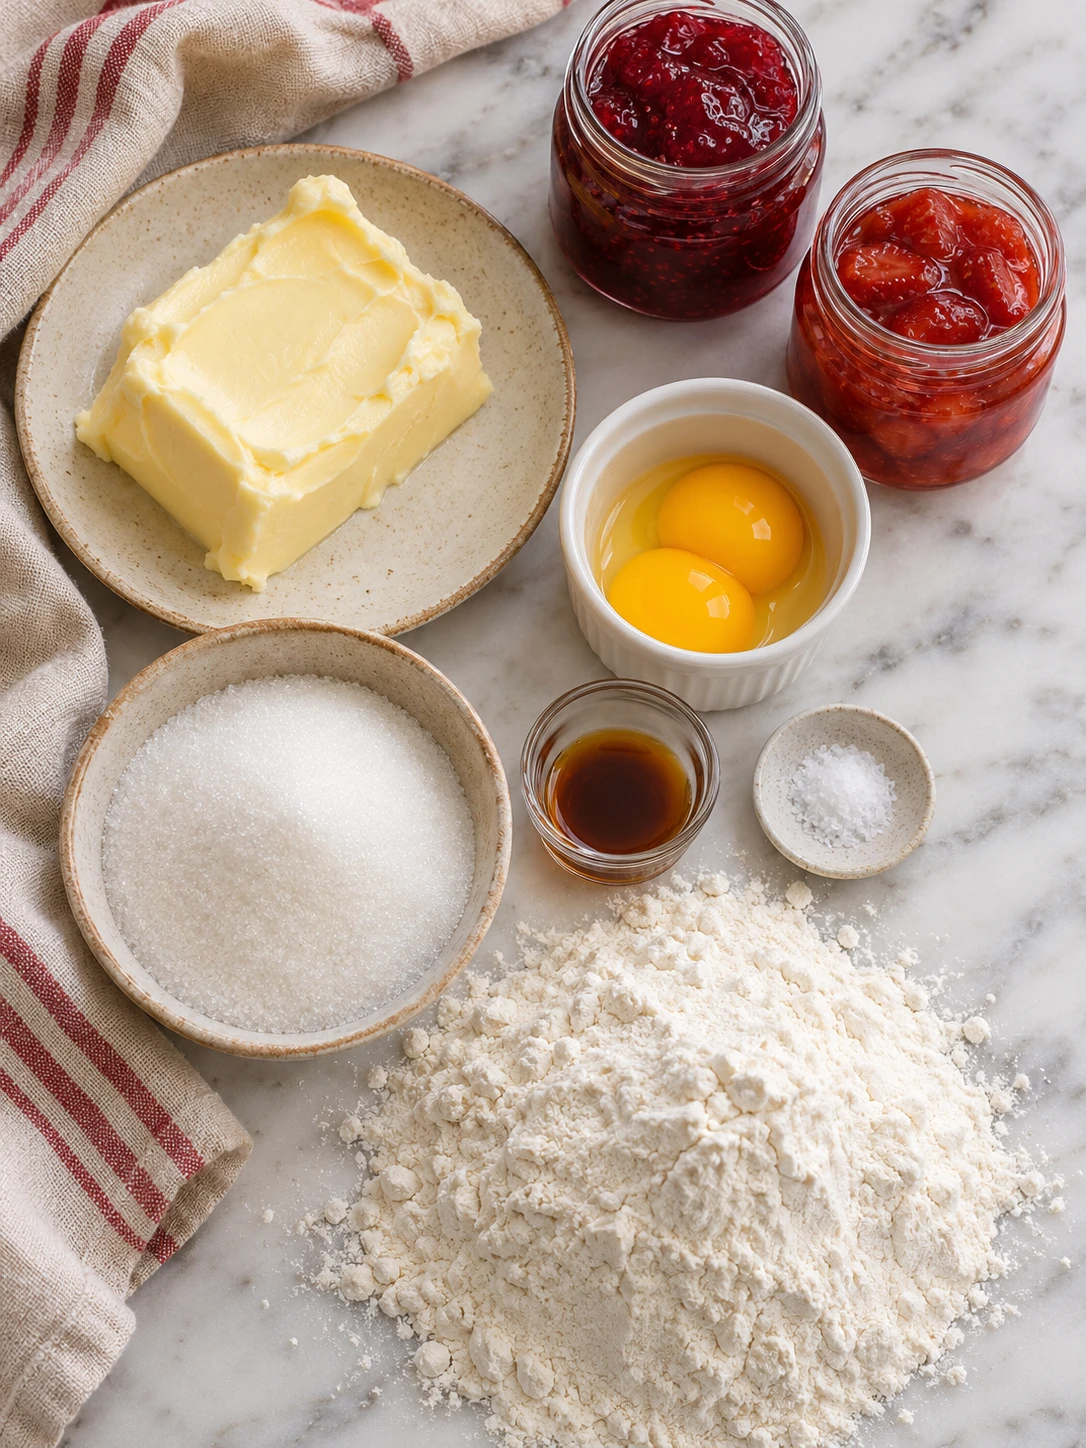
To make these delicious thumbprint cookies, you’ll need the following ingredients:
- 1 cup unsalted butter, softened
- 1/2 cup granulated sugar
- 2 large egg yolks
- 1 teaspoon non-alcoholic vanilla extract
- 1/4 teaspoon fine sea salt
- 2 1/4 cups all-purpose flour
- 1/2 cup fruit preserves (such as raspberry, strawberry, or apricot)
If you’re looking for a gluten-free alternative, you can substitute the all-purpose flour with a 1:1 gluten-free flour blend. However, keep in mind that gluten-free baking can be more delicate, and the texture may vary slightly.
Step-by-Step Instructions
1. Preheat your oven to 350°F (175°C) and line two large baking sheets with parchment paper or silicone baking mats.
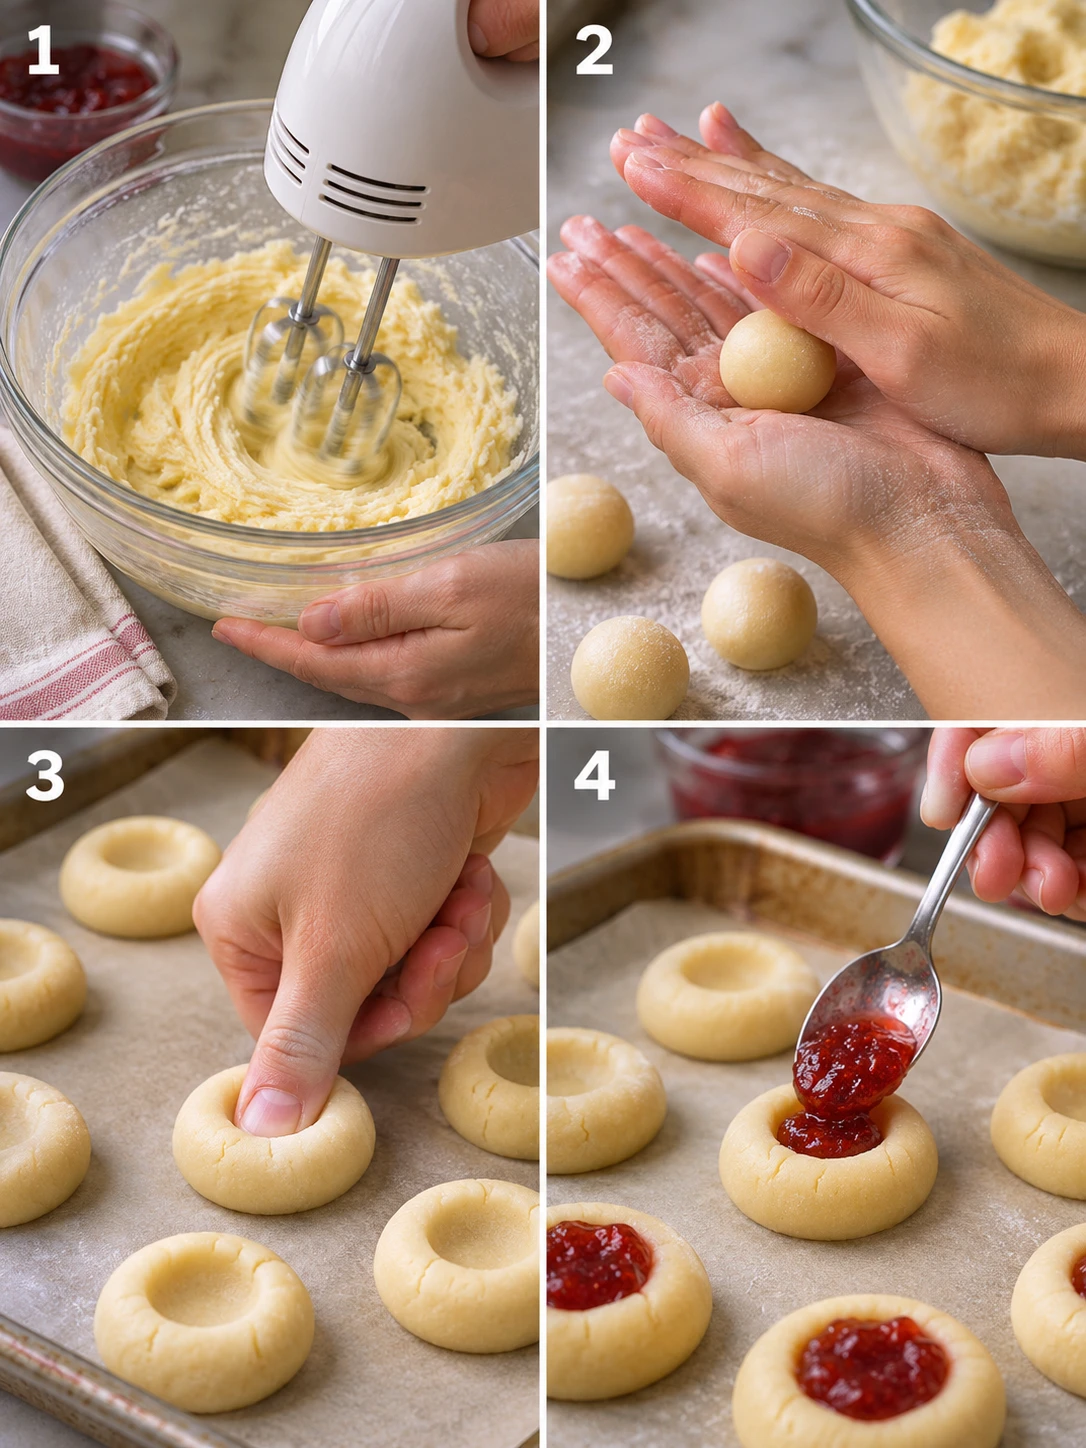
2. In a large mixing bowl, cream the softened unsalted butter and granulated sugar together using an electric mixer on medium-high speed for 2 to 3 minutes until the mixture is light and fluffy.
3. Add the egg yolks and non-alcoholic vanilla extract to the butter mixture and beat until well combined, scraping down the sides of the bowl as needed.
4. In a separate bowl, whisk together the all-purpose flour and fine sea salt.
5. Gradually add the dry ingredients to the wet ingredients, mixing on low speed just until a soft dough forms and no streaks of flour remain.
6. Scoop the dough into 1-inch balls (about 1 tablespoon each) and roll them between your palms until smooth.
7. Place the balls 2 inches apart on the prepared baking sheets. Use your thumb or the back of a rounded 1/2 teaspoon measuring spoon to press a deep indentation into the center of each cookie.
8. If the edges crack significantly, use slightly damp fingers to gently press the dough back together for a smooth finish.
9. Chill the baking sheets with the shaped dough in the refrigerator for at least 30 minutes; this prevents the cookies from spreading and losing the thumbprint shape during baking.
10. Remove from the refrigerator and spoon approximately 1/2 teaspoon of fruit preserves into the center of each indentation.
11. Bake for 10 to 12 minutes, or until the edges of the cookies are set and just barely beginning to turn a light golden brown.
12. Allow the cookies to cool on the baking sheet for 5 to 10 minutes before transferring them to a wire rack to cool completely.
For more delicious cookie recipes, be sure to check out our Christmas Crack recipe, featuring a crunchy, caramel-like topping. You can also find a detailed Christmas Crack Recipe with step-by-step instructions and tips for making this popular holiday treat.
Expert Chef Tips & Troubleshooting
To ensure your thumbprint cookies turn out perfectly, follow these expert tips:
- Use high-quality ingredients, including real butter and pure vanilla extract, for the best flavor.
- Don’t overmix the dough, as this can lead to tough cookies.
- If your cookies spread too much during baking, try chilling the dough for a longer period or using a combination of white and brown sugar for better browning.
When it comes to storing and reheating your thumbprint cookies, be sure to follow safe food handling practices. Check out the cold food storage guidelines for tips on how to keep your cookies fresh and safe to eat. You can also refer to the food safety guidelines for leftovers for more information on handling and storing baked goods.
Storage, Make-Ahead & Reheating

These thumbprint cookies are perfect for making ahead of time and freezing for up to three months. Simply scoop the dough into balls, press the indentation, and freeze on a baking sheet. Transfer the frozen dough balls to a freezer-safe bag or container and bake frozen, adding an extra minute or two to the baking time.

Thumbprint Cookies Recipe

Equipment
- Large mixing bowl
- Electric mixer
- Baking sheets
- Parchment paper or silicone baking mats
Ingredients
Dough
- 1 cup unsalted butter, softened
- 1/2 cup granulated sugar
- 2 large egg yolks
- 1 teaspoon non-alcoholic vanilla extract
- 1/4 teaspoon fine sea salt
- 2 1/4 cups all-purpose flour
Filling
- 1/2 cup fruit preserves such as raspberry, strawberry, or apricot
Instructions
- Preheat your oven to 350°F (175°C) and line two large baking sheets with parchment paper or silicone baking mats.
- In a large mixing bowl, cream the softened unsalted butter and granulated sugar together using an electric mixer on medium-high speed for 2 to 3 minutes until the mixture is light and fluffy.
- Add the egg yolks and non-alcoholic vanilla extract to the butter mixture and beat until well combined, scraping down the sides of the bowl as needed.
- In a separate bowl, whisk together the all-purpose flour and fine sea salt.
- Gradually add the dry ingredients to the wet ingredients, mixing on low speed just until a soft dough forms and no streaks of flour remain.
- Scoop the dough into 1-inch balls (about 1 tablespoon each) and roll them between your palms until smooth.
- Place the balls 2 inches apart on the prepared baking sheets. Use your thumb or the back of a rounded 1/2 teaspoon measuring spoon to press a deep indentation into the center of each cookie.
- If the edges crack significantly, use slightly damp fingers to gently press the dough back together for a smooth finish.
- Chill the baking sheets with the shaped dough in the refrigerator for at least 30 minutes; this prevents the cookies from spreading and losing the thumbprint shape during baking.
- Remove from the refrigerator and spoon approximately 1/2 teaspoon of fruit preserves into the center of each indentation.
- Bake for 10 to 12 minutes, or until the edges of the cookies are set and just barely beginning to turn a light golden brown.
- Allow the cookies to cool on the baking sheet for 5 to 10 minutes before transferring them to a wire rack to cool completely.
Notes
- Calories: 145
- Protein: 2g
- Carbohydrates: 17g
- Fat: 8g
- Saturated fat: 5g
- Cholesterol: 37mg
- Sodium: 30mg
- Potassium: 20mg
- Fiber: 0g
- Sugar: 9g
Frequently Asked Questions
How do I prevent my thumbprint cookies from cracking?
To avoid cracks, roll the dough into smooth, uniform balls and use slightly damp fingers to press the indentation. If a small crack does appear, simply use your thumb or a spoon to gently smooth the edges back together before the dough goes into the oven. Chilling the dough for at least 30 minutes before forming the prints also helps the cookies maintain a smooth, crack-free structure.
Should I add the jam before or after baking the cookies?
Adding fruit preserves before baking allows the jam to “set” and creates a chewy, concentrated fruit center that won’t spill when handled. However, if you prefer a brighter, glossier look, you can bake the cookies with just the indentations and add a fresh dollop of preserves immediately after they come out of the oven. Most professional bakers recommend filling before baking for a more traditional texture and better shelf life.
Why did my cookies lose their shape and spread too much?
Excessive spreading usually occurs if the butter was too soft or if the dough wasn’t chilled long enough before baking. Using egg yolks instead of whole eggs helps provide a sturdier structure, but the most important step is chilling the formed dough for 30–60 minutes to solidify the fats. This ensures the “thumbprint” remains deep and defined rather than melting into a flat circle.
Can I freeze the dough to bake these cookies later?
Yes, thumbprint cookies are excellent for make-ahead holiday baking. You can “flash freeze” the raw dough balls with the indentations already pressed into them on a baking sheet, then transfer them to a freezer-safe bag for up to three months. When you are ready to enjoy them, simply add the jam and bake directly from frozen, adding an extra minute or two to the total baking time.