
Decorating holiday treats, birthday cutouts, or afternoon bakes becomes infinitely easier once you master a reliable sugar cookie icing recipe. Many bakers assume that achieving that smooth, bakery-style finish requires working with temperamental egg-white royal icing or specialized equipment. However, a balanced blend of confectioners’ sugar, milk, light corn syrup, and pure flavoring produces a brilliant, high-gloss surface that dries firm enough for stacking while remaining pleasant to bite into.
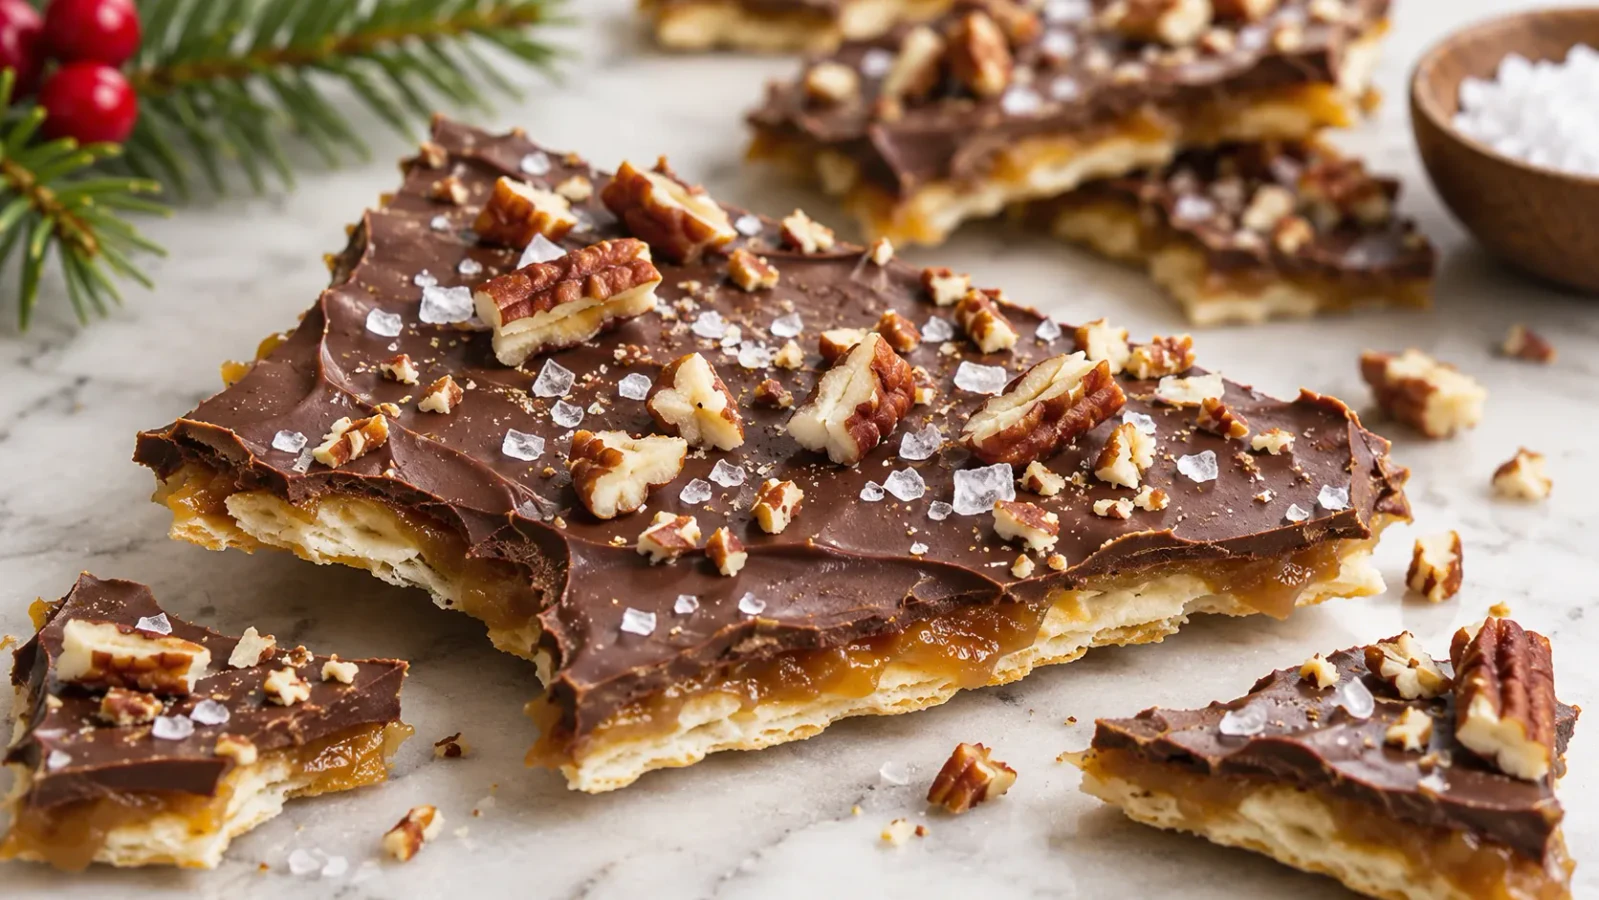
Whether you are preparing a festive platter or setting up cookie gifts alongside holiday sweets like Christmas Crack, having full control over your icing consistency is the secret to crisp edges and seamless flood work. This guide walks you through the straightforward mechanics of adjusting viscosity, coloring without thinning, and ensuring your cookies set hard without losing their shine.
Table of Contents
Why You’ll Love This Recipe
- Dual-Consistency Control: Easily shift between sturdy outline icing and self-leveling flood icing from a single bowl using basic kitchen adjustments.
- Egg-Free Stability: Requires no raw egg whites or specialty meringue powder, using light corn syrup instead for elasticity and gloss.
- Firm, Stackable Finish: Dries smooth and hard to the touch within 24 hours, making the finished cookies secure for packaging and gift tins.
- Simple Pantry Staples: Uses everyday ingredients whisked together by hand in ten minutes with no stand mixer required.
Key Ingredients & Substitutions
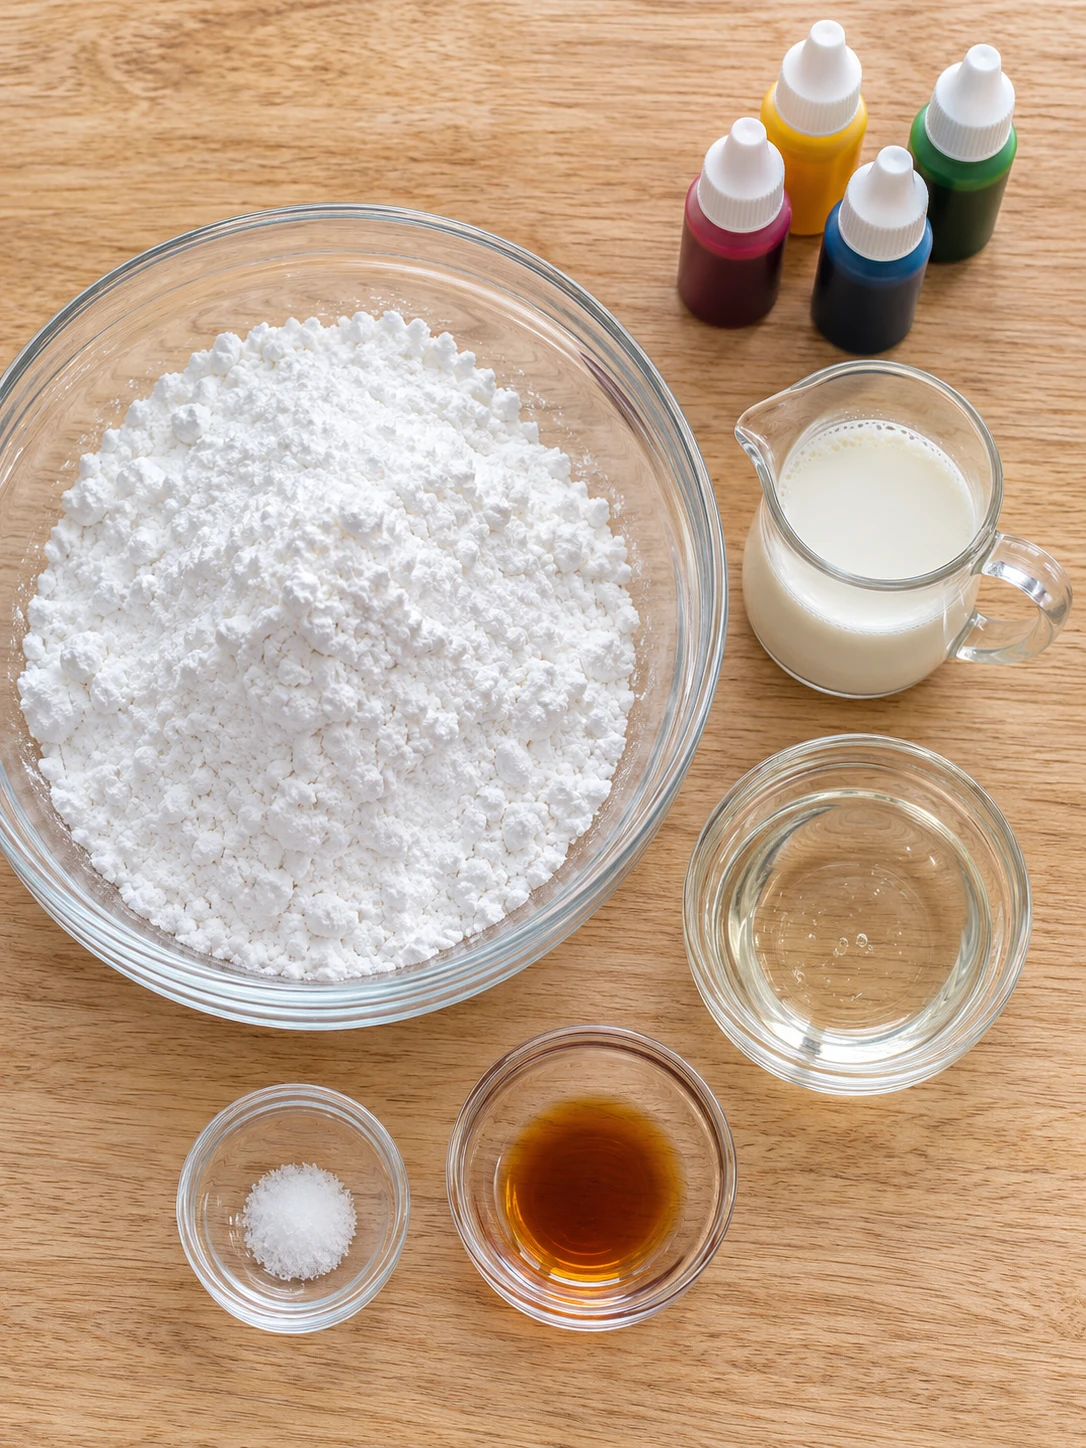
Every component in this sugar cookie icing serves a specific structural role in building opacity, shine, and structural stability.
- Powdered Sugar (4 cups, sifted): Also known as confectioners’ sugar, this forms the body of the icing. Sifting is non-negotiable; tiny dry clumps will instantly clog piping tips or squeeze bottle nozzles.
- Whole Milk (5 tablespoons): Provides hydration to dissolve the sugar crystals. Whole milk adds a hint of dairy fat that keeps the icing opaque and creamy-white, though 2% milk or plain unsweetened almond milk can be used if preferred.
- Light Corn Syrup (4 teaspoons): The secret to professional cookie icing. Corn syrup acts as an invert sugar, preventing crystallization, lending flexibility, and creating a glossy, porcelain-like sheen once dry.
- Alcohol-Free Vanilla Flavoring (1 teaspoon): Adds classic warmth and aroma without alcohol-based extracts. Use clear non-alcoholic vanilla if you want an ultra-bright, stark white base color.
- Fine Salt (1 pinch): Cuts through the intense sweetness of the pure sugar base, providing clean flavor balance.
- Gel Food Coloring (Optional): Gel or paste colorings provide saturated color without introducing excess liquid that could throw off your piping consistency. Liquid drops tend to dilute the mixture too quickly.
Step-by-Step Instructions
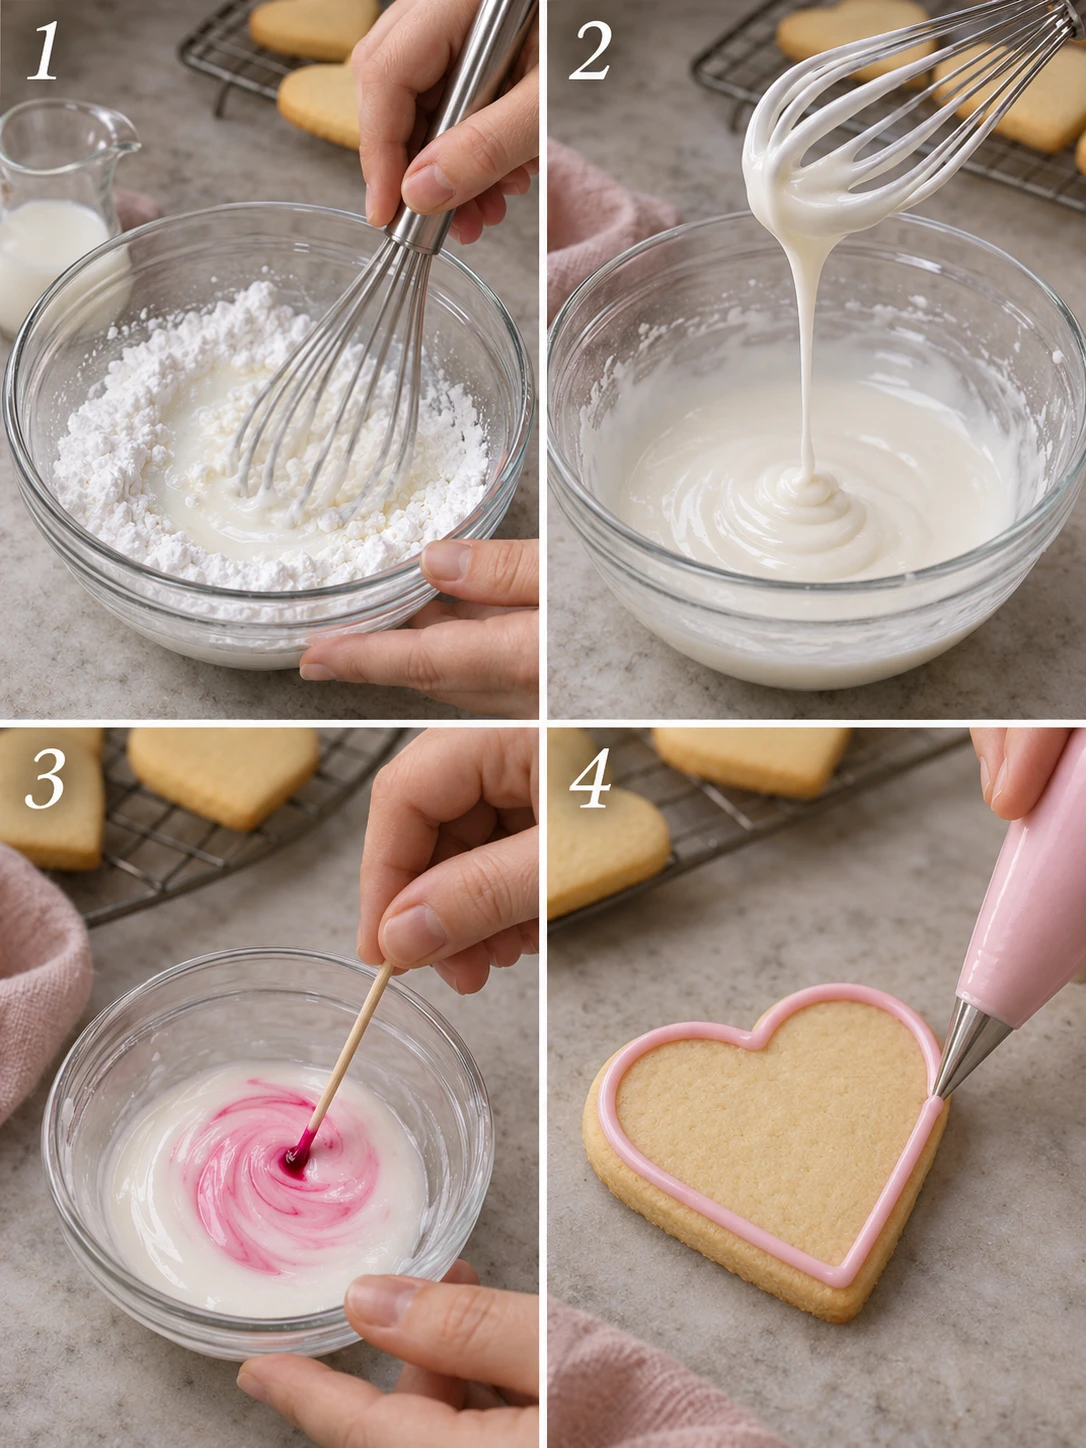
Follow these exact steps to prepare your base glaze, gauge thickness, and decorate cleanly.
1. Whisk the Base
In a large mixing bowl, combine 4 cups of sifted powdered sugar, 5 tablespoons of whole milk, 4 teaspoons of light corn syrup, 1 teaspoon of alcohol-free vanilla flavoring, and a pinch of fine salt. Whisk vigorously by hand until the mixture is glossy, uniform, and completely free of lumps.
2. Perform the Ribbon Test
Lift your whisk out of the bowl and let the icing drizzle across the surface in a continuous ribbon. For a standard, multi-purpose consistency, that ribbon should sink back into the base and level out within 8 to 10 seconds.
3. Divide for Outlining and Flooding
To achieve professional results, separate your batch into two different working consistencies:
- Outline Icing (Border Consistency): Spoon roughly one-third of the icing into a separate bowl. Stir in additional sifted powdered sugar, 1 teaspoon at a time, until a drizzled ribbon takes approximately 15 seconds to disappear back into the bowl. This thicker glaze holds defined borders and stops leaks.
- Flood Icing (Fill Consistency): Keep the remaining two-thirds of the icing in the main bowl. Add additional whole milk, half a teaspoon at a time, until a drizzled ribbon merges into a completely smooth surface within 3 to 4 seconds. This thinner consistency self-levels quickly.
4. Color the Icing
If working with multiple colors, divide your consistencies into small ramekins or prep bowls. Dip the tip of a clean toothpick into your gel food coloring and swirl it into the icing. Stir gently with a spoon until evenly blended, taking care not to whip air into the glaze.
5. Pipe and Fill
Transfer your outline icing into a piping bag fitted with a small round tip (size #2 works well) or a fine-tip squeeze bottle. Transfer your flood icing into a squeeze bottle or larger piping bag.
Pipe a clean border around the perimeter of each cookie using the thicker outline icing. Allow the outlines to rest and set for roughly 5 minutes. Next, squeeze the flood icing into the center of each cookie, using the tip to guide the fluid icing into corners and against the border.
6. Pop Air Bubbles and Dry
Immediately inspect the wet icing under good light. Use a clean toothpick or scribe tool to gently pop any surface air bubbles. Allow decorated cookies to dry flat on a rimmed baking sheet at room temperature for at least 4 hours for a touch-safe surface, or a full 20 to 24 hours if you plan to stack or package them.
Expert Chef Tips & Troubleshooting
- Preventing Air Pockets: Whisking too fast or using an electric hand mixer whips excess air into the powdered sugar. Mix gently with a silicone spatula or hand whisk. If bubbles appear, tap the bowl firmly against the counter several times and let it sit covered with a damp towel for 10 minutes before filling your bags.
- The Two-Step Edge: Never flood immediately after piping your border. Letting the outline set for just 3 to 5 minutes creates a semi-dry dam that firmly holds the thinner flood icing in place, eliminating edge overflows.
- Salvaging Runny Icing: If you accidentally add too much milk, don’t panic. Simply whisk in sifted powdered sugar one tablespoon at a time until the proper ribbon timing is restored.
- Correcting Dull Finishes: If your dried icing looks chalky or matte, the recipe was slightly dehydrated or lacked sufficient syrup. An extra half-teaspoon of light corn syrup ensures that lustrous shine.
- Color Bleeding Prevention: Allow dark colors (like red, navy, or black) to dry slightly longer on the surface before adding adjacent white details to prevent pigment migration.
Storage, Make-Ahead & Food Safety
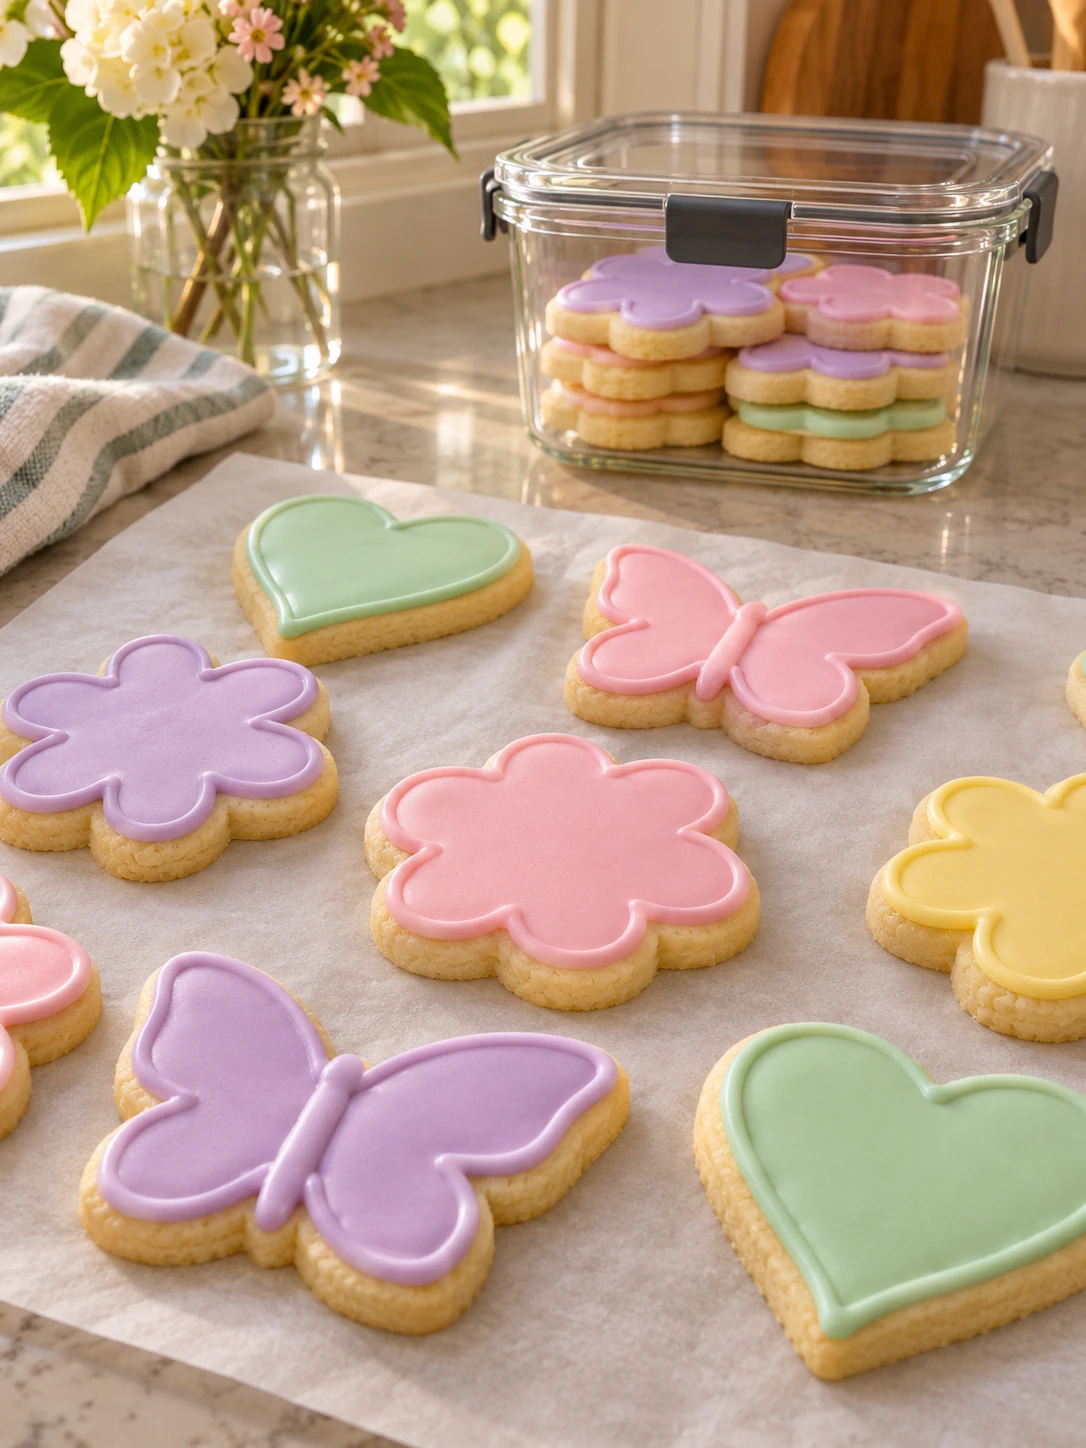
Decorating cookies often spans multiple days, especially when planning party spreads alongside savory finger foods like Veggie Pinwheels. Knowing how to store both the wet icing and the finished baked goods ensures safe results and pristine presentation.
Storing Wet Icing
Leftover liquid icing should not sit open on the counter because the surface will form a crust within minutes. Place leftover icing in an airtight container with a sheet of plastic wrap pressed directly against the surface of the glaze before snapping on the lid. Store it in the refrigerator for up to 2 days. When ready to decorate again, let it return to room temperature and give it a gentle stir to re-incorporate any separated moisture, checking your consistency with the ribbon test before piping.
Storing Decorated Cookies
Because this sugar cookie icing recipe relies on a very high concentration of sugar relative to the small quantity of milk, the moisture is bound tightly, which stabilizes the glaze once completely dried. Fully set cookies can be stored safely at room temperature in an airtight container for up to 3 days, layered between sheets of parchment paper in a cool, dry area. For longer periods, follow established safe food storage practices to protect baked goods from ambient humidity.
If you are baking in advance, freeze undecorated cookies first, or freeze completely dried decorated cookies flat in a rigid container separated by wax paper for up to 1 month. Refer to standard cold food storage guidelines for recommended pantry and freezer storage windows. Always thaw iced cookies inside their sealed container at room temperature so that condensation forms on the outside of the plastic rather than directly on the sugar glaze.

Sugar Cookie Icing Recipe for Outlining and Filling

Equipment
- Large mixing bowl
- Whisk
- Fine mesh sieve
- Piping bags or squeeze bottles
- Toothpicks
Ingredients
Icing Base
- 4 cups powdered sugar sifted
- 5 tablespoons whole milk plus extra as needed for flooding
- 4 teaspoons light corn syrup
- 1 teaspoon alcohol-free vanilla flavoring
- 1 pinch salt fine
- Gel food coloring optional, as needed
Instructions
- In a large mixing bowl, whisk together the sifted powdered sugar, 5 tablespoons of whole milk, light corn syrup, alcohol-free vanilla flavoring, and a pinch of salt until the mixture is smooth and lump-free.
- Perform the ‘ribbon test’ by lifting the whisk and letting the icing drizzle back into the bowl; for a general-purpose consistency, the trail should disappear back into the base within 8 to 10 seconds.
- To create ‘Outline Icing’ for borders, add more powdered sugar one teaspoon at a time until the icing is thick enough that the ribbon takes about 15 seconds to merge.
- To create ‘Flood Icing’ for filling the centers, add additional milk half a teaspoon at a time until the icing is thin enough that the ribbon merges back instantly (within 3 to 4 seconds).
- Divide the icing into separate small bowls if using multiple colors, and stir in gel food coloring with a toothpick until your desired shade is achieved.
- Transfer the icing to piping bags fitted with small round tips or into plastic squeeze bottles for better control.
- Pipe the borders of the cookies first using the thicker outline icing and let them set for 5 minutes before filling the centers with the thinner flood icing.
- Use a toothpick to pop any small air bubbles that appear on the surface while the icing is still wet.
- Allow the decorated cookies to dry at room temperature for at least 4 hours to set the surface, or up to 24 hours if you intend to stack them in containers.
Notes
- Calories: 83
- Protein: 0.1g
- Carbohydrates: 21g
- Fat: 0g
- Saturated fat: 0g
- Cholesterol: 1mg
- Sodium: 8mg
- Potassium: 9mg
- Fiber: 0g
- Sugar: 20g
- Vitamin A: 10 IU
- Vitamin C: 0mg
- Calcium: 8mg
- Iron: 0mg
Frequently Asked Questions
How do I achieve the right consistency for outlining versus flooding?
To get the perfect consistency, use the “ribbon test” by lifting a spoonful of icing and letting it drizzle back into the bowl. For outlining, the icing should hold its shape for about 3–4 seconds before disappearing, while flood icing should be thin enough to melt back into a smooth surface almost instantly. You can easily adjust the thickness by adding a few extra drops of milk to thin it or more powdered sugar to thicken it.
How long does it take for sugar cookie icing to fully dry and harden?
While the surface of the icing will set within 2 to 4 hours, it requires a full 20 to 24 hours to harden completely for stacking or gifting. To ensure a professional finish, let the cookies air dry at room temperature on a flat surface rather than in the refrigerator. Avoid covering them while they are still wet, as trapped moisture can cause the icing to become sticky or soften.
What are the best ways to flavor icing without using alcohol-based extracts?
You can easily customize your icing by using alcohol-free vanilla flavoring, fresh lemon juice, or alcohol-free peppermint oil. These alternatives provide a vibrant taste while ensuring the recipe remains suitable for all dietary preferences and compliant with halal standards. Simply substitute the flavoring in the recipe with an equal amount of your chosen non-alcoholic option to achieve your desired taste profile.
Is it safe to store cookies with milk-based icing at room temperature?
Yes, cookies decorated with this icing are safe to store at room temperature for up to three days because the high concentration of sugar acts as a stabilizer for the small amount of milk. Once the icing has fully dried and hardened, keep the cookies in an airtight container in a cool, dry place to maintain their texture. If you have leftover liquid icing in a bowl, it should be kept in the refrigerator for no more than two days.