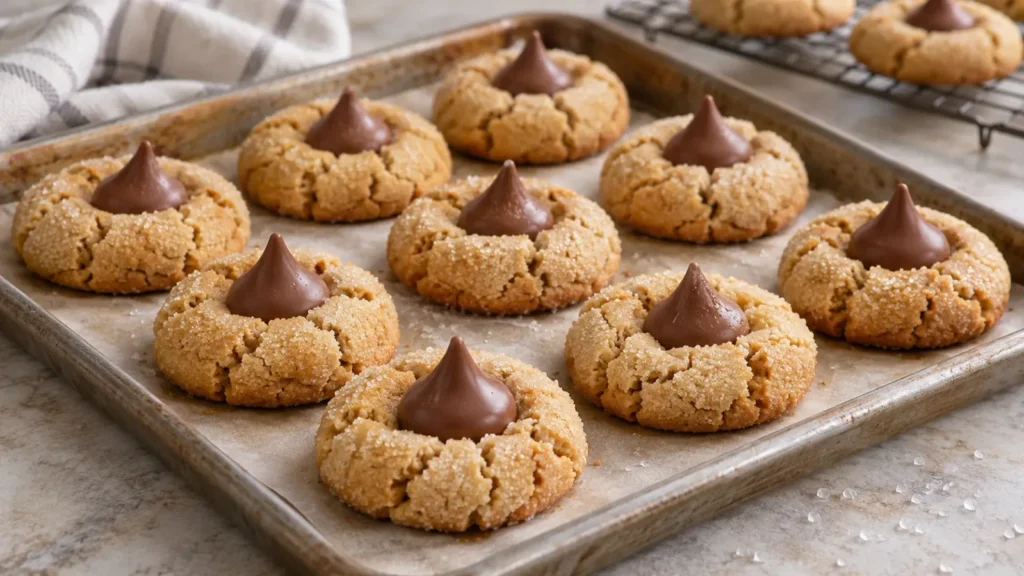
Peanut butter blossom cookies are a classic holiday treat that combines the richness of peanut butter with the sweetness of chocolate. These cookies are perfect for Christmas, and their unique shape, featuring a Hershey’s Kiss pressed into the center, makes them a standout on any cookie platter. In this article, we’ll explore the world of peanut butter blossoms, providing you with a tried-and-true recipe, helpful tips, and variations to make these cookies truly special.
Table of Contents
Why You’ll Love This Recipe
- Easy to make: The dough comes together quickly, and the cookies bake in just 8-10 minutes.
- Delicious flavor combination: The creamy peanut butter and sweet chocolate are a match made in heaven.
- Perfect for holidays: These cookies are a great addition to any holiday cookie platter, and their festive shape makes them a fun treat for kids and adults alike.
- Customizable: You can experiment with different types of chocolate or add-ins, like nuts or sprinkles, to make the cookies your own.
Key Ingredients & Substitutions
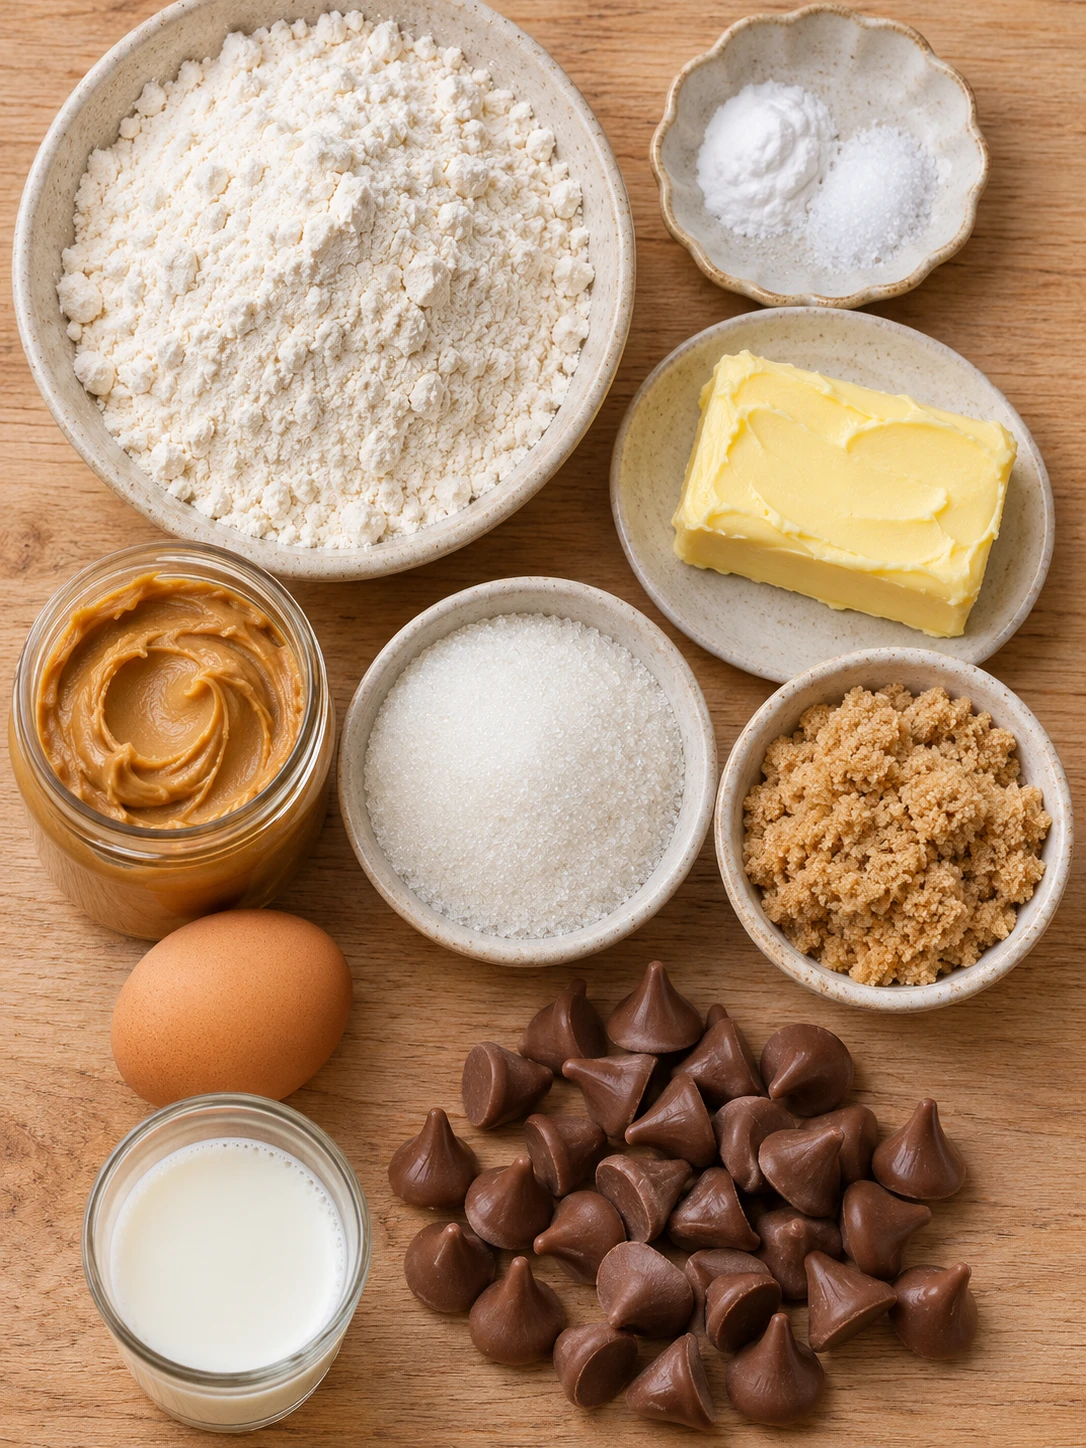
To make the best peanut butter blossom cookies, you’ll need the following ingredients:
- 1 1/2 cups all-purpose flour
- 1 teaspoon baking soda
- 1/2 teaspoon salt
- 1/2 cup unsalted butter, softened
- 1/2 cup creamy peanut butter
- 1/2 cup granulated sugar
- 1/2 cup packed light brown sugar
- 1 large egg
- 1 teaspoon vanilla extract
- 2 tablespoons milk
- 1/3 cup additional granulated sugar for rolling
- 36 milk chocolate kisses, unwrapped
When it comes to substitutions, keep the following in mind:
- Use a high-quality peanut butter that doesn’t require stirring, as this can affect the texture of the cookies.
- If you want to make the cookies more festive, you can roll them in colored sugar or sprinkles before baking.
- For a gluten-free version, substitute the all-purpose flour with a gluten-free flour blend.
Step-by-Step Instructions
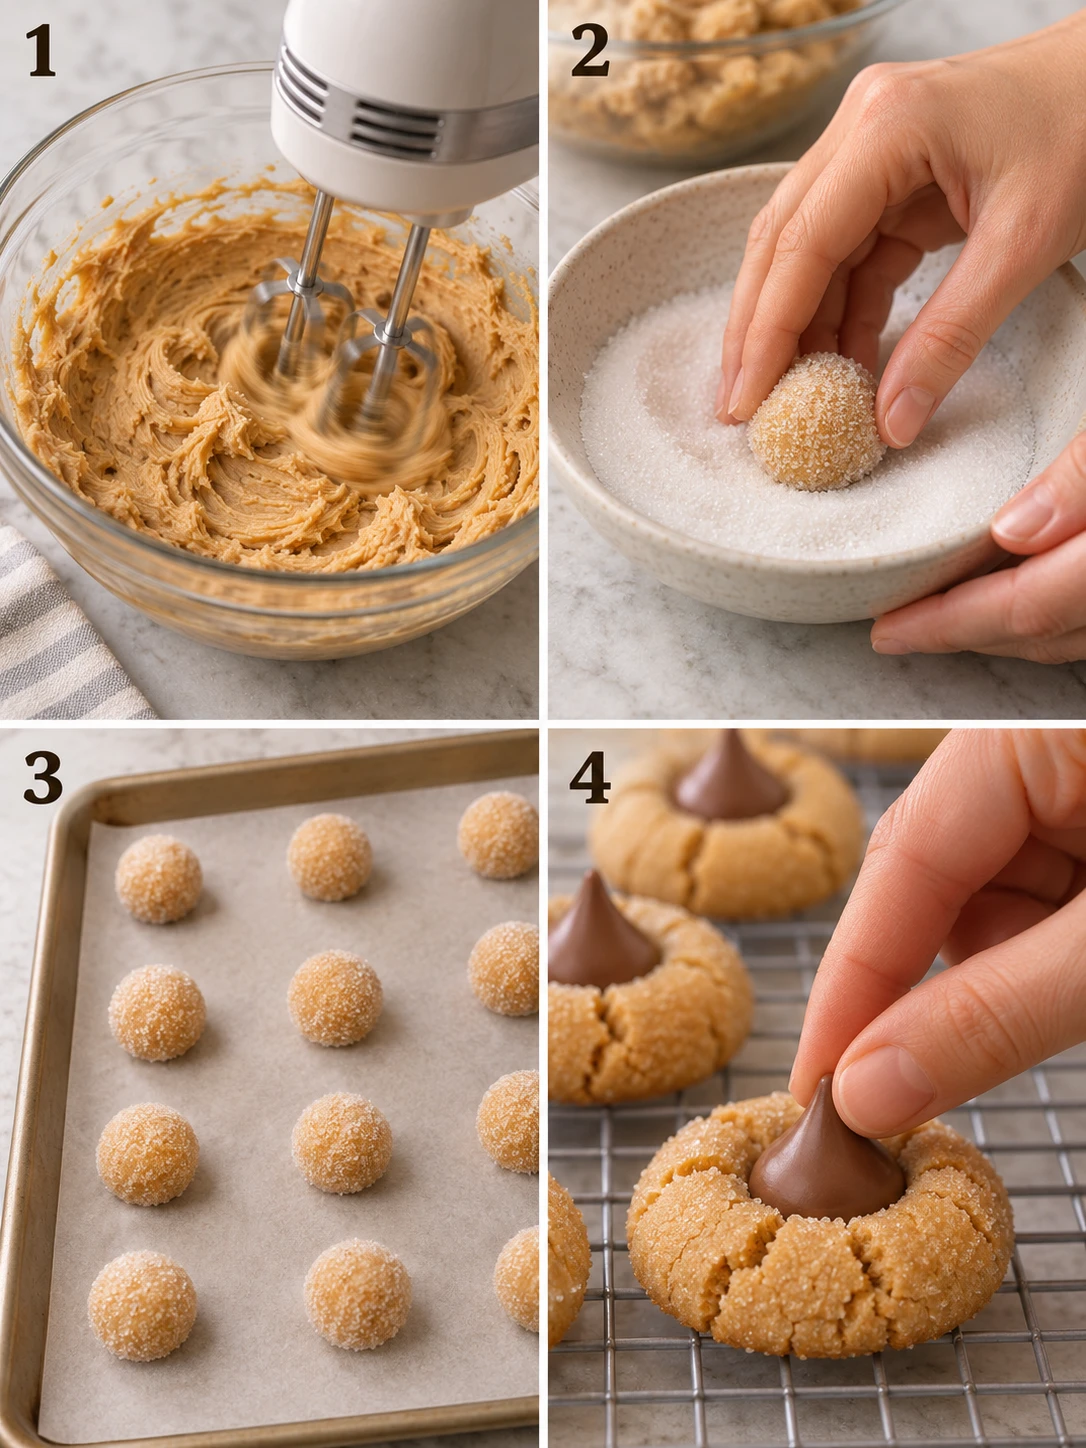
To make the peanut butter blossom cookies, follow these steps:
1. Preheat your oven to 375°F (190°C). Ensure your oven rack is in the center position.
2. In a medium mixing bowl, whisk together the all-purpose flour, baking soda, and salt until well combined. Set aside.
3. In a large bowl, cream together the softened butter, creamy peanut butter, 1/2 cup granulated sugar, and brown sugar using an electric mixer on medium-high speed until the mixture is light and fluffy.
4. Add the egg, vanilla extract, and milk to the creamed mixture. Beat on medium speed until the ingredients are fully incorporated and the texture is smooth.
5. Gradually add the dry flour mixture to the wet ingredients. Mix on low speed just until the flour disappears and a soft dough forms. Do not overmix.
6. Shape the dough into 1-inch balls, approximately 1 tablespoon of dough per ball.
7. Place the additional 1/3 cup of granulated sugar in a shallow bowl. Roll each dough ball in the sugar until completely and evenly coated.
8. Place the sugar-coated balls 2 inches apart on ungreased cookie sheets to allow for slight spreading.
9. Bake for 8 to 10 minutes. The cookies are done when the edges are a light golden brown and the surfaces have developed small cracks.
10. Remove the cookies from the oven and immediately press one unwrapped milk chocolate kiss firmly into the center of each cookie. The cookie should crack slightly around the edges as the chocolate is pressed down.
11. Allow the cookies to cool on the baking sheet for 5 minutes before transferring them to a wire rack. Let them cool completely for at least 1 hour until the chocolate has set and firmed up.
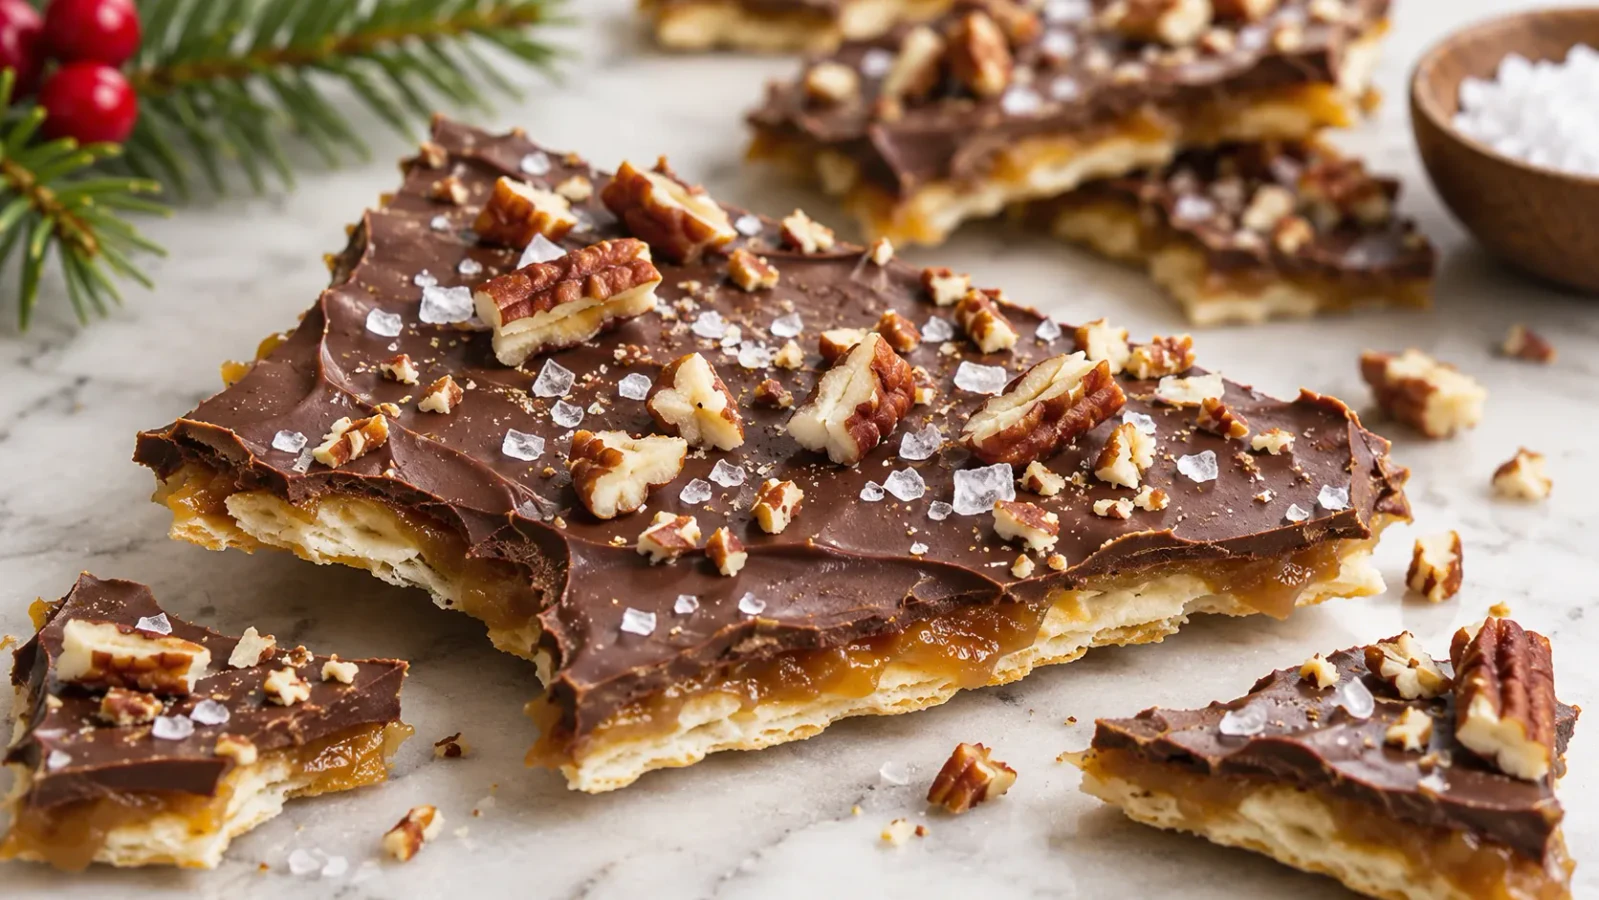
For more holiday baking ideas, check out our Christmas Crack recipe, which features a delicious combination of chocolate, nuts, and caramel. You can also try our Christmas Crack Recipe for a fun twist on the classic treat.
Expert Chef Tips & Troubleshooting
To ensure your peanut butter blossom cookies turn out perfectly, keep the following tips in mind:
- Make sure to chill the chocolate kisses in the freezer for 15-20 minutes before baking to prevent them from melting into a puddle.
- If you find that your cookies are spreading too much, try chilling the dough for 30 minutes before baking.
- To prevent the chocolate from losing its shape, let the cookies cool completely at room temperature.
Storage, Make-Ahead & Reheating
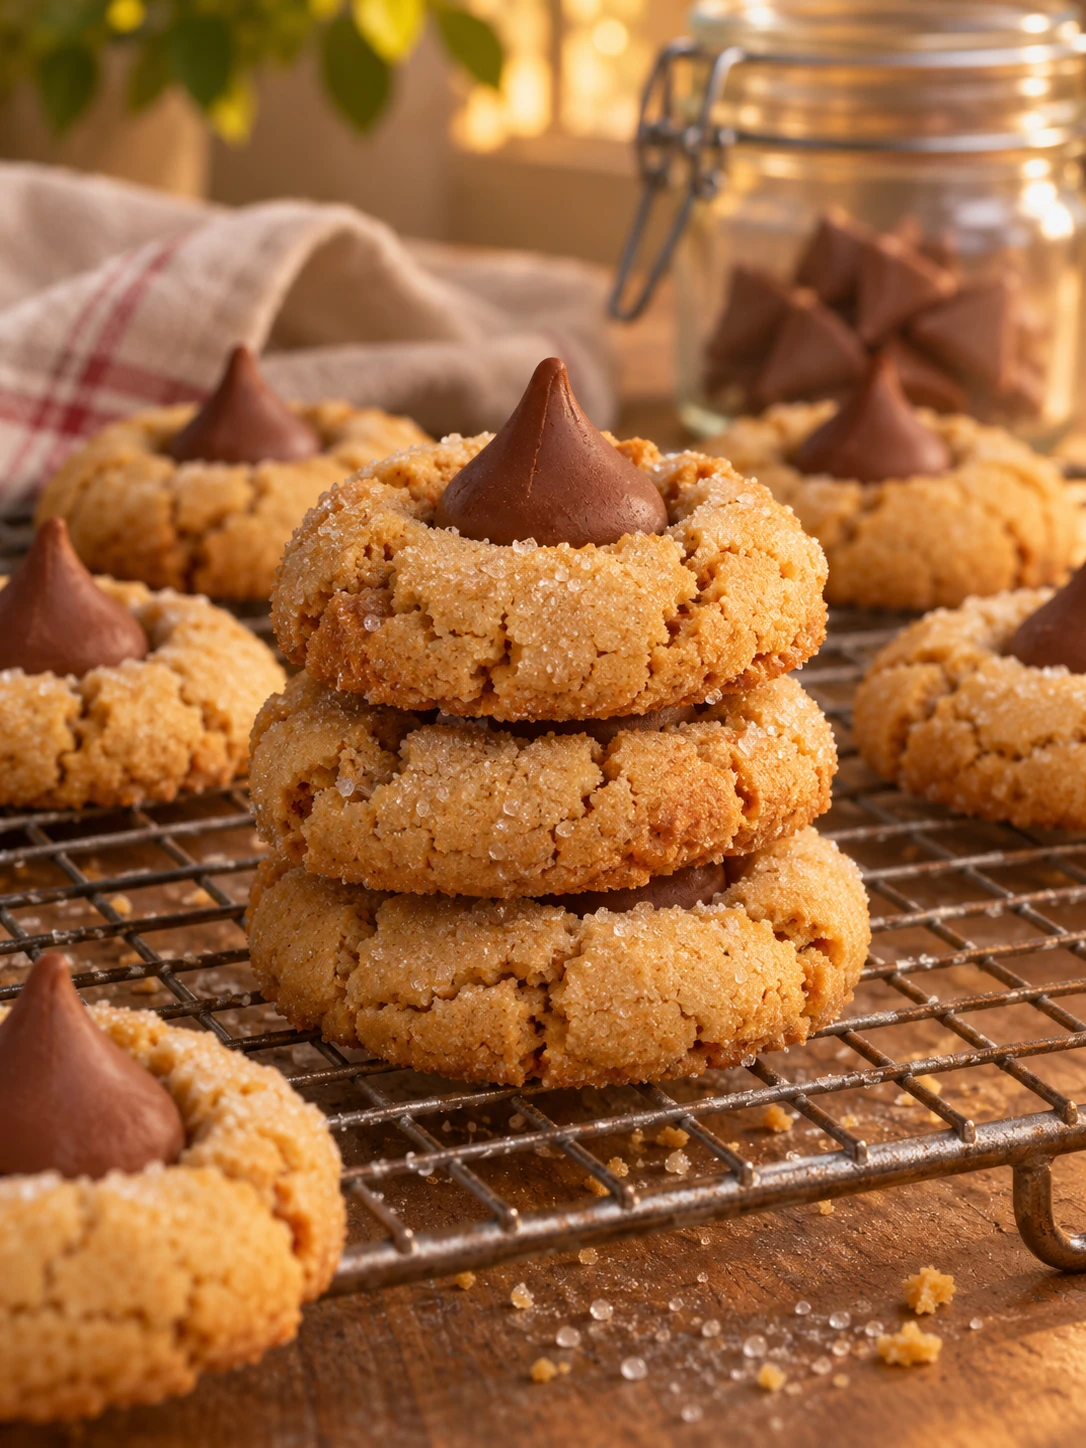
To store the peanut butter blossom cookies, place them in an airtight container with parchment paper between layers to protect the chocolate tips from snapping off or smudging. You can also freeze the raw dough balls for up to three months; simply thaw them in the refrigerator before rolling in sugar and baking. For finished cookies, place them in a single layer in an airtight container with parchment paper between layers and freeze for up to two months.
When it comes to food safety, it’s essential to follow proper guidelines for freezing and food safety and safe food storage practices.
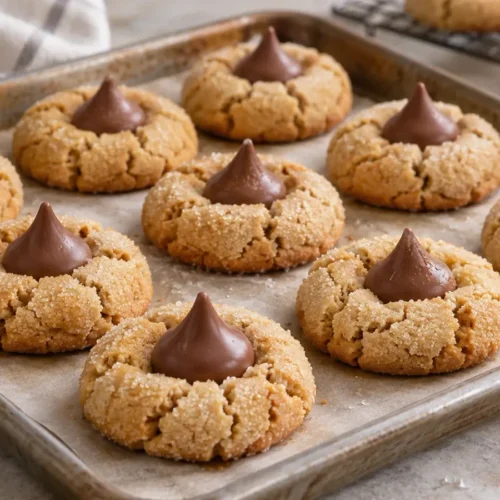
Peanut Butter Blossom Cookies

Equipment
- Medium mixing bowl
- Large bowl
- Electric mixer
- Shallow bowl
- Ungreased cookie sheets
- Wire rack
Ingredients
Dry Ingredients
- 1 1/2 cups all-purpose flour
- 1 teaspoon baking soda
- 1/2 teaspoon salt
Wet Ingredients
- 1/2 cup unsalted butter, softened
- 1/2 cup creamy peanut butter
- 1/2 cup granulated sugar
- 1/2 cup packed light brown sugar
- 1 large egg
- 1 teaspoon vanilla extract
- 2 tablespoons milk
- 1/3 cup additional granulated sugar for rolling
- 36 milk chocolate kisses, unwrapped
Instructions
- Preheat your oven to 375°F (190°C). Ensure your oven rack is in the center position.
- In a medium mixing bowl, whisk together the all-purpose flour, baking soda, and salt until well combined. Set aside.
- In a large bowl, cream together the softened butter, creamy peanut butter, 1/2 cup granulated sugar, and brown sugar using an electric mixer on medium-high speed until the mixture is light and fluffy.
- Add the egg, vanilla extract, and milk to the creamed mixture. Beat on medium speed until the ingredients are fully incorporated and the texture is smooth.
- Gradually add the dry flour mixture to the wet ingredients. Mix on low speed just until the flour disappears and a soft dough forms. Do not overmix.
- Shape the dough into 1-inch balls, approximately 1 tablespoon of dough per ball.
- Place the additional 1/3 cup of granulated sugar in a shallow bowl. Roll each dough ball in the sugar until completely and evenly coated.
- Place the sugar-coated balls 2 inches apart on ungreased cookie sheets to allow for slight spreading.
- Bake for 8 to 10 minutes. The cookies are done when the edges are a light golden brown and the surfaces have developed small cracks.
- Remove the cookies from the oven and immediately press one unwrapped milk chocolate kiss firmly into the center of each cookie. The cookie should crack slightly around the edges as the chocolate is pressed down.
- Allow the cookies to cool on the baking sheet for 5 minutes before transferring them to a wire rack. Let them cool completely for at least 1 hour until the chocolate has set and firmed up.
Notes
- Calories: 115
- Protein: 2g
- Carbohydrates: 14g
- Fat: 6g
- Saturated fat: 3g
- Cholesterol: 12mg
- Sodium: 95mg
- Potassium: 0mg
- Fiber: 1g
- Sugar: 10g
Frequently Asked Questions
Can I use natural peanut butter for this recipe?
It is best to avoid “natural” peanut butters that require stirring, as the oil separation can cause the cookies to spread too much or become greasy. For the classic thick texture and signature cracked edges, use a standard creamy peanut butter.
How do I prevent the chocolate kisses from melting into a puddle?
To keep the chocolates from losing their shape, place the unwrapped kisses in the freezer for 15–20 minutes before you start baking. Press the chilled chocolates into the cookies immediately after they come out of the oven, then let them cool completely at room temperature to allow the chocolate to set firmly.
Can I freeze the dough or the finished peanut butter blossoms?
You can freeze the raw dough balls for up to three months; simply thaw them in the refrigerator before rolling in sugar and baking. To freeze finished cookies, place them in a single layer in an airtight container with parchment paper between layers to protect the chocolate tips from snapping off or smudging.
How can I make these cookies Halal-compliant?
To ensure this recipe is Halal-friendly, use an alcohol-free vanilla extract or vanilla bean paste instead of traditional vanilla extract. Additionally, always check the labels of your chocolate candies to ensure they do not contain any pork-derived emulsifiers or gelatin.