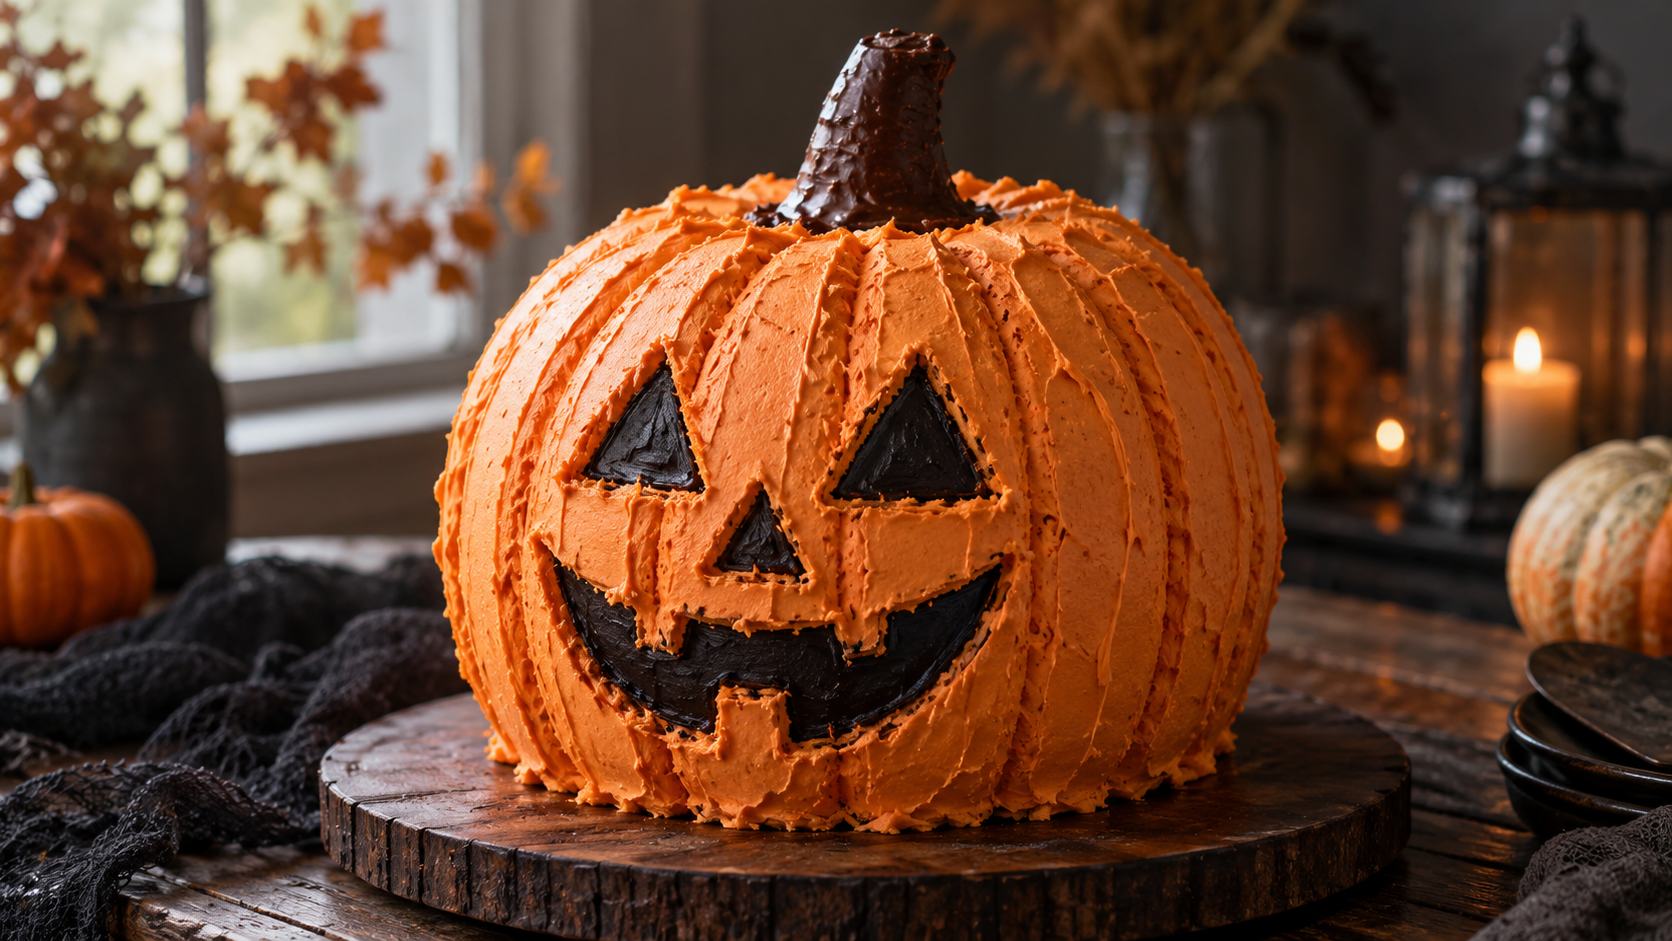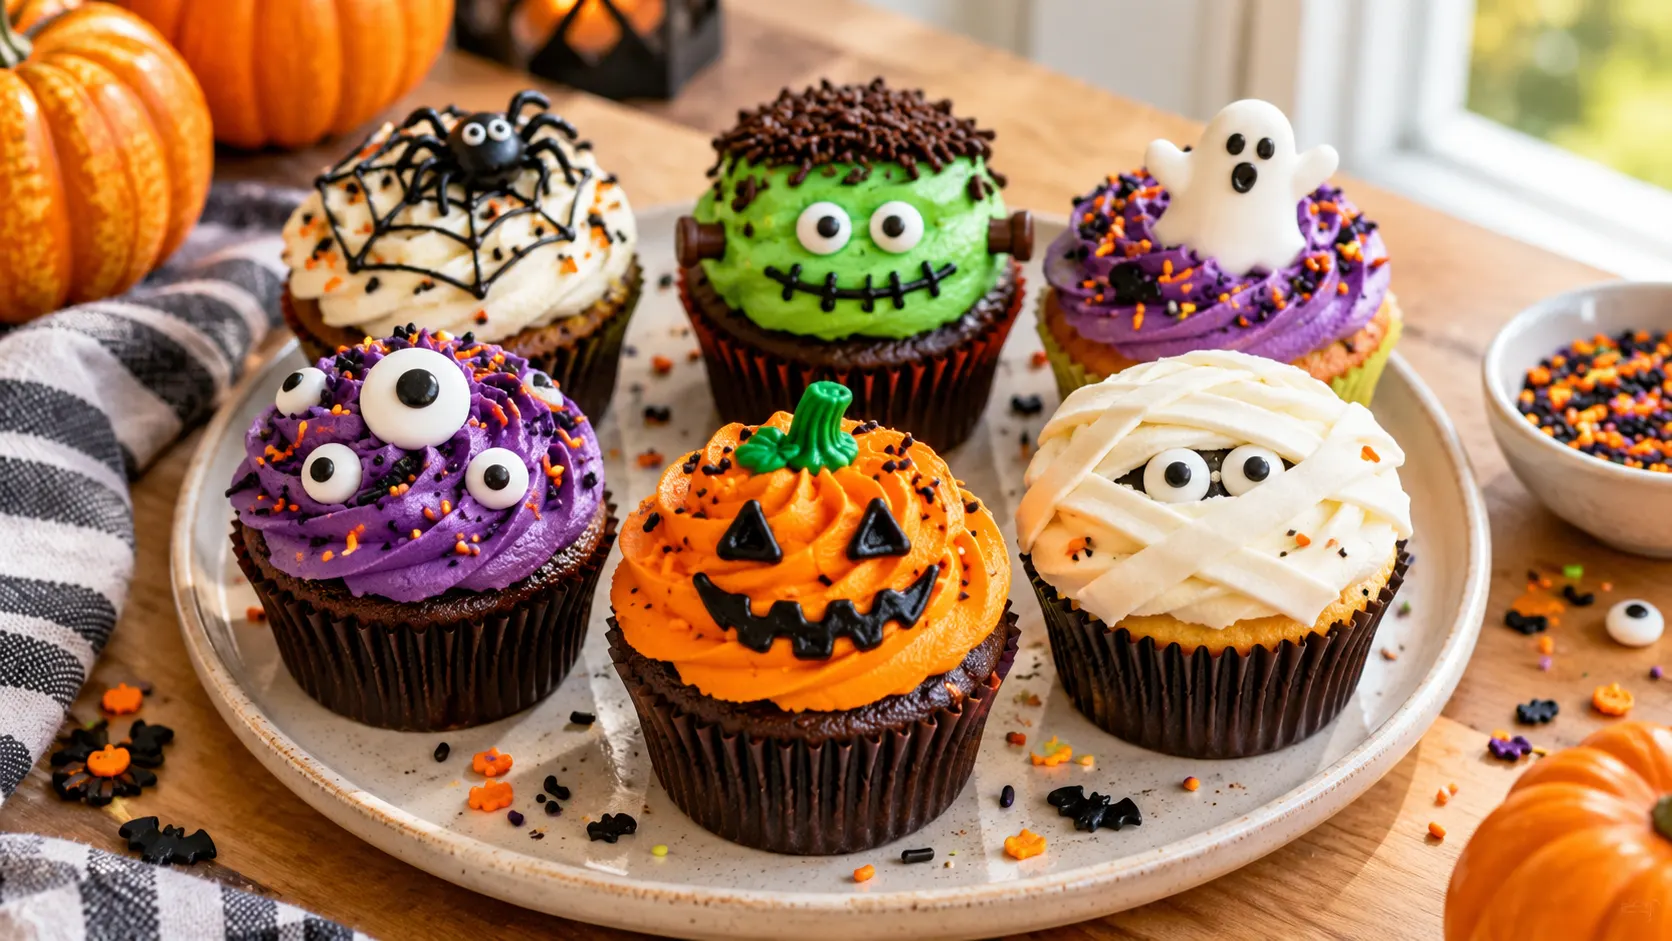
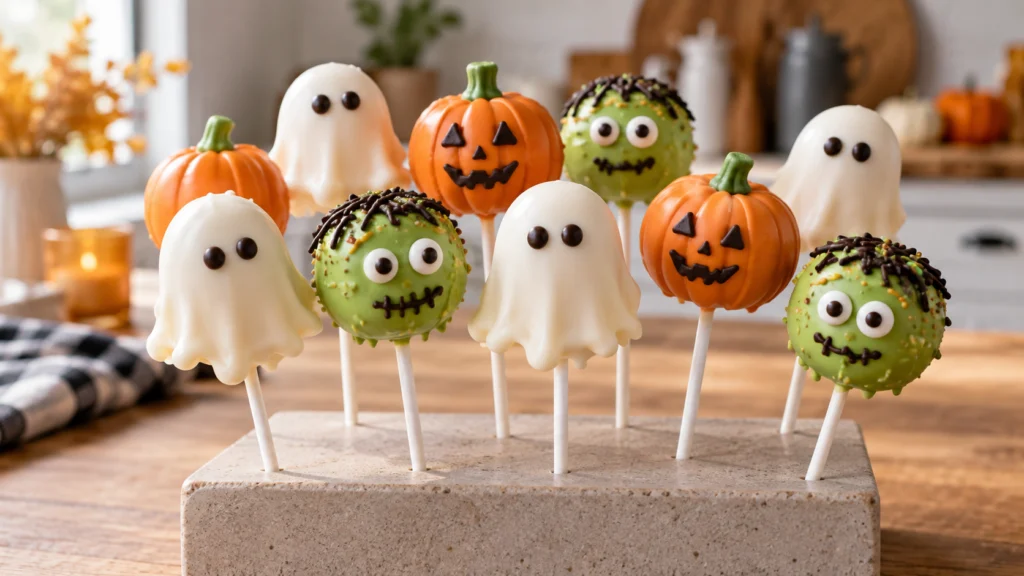
Halloween cake pop recipes are a fantastic way to create adorable and delicious treats for your spooky celebrations. These bite-sized cakes on a stick are perfect for Halloween parties, and with the right ingredients and decorations, you can make them look like miniature monsters, ghosts, or jack-o’-lanterns. In this article, we’ll guide you through the process of making Halloween cake pops using a boxed cake mix, candy melts, and creative decorations.
Table of Contents
Why You’ll Love This Recipe
- Easy to make using a boxed cake mix
- Adorable and customizable with various decorations
- Perfect for Halloween parties and celebrations
- Can be made ahead and stored for later use
Key Ingredients & SubstitutionsTo make these Halloween cake pops, you’ll need:
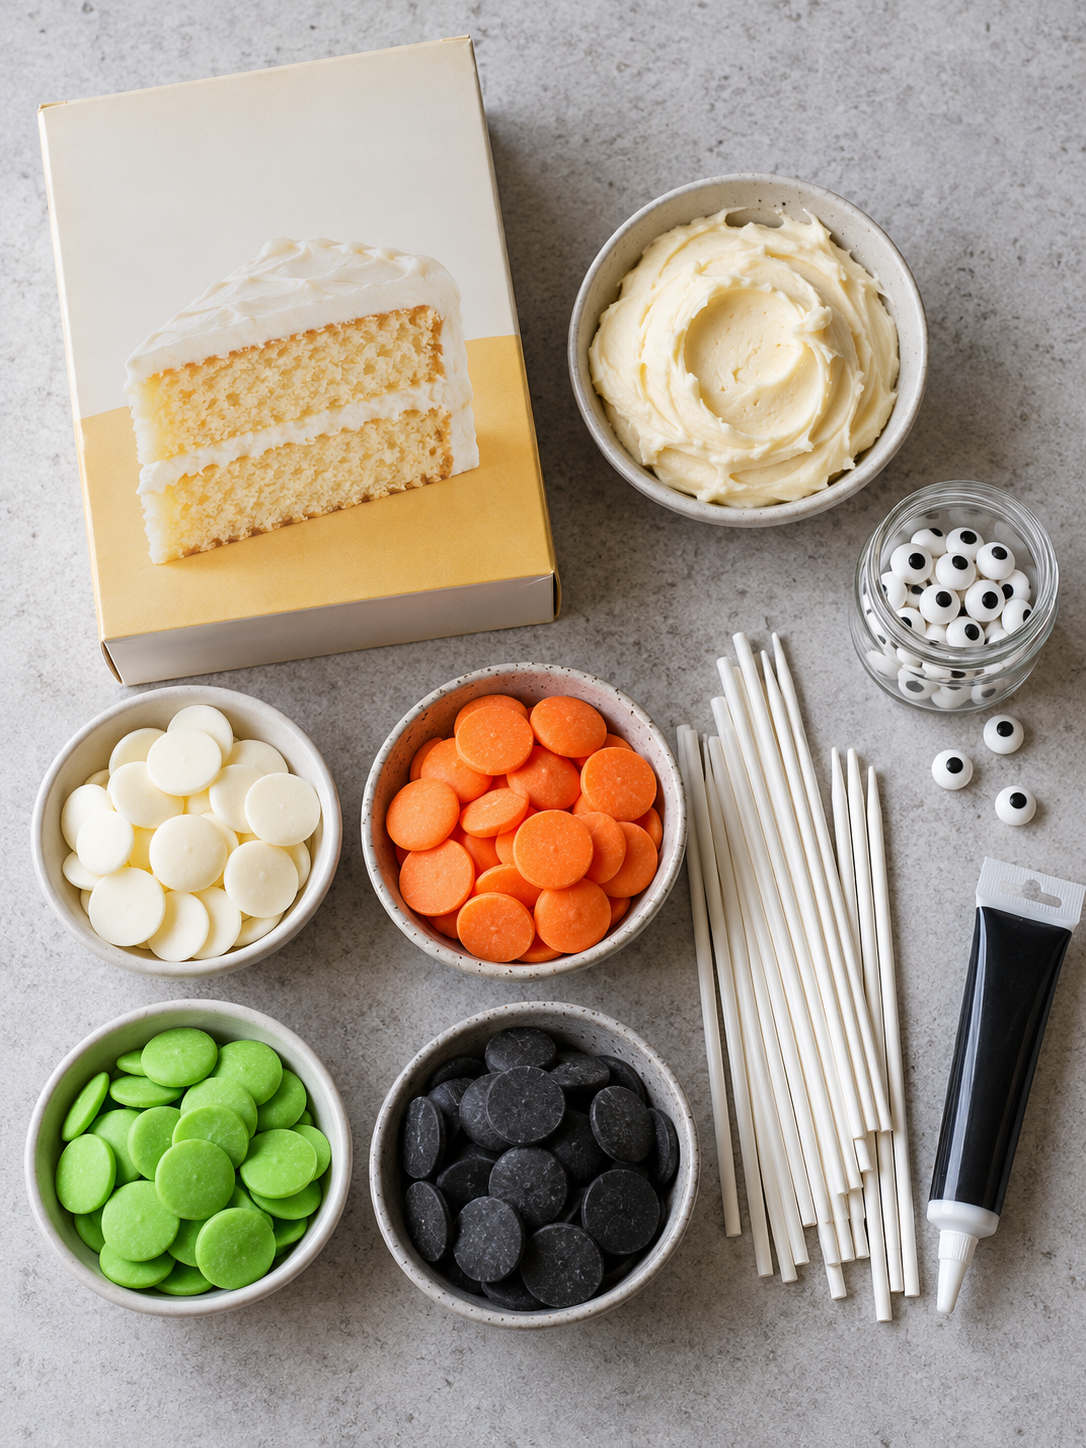
- 1 (15 oz) box vanilla cake mix
- 1/3 cup ready-to-use vanilla frosting
- 1 cup powdered sugar
- 12 oz white candy melts
- 1/4 cup black candy melts
- 1/4 cup orange candy melts
- 1/4 cup green candy melts
- 20-25 lollipop sticks
- Black writing gel
- Candy eyeballs
- Assorted small candies If you enjoy this recipe, be sure to also try our delicious Frozen Cheesecake Pops.
When selecting your cake mix, choose a high-quality brand that yields a moist and tender crumb. For the frosting, opt for a ready-to-use vanilla frosting that’s easy to mix with the cake crumbs. If you’re looking for a gluten-free version, you can substitute the cake mix with a gluten-free alternative. For a dairy-free version, you can use dairy-free frosting and chocolate.
Step-by-Step Instructions
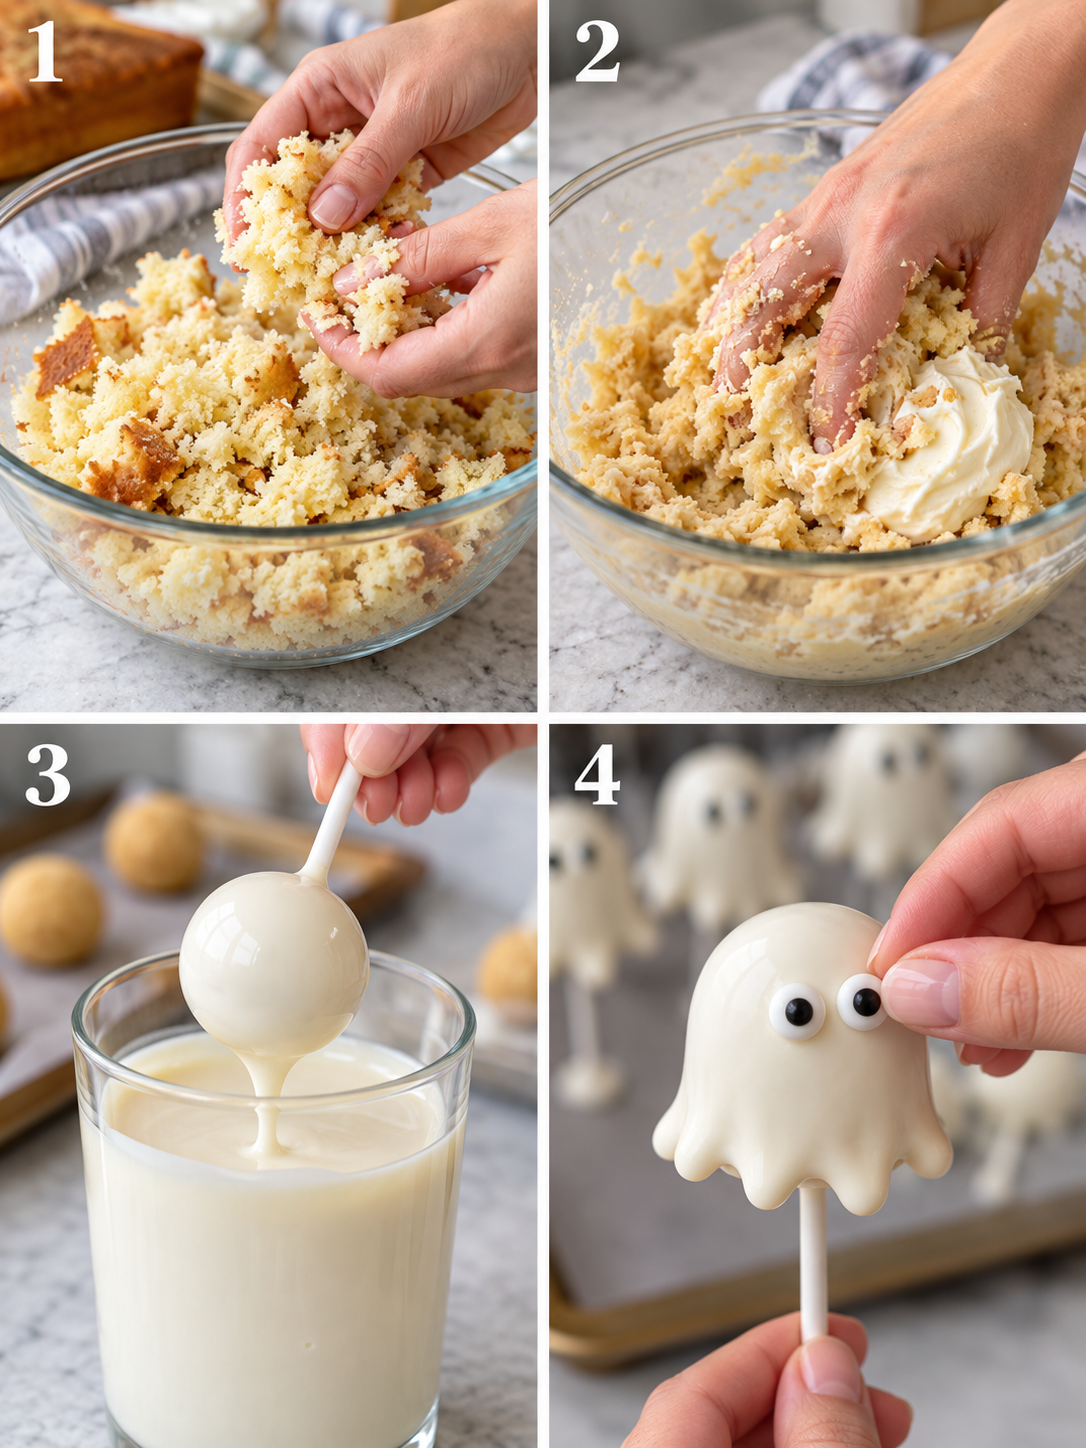
1. Preheat the oven to 350°F (175°C). Prepare the cake mix according to the box instructions and bake for 30 minutes. Let the cake cool completely.
2. Crumble the cooled cake into fine crumbs using a food processor or by hand. Remove any browned edges for a uniform texture.
3. Mix 1/3 cup of vanilla frosting with the cake crumbs until well combined.
4. Use a small cookie scoop or your hands to shape the cake mixture into balls, about 1.5 inches in diameter. You should end up with around 24 balls.
5. Melt the white candy melts in a microwave-safe bowl in 30-second intervals at 50% power, stirring between each interval, until smooth.
6. Dip the tip of each lollipop stick into the melted white candy melts and then insert it into each cake ball, about halfway through. This will act as glue.
7. Dip each cake ball into the melted white candy melts, using a tall, skinny jar or deep glass for full submersion. Tap off any excess.
8. Immediately decorate the pops with black writing gel for eyes, candy eyeballs, or other assorted small candies before the candy hardens.
9. For additional designs, melt the black, orange, and green candy melts separately and use for drizzling or decorating the pops.
10. Place the decorated pops on a styrofoam block or a piece of parchment paper to dry completely.
For more creative ideas, check out our Halloween Food Ideas article. You can also experiment with different flavors, like our Tropical Mango Pancakes recipe.
Expert Chef Tips & Troubleshooting
- To prevent cracking, make sure the cake balls are at room temperature before dipping into the melted candy.
- If the candy coating is too thick, you can thin it out with a small amount of vegetable oil or coconut oil.
- To achieve a smooth cake pop texture, trim away the browned outer crust of the cake before crumbling.
- When melting the candy, be careful not to overheat it, as this can cause the candy to seize up and become grainy.
- If you find that your cake pops are too crumbly, you can try adding a little more frosting to the cake mixture to help bind it together.
Storage, Make-Ahead & Reheating
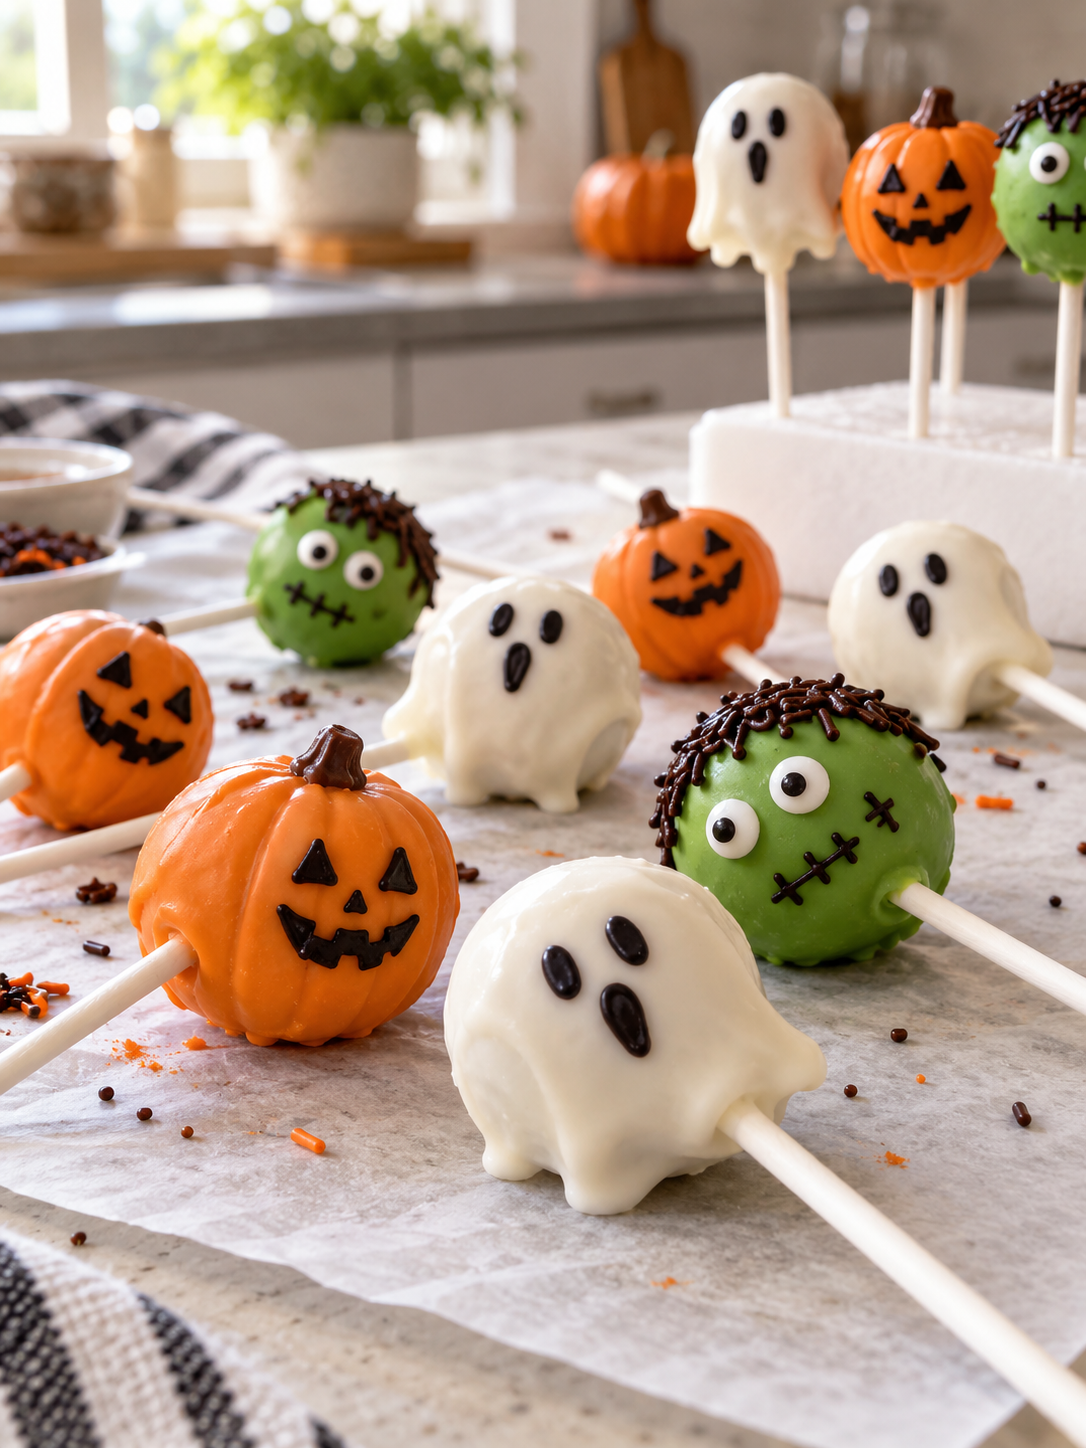
Halloween cake pops can be stored at room temperature for up to 3 days or frozen for up to 6 weeks. To freeze, place the pops in an airtight container or freezer bag. When you’re ready to serve, simply thaw at room temperature or refrigerate overnight.
For safe storage and reheating, review these cold food storage guidelines before refrigerating the dish. You can also follow official guidance on official nutrition data for more information on food safety and nutrition.
Serving Suggestions
These Halloween cake pops are perfect for serving at parties, as a snack or dessert. You can also package them in cellophane bags and tie with a ribbon for a cute and easy treat to give to friends and family.
Some other ideas for serving include:
- Creating a cake pop bouquet by arranging the pops in a vase or container
- Serving the cake pops on a stick with a side of whipped cream or chocolate sauce
- Using the cake pops as a topping for ice cream or yogurt
- Creating a cake pop tower by stacking the pops on top of each other
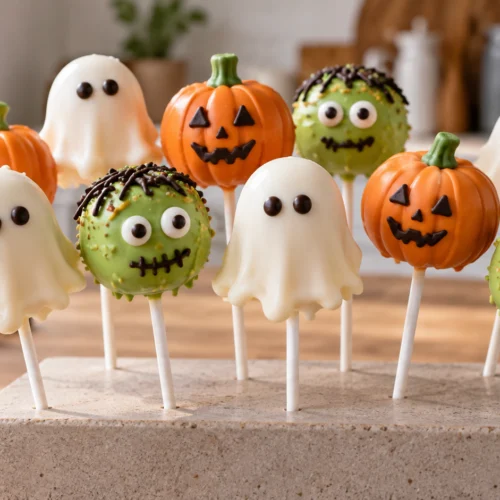
Halloween Cake Pop Recipes

Equipment
- Microwave-safe bowl
- Tall, skinny jar or deep glass
- Lollipop sticks
- Styrofoam block or parchment paper
Ingredients
Cake
- 1 (15 oz) box vanilla cake mix
Frosting
- 1/3 cup ready-to-use vanilla frosting
Candy Melts
- 12 oz white candy melts
- 1/4 cup black candy melts
- 1/4 cup orange candy melts
- 1/4 cup green candy melts
Decorations
- 20-25 lollipop sticks
- 1 black writing gel
- 1 candy eyeballs
- 1 assorted small candies
Instructions
- Preheat the oven to 350°F (175°C). Prepare the cake mix according to the box instructions and bake for 30 minutes. Let the cake cool completely.
- Crumble the cooled cake into fine crumbs using a food processor or by hand. Remove any browned edges for a uniform texture.
- Mix 1/3 cup of vanilla frosting with the cake crumbs until well combined.
- Use a small cookie scoop or your hands to shape the cake mixture into balls, about 1.5 inches in diameter. You should end up with around 24 balls.
- Melt the white candy melts in a microwave-safe bowl in 30-second intervals at 50% power, stirring between each interval, until smooth.
- Dip the tip of each lollipop stick into the melted white candy melts and then insert it into each cake ball, about halfway through. This will act as glue.
- Dip each cake ball into the melted white candy melts, using a tall, skinny jar or deep glass for full submersion. Tap off any excess.
- Immediately decorate the pops with black writing gel for eyes, candy eyeballs, or other assorted small candies before the candy hardens.
- For additional designs, melt the black, orange, and green candy melts separately and use for drizzling or decorating the pops.
- Place the decorated pops on a styrofoam block or a piece of parchment paper to dry completely.
Notes
- Calories: 120
- Protein: 1g
- Carbohydrates: 18g
- Fat: 6g
- Saturated fat: 3.5g
- Cholesterol: 5mg
- Sodium: 50mg
- Potassium: 0mg
- Fiber: 0g
- Sugar: 12g
- Vitamin A: 0 IU
- Vitamin C: 0mg
- Calcium: 0mg
- Iron: 0mg
Frequently Asked Questions
Why is the candy coating on my Halloween cake pops cracking?
Cracking usually occurs due to extreme temperature shocks between the cold cake and the warm candy melt. To prevent this, allow your chilled cake pops to sit at room temperature for about five to ten minutes before dipping, and ensure your melted coating is fluid but not piping hot.
How do I prevent my cake pops from falling off the sticks during dipping?
The most effective technique is the “double dip” method: dip the tip of your lollipop stick into the melted candy before inserting it into the cake ball. This creates a secure “glue” as it sets; for the best results, let these secured sticks chill for 15 minutes in the freezer before you attempt to dip the entire pop.
What is the secret to achieving an ultra-smooth, professional cake pop texture?
For a uniform interior, trim away the browned outer crust of the cake before crumbling, as these dryer pieces create lumps. Pulse the remaining soft cake in a food processor until it reaches a fine, sandy consistency before adding your binder, ensuring the center is smooth rather than “mushy.”
How can I create vibrant Halloween colors without using synthetic food dyes?
You can use natural plant-based powders to achieve a spooky palette, such as matcha powder for Frankenstein green or beet powder for a deep “vampire” purple. Turmeric or carrot powder can create a festive pumpkin orange, though these should be folded into white chocolate or vanilla frosting carefully to maintain a balanced flavor.