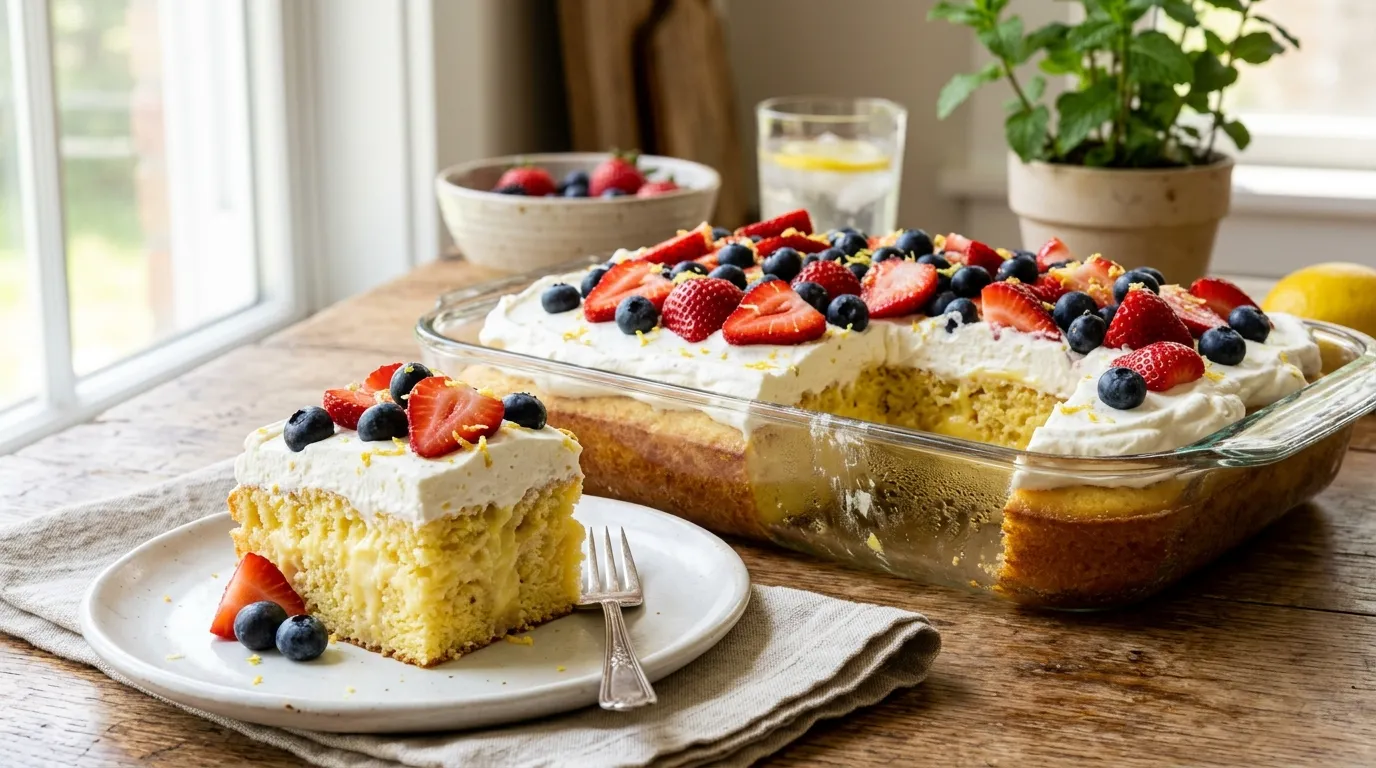

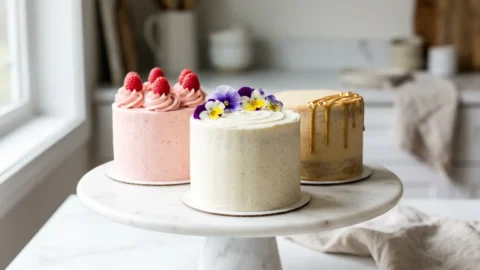
Welcome to the wonderful world of miniature baking! Whether you are planning an adorable smash cake for a first birthday, an intimate date night dessert, or a cute anniversary surprise, these perfectly petite packages are guaranteed to steal the show. Forget the hassle of slicing a massive tiered dessert; these adorable individual delights offer a highly customizable and incredibly satisfying baking experience that caters to everyone’s unique tastes.
Table of Contents
Crafting the perfect small dessert is an art that any home baker can master. With the right techniques, precise measurements, and a reliable batter, you can transform standard ingredients into moist, bakery-worthy masterpieces. Let’s dive into the ultimate guide to creating beautiful, bite-sized confections that will have your loved ones swooning.
Why You Will Love This Little Cakes Recipe
When you are searching for the best mini cakes recipes, you want a method that is both foolproof and highly versatile. This guide delivers exactly that, providing simple mini cake recipes that can easily be adapted for any celebration. If you need an easy small cake recipe for kids to help decorate on a rainy weekend, or you want to craft an elegant dessert table for an upcoming wedding, this is your go-to formula.
Dessert is where a baker’s creativity truly shines. Much like how baking intricate graduation cakes requires careful attention to detail, these petite treats demand high-quality components and specific baking techniques to ensure they do not dry out in the oven.
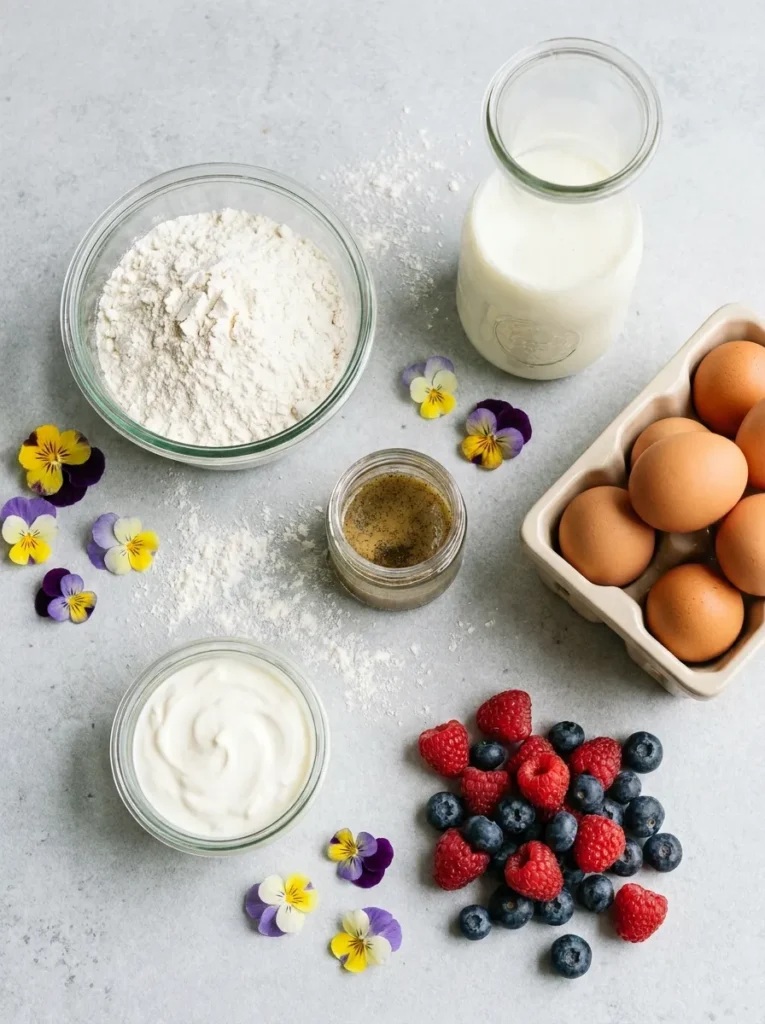
Essential Ingredients for a Moist Crumb
The foundation of any spectacular small-batch dessert lies in its components. Because miniature pans hold less batter, they are prone to drying out. To achieve an incredibly tender and fluffy texture, this recipe relies heavily on buttermilk and sour cream. The fat content in sour cream adds exceptional richness and moisture to the batter without making the final product dense or heavy.
For the fat content, using oil rather than butter keeps the cake soft, even when chilled in the refrigerator. A neutral-tasting oil (like canola or vegetable) is preferred to retain that pillowy, cloud-like texture we all crave.
For a fun twist on flavors, you might draw inspiration from sweet breakfasts, like lemon ricotta pancakes with cherry sauce, by incorporating fruit purees into your batter. And if you love vibrant citrus notes, you could easily adapt this vanilla base into zesty lemon cakes great gatsby recipe style treats!
Dietary Variations & Small-Batch Cost Tips
- Make it Vegan or Gluten-Free: To make this recipe vegan, swap the eggs for applesauce (1/4 cup per egg) and use a high-quality plant-based sour cream and milk. For a gluten-free version, simply substitute the cake flour with a 1:1 gluten-free baking blend containing xanthan gum.
- Small-Batch Purchasing: Baking small treats shouldn’t mean wasting leftover ingredients. To keep this recipe cost-effective, buy small half-pint cartons of heavy cream and utilize single-serve containers of buttermilk or sour cream.
Ingredients
- 1 1/2 cups (180g) cake flour or all-purpose flour
- 1/2 cup (120ml) buttermilk, room temperature
- 1/4 cup (60g) sour cream, full-fat
- 1/3 cup (80ml) neutral oil (canola or vegetable)
- 1 tsp apple cider vinegar
- 1 tbsp Instant Clearjel (optional, for frosting stability)
- 1 cup (240ml) heavy whipping cream, chilled
- 2 tsp vanilla extract or paste
- 2-3 drops gel food coloring (optional)
- 2 large eggs, room temperature
Step-by-Step Mini Cakes Recipe
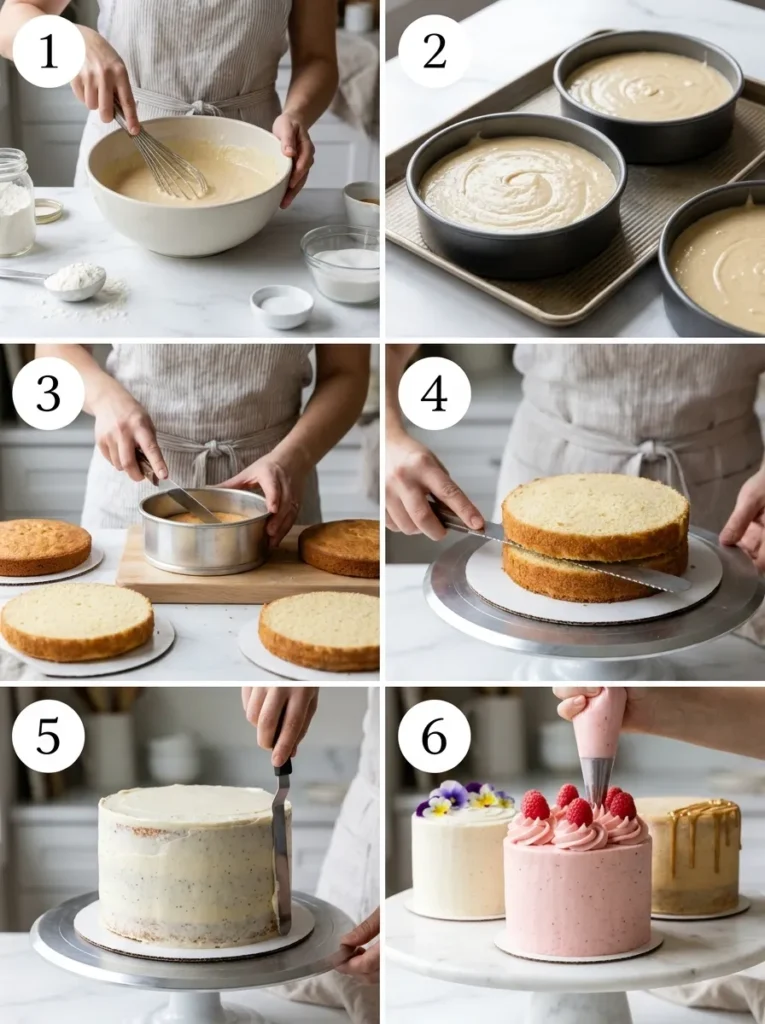
- Preheat your oven to 350°F (175°C) and prepare two 4-inch pans, four 6-ounce ramekins, or a quarter-sheet pan with parchment paper and baking spray.
- Combine the dry ingredients (180g flour) and wet ingredients (120ml buttermilk, 60g sour cream, 80ml oil, 2 eggs) using a two-bowl method or reverse creaming method to ensure a moist crumb.
- Pour the batter evenly into your chosen pans and bake for 18-22 minutes (for 4-inch pans) until a toothpick inserted into the center comes out clean.
- Allow the cakes to cool in the pans for 10 minutes, then wrap tightly in plastic wrap and freeze the layers to prevent crumbling during assembly.
- If using a sheet cake method instead of mini pans, bake for 15-18 minutes, cool, and cut out small rounds using 2 to 3-inch cookie cutters.
- Level the frozen cake layers horizontally with a serrated knife so they stack perfectly.
- Stack the layers with frosting (whip the heavy cream, vanilla, and Instant Clearjel), apply a thin crumb coat, and chill for 15 minutes.
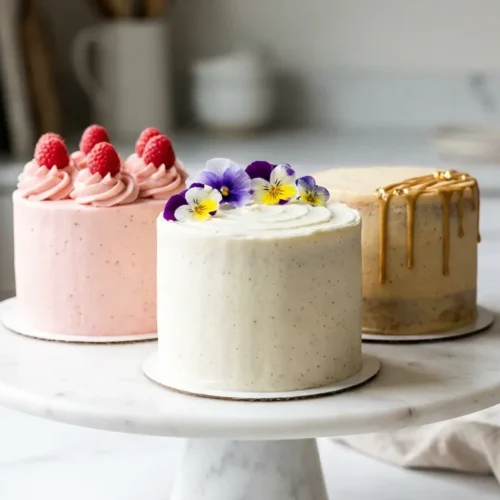
- Decorate the mini cakes using a piping tip, fresh berries, or edible flowers, yielding two perfect 4-inch cakes or four ramekin cakes.
How to Scale Down Any Cake Recipe
One of the biggest hurdles home bakers face is adapting standard recipes into mini cake tin recipes. Fortunately, there is a simple math formula you can use to scale down almost any standard 8-inch cake recipe into a 4-inch mini cake recipe.
- The Math: A standard 8-inch round cake pan holds roughly 4 cups of batter. A 4-inch round cake pan holds exactly 1 cup of batter.
- The Formula: To convert a standard two-layer 8-inch cake recipe (which yields 8 cups of batter total) into 4-inch cakes, simply divide the recipe by four. This will yield two 4-inch cakes (2 cups of batter).
- Alternatively, you can make the full 8-inch recipe and bake it in a quarter-sheet pan, then use biscuit cutters to stamp out a 2 inch mini cake recipe.
Bake Time Conversion Chart
When adjusting pan sizes, the temperature generally stays the same, but the baking time drops significantly. Keep this handy conversion chart in mind:
| Pan Size | Oven Temperature | Approximate Bake Time |
|---|---|---|
| Standard 8-Inch Pan | 350°F (175°C) | 30-35 minutes |
| 4-Inch Mini Pan | 350°F (175°C) | 18-22 minutes |
| 6-oz Ramekin | 325°F (160°C) | 15-18 minutes |
Alternative Baking Methods: Air Fryer & Toaster Oven
Don’t want to heat up your entire kitchen for a small batch of cake? You can easily bake these treats using alternative countertop appliances.
- Air Fryer Method: Pour your batter into lightly greased 6-ounce ceramic ramekins. Set your Air Fryer to 325°F (160°C) and bake for 12-15 minutes. The rapid air circulation creates a beautiful dome and a perfectly baked center.
- Toaster Oven Method: If using a toaster oven, bake your 4-inch pans at 325°F (160°C) for 15-18 minutes, keeping a close eye on them to ensure the top heating element doesn’t scorch the delicate batter.
Tools & Transportation: Baking and Gifting
Creating small fancy cakes recipes is all about the finishing touches and having the right equipment. To achieve patisserie-quality Mini Cakes, invest in a few essential tools:
- 4-Inch Springform Pans: Perfect for easy release without damaging the sides.
- 2-Inch Biscuit Cutters: Ideal for stamping out uniform layers from a sheet pan.
- Wilton 1M Piping Tip: The industry standard for creating beautiful buttercream rosettes.
- Mini Bench Scraper: Crucial for getting smooth frosting on tiny, top-heavy tiers.
Transportation Tip: Mini cakes are notoriously top-heavy. To safely transport them for gifting, secure the cake board to the bottom of a small bakery box using a dab of royal icing or double-sided tape. Insert a single wooden dowel through the center of the cake to keep the layers from sliding during transit.
The Best Mini Cakes Recipe for Every Event
Ingredients
- Cake flour or all-purpose flour
- Buttermilk
- Sour cream
- Oil
- Apple cider vinegar
- Instant Clearjel
- Heavy whipping cream
- Vanilla extract or paste
- Gel food coloring
- Eggs
Instructions
- Preheat your oven and prepare 4-inch pans, 6-inch pans, ramekins, or a quarter-sheet pan with parchment paper.
- Combine the dry ingredients and wet ingredients using a two-bowl method or reverse creaming method to ensure a moist crumb.
- Pour the batter into your chosen pans and bake until a toothpick inserted comes out clean.
- Allow the cakes to cool, then wrap and freeze the layers to prevent crumbling during assembly.
- If using a sheet cake, cut out small rounds using 2 to 3-inch cookie cutters.
- Level the frozen cake layers with a serrated knife.
- Stack the layers with frosting, apply a crumb coat, and chill.
- Decorate the mini cakes using piping tips, fresh berries, or edible flowers.
Notes
Nutritional Information
Serving Size: 1 mini cake slice- Calories: 350
- Total Fat: 18g
- Saturated Fat: 8g
- Carbohydrates: 45g
- Sugars: 30g
- Protein: 4g
Frequently Asked Questions
How many people does a 4-inch mini cake serve, and what is the best pan size to use for a small batch?
A 4-inch mini cake typically serves 1 to 2 people, making it perfect for sharing with a partner or enjoying as a generous individual dessert. For a small batch, 4-inch pans or standard ramekins are highly recommended, as they provide an excellent ratio of soft cake to sweet frosting.
How do I adjust the baking time and temperature when converting a standard cake recipe into mini pans or ramekins?
Keep your oven temperature the same (usually 350°F or 175°C), but significantly reduce the baking time. Start checking your cakes around the 15 to 20-minute mark. Because the volume of batter in each pan is much smaller, they will bake much faster than a standard 8-inch round cake.
What are the best techniques for keeping mini cakes moist and preventing them from drying out?
To ensure a moist crumb, avoid overbaking at all costs. Use a combination of oil and sour cream or buttermilk in your batter, as these ingredients retain moisture far better than butter alone. Additionally, brushing your baked layers with a simple syrup before frosting helps seal in the moisture.
Can I bake mini cake layers in advance, and is it better to assemble them while they are frozen?
Yes, baking in advance is highly recommended! Once cooled, wrap the layers tightly in plastic wrap and freeze them. Assembling and frosting the cakes while the layers are frozen is actually the best technique, as it prevents the delicate crumb from tearing and makes leveling with a knife much easier.