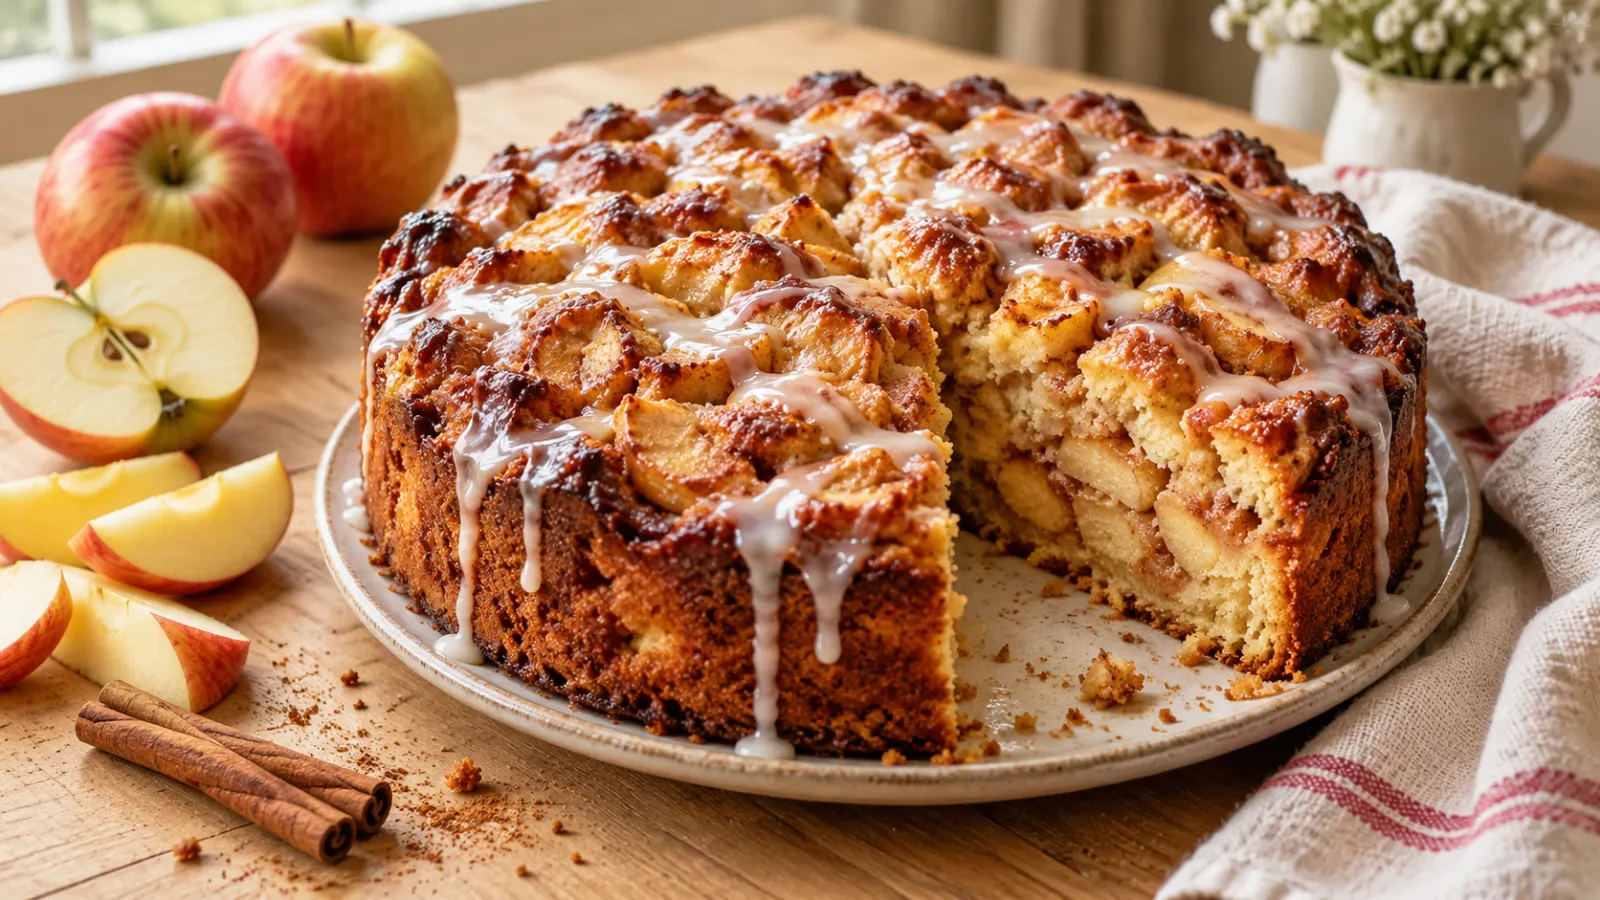
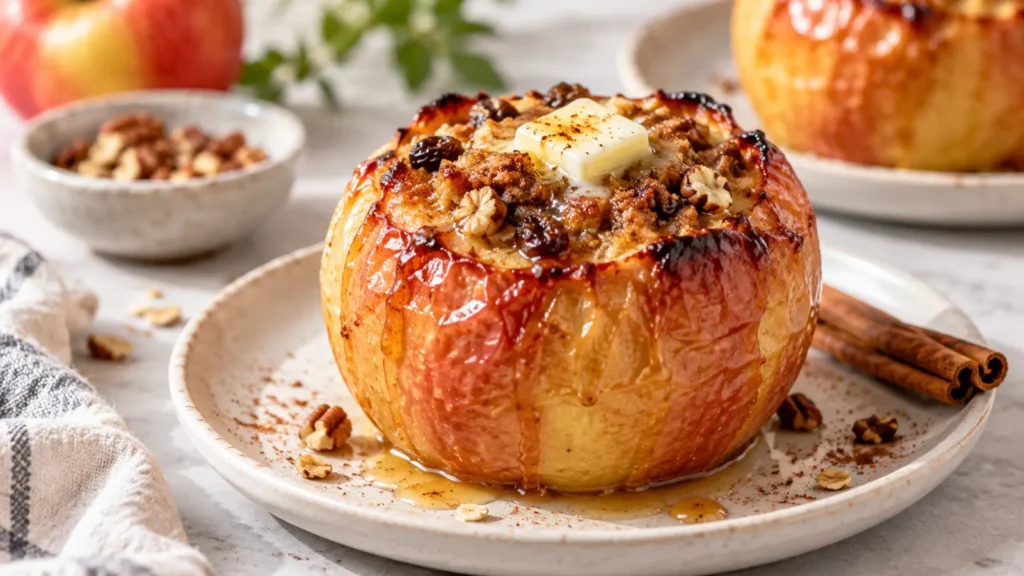
Old fashioned baked apples are a truly timeless dessert, marrying the natural sweetness of ripe apples with the comforting warmth of cinnamon. This classic treat offers a uniquely satisfying experience, delivering a tender, spiced fruit dish that’s both simple and elegant. You’ll find this recipe for old fashioned baked apples incredibly rewarding because it’s straightforward to prepare, requires only a few pantry staples, and fits perfectly into any season. Whether you’re seeking a cozy dessert to savor on a crisp autumn evening, a light yet flavorful sweet treat for a summer gathering, or a heartwarming addition to your holiday table, this recipe is destined to become a cherished favorite. Its effortless charm and delicious outcome make it a dish you’ll want to revisit again and again.
Table of Contents
Why You’ll Love This Recipe
- Simple Ingredients & Quick Prep: Made with just a handful of common pantry items, these apples come together with minimal effort, making them ideal for busy schedules.
- Comforting & Versatile: This heartwarming dessert is perfect for cozy fall nights, holiday meals, or even as a wholesome breakfast addition any time of year.
- Naturally Sweet & Satisfying: Experience the delightful balance of tender, spiced apples, sweetened just enough to enhance their natural flavor without being overly rich.
- Customizable Flavors: Easily adjust the sweetness, add complementary spices, or pair with various toppings to create a dessert that perfectly matches your preference.
Key Ingredients & Substitutions
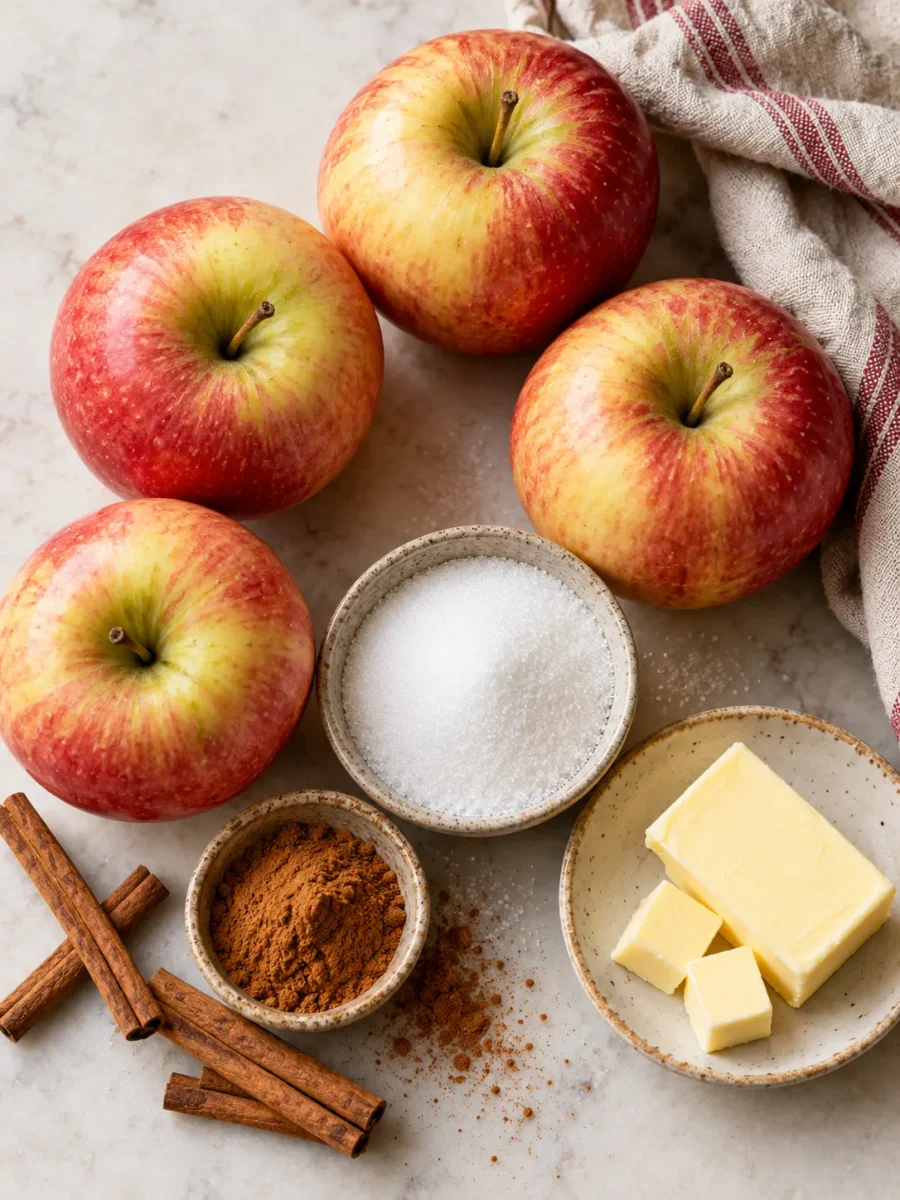
The beauty of old fashioned baked apples lies in their simplicity, relying on a few quality ingredients to create a memorable dessert.
- Apples: Choosing the right apple is crucial for texture and flavor. For baked apples, you want firm varieties that hold their shape well under heat while offering a pleasant balance of sweetness and tartness.
- Granny Smith: A classic choice, known for its tartness, which provides a lovely contrast to the sugar and cinnamon. It remains firm and holds its shape beautifully.
- Honeycrisp: Offers a delightful sweet-tart flavor and a crisp texture that softens perfectly without becoming mushy.
- Pink Lady: Provides a balanced sweet-tart profile and a firm flesh, making it another excellent option for baking.
- Other great choices include Braeburn, Fuji, or Rome Beauty. Avoid overly ripe or soft apples, as they tend to break down too much during baking. The variety you choose will slightly impact the final sweetness and texture, so feel free to experiment to find your favorite.
- Granulated Sugar: This is our primary sweetener. It not only adds sweetness but also helps draw out the natural juices from the apples and contributes to a beautiful caramelized coating. You can easily adjust the amount based on the sweetness of your apples and your personal preference.
- Cinnamon: The quintessential spice for baked apples. Its warm, sweet, and slightly woody notes beautifully complement the fruit. For an extra layer of complexity, consider adding a tiny pinch of ground nutmeg or a dash of allspice to the sugar mixture, though cinnamon remains the star.
- Unsalted Butter: Essential for richness and moisture. As it melts, the butter blends with the sugar and apple juices to create a glossy, flavorful sauce that coats each apple. Using unsalted butter allows you to control the overall salt content in your dish. A small pinch of salt in the sugar mixture can actually enhance the sweetness and balance the flavors, so feel free to add a tiny amount if using unsalted butter.
Step-by-Step Instructions
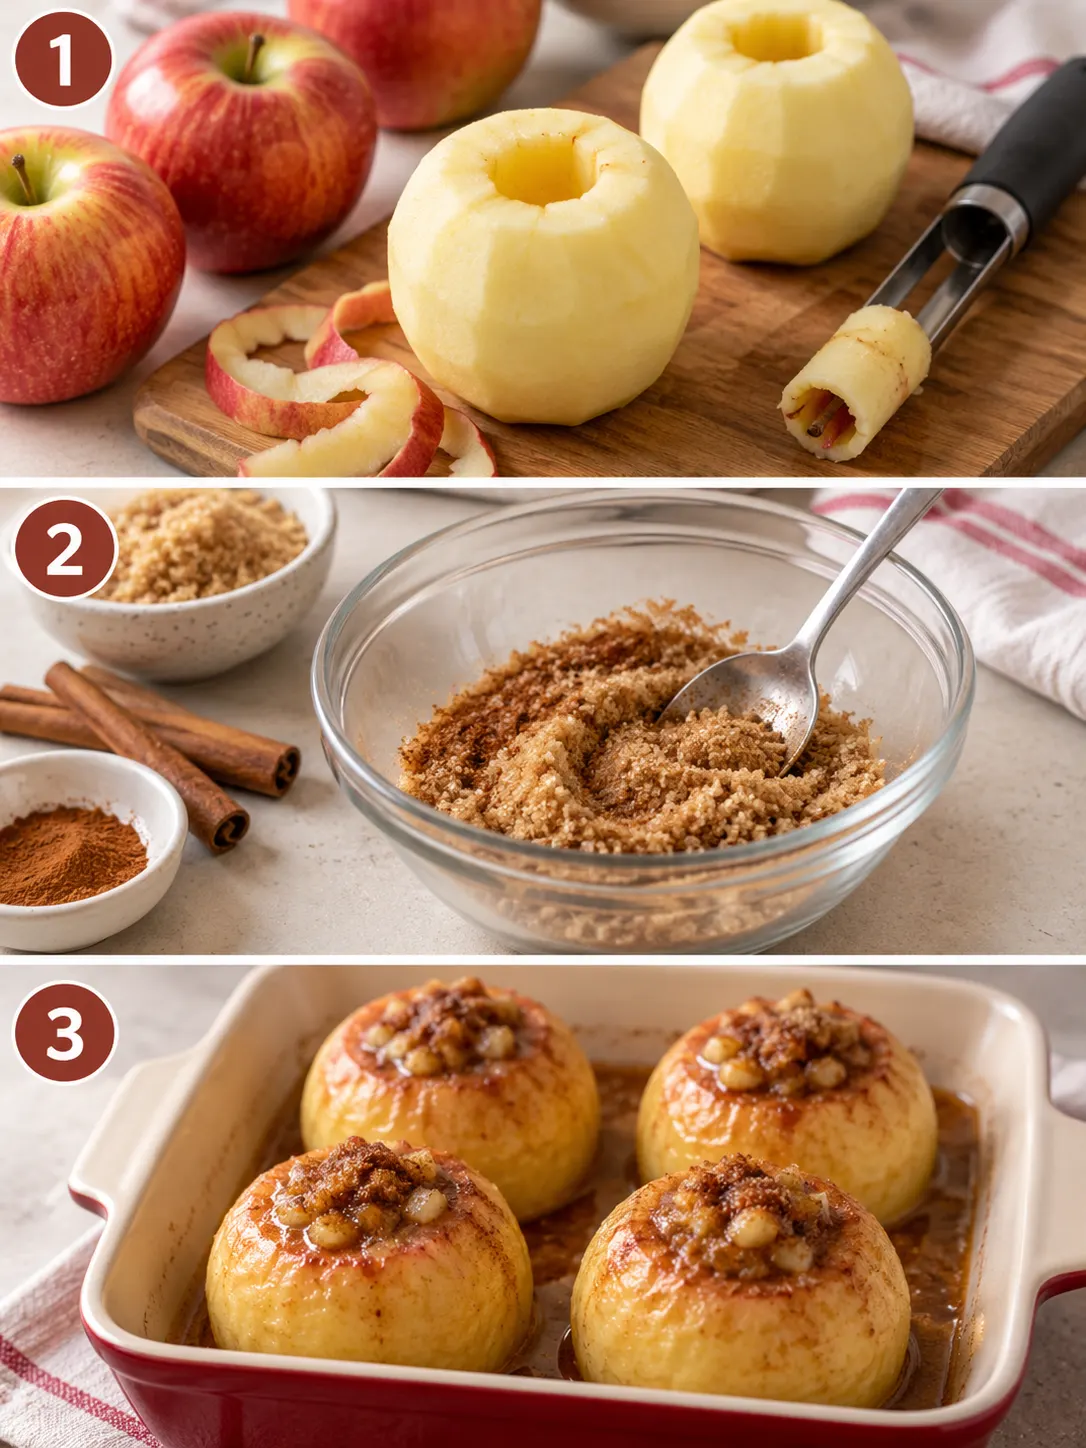
Creating these delightful baked apples is a straightforward process, but paying attention to a few details will ensure a perfect result every time.
1. Prepare for Baking: Start by preheating your oven to 375°F (190°C). A properly preheated oven ensures even cooking from the moment your apples go in, helping them bake consistently and develop that lovely tender texture.
2. Core and Peel the Apples: Using an apple corer or a small paring knife, carefully remove the core from each apple, making a cavity for the filling. Try not to cut all the way through the bottom if possible, as this helps contain the butter and sugar mixture. Next, peel the skin from the top half of each apple. This partial peeling creates a lovely textural contrast — the tender peeled flesh and the slightly firmer, rustic skin — and allows the top portion to absorb the cinnamon-sugar flavors more readily. If desired, you can make a few shallow slits around the unpeeled part of the apple to prevent the skin from bursting during baking and allow steam to escape.
3. Prepare the Filling: In a small bowl, combine the granulated sugar and cinnamon. Stir them together thoroughly until the cinnamon is evenly distributed throughout the sugar. This ensures every bite of your baked apple is infused with that perfect spiced sweetness.
4. Assemble the Apples: Arrange the cored and partially peeled apples in a baking dish that fits them snugly but not too tightly. A dish roughly 9×13 inches for 4-6 apples typically works well. Place approximately a tablespoon of unsalted butter into the core cavity of each apple. Then, generously spoon the cinnamon-sugar mixture into and over the butter-filled cores, letting any excess spill into the dish around the apples. For extra moisture and to create more sauce, you can pour about 1/4 cup of water or apple cider into the bottom of the baking dish before placing the apples.
5. Bake to Perfection: Transfer the baking dish to the preheated oven and bake for 25-30 minutes. The baking time can vary slightly depending on the size and variety of your apples. About halfway through the baking time, gently spoon some of the melted butter and sugary juices from the bottom of the dish over the apples to keep them moist and encourage caramelization. The apples are ready when they are deep golden in color and tender when pierced with a fork, but still hold their shape without collapsing. It’s essential to ensure that your apples are cooked to a safe internal temperature. You can follow official guidance on safe minimum internal temperatures to guarantee that your baked apples are not only delicious but also safe to eat.
Expert Chef Tips & Troubleshooting
Achieving perfectly baked apples is simple with a few insider tips. Here’s how to ensure yours are tender, flavorful, and just right every time.
- Preventing Overbaking and Mushy Apples: The key to apples that are tender yet still hold their shape is vigilant monitoring. Begin checking your apples around the 25-minute mark. Insert a fork into the peeled section; it should slide in with minimal resistance but the apple should not feel completely soft or start to fall apart. If your apples seem to be browning too quickly on top before they’re fully tender, you can loosely tent the baking dish with aluminum foil for the remaining baking time.
- Avoiding Dry Apples: If your apples are less juicy or you find them drying out during baking, adding a splash of liquid to the bottom of the baking dish is a great trick. A quarter cup of water, apple cider, or even orange juice will create steam, help prevent scorching, and contribute to a lovely, syrupy sauce. Basting the apples with the accumulated juices every 10-15 minutes also keeps them moist and infuses them with flavor.
- Enhancing Flavor: A tiny pinch of salt (about 1/8 teaspoon) added to your cinnamon-sugar mixture can work wonders by balancing the sweetness and enhancing the overall apple flavor. For a brighter taste, you can brush the cored apples with a little lemon juice before adding the filling; this also helps prevent them from browning if you’re prepping ahead.
- Even Cooking: To ensure all your apples cook evenly, try to select apples of similar size. If you have a mix, you might need to remove smaller apples a few minutes earlier or position larger ones towards the center of the oven where heat tends to be most consistent.
- Serving Temperature: While best enjoyed warm, straight from the oven, baked apples are also delightful at room temperature. The flavors tend to meld and deepen as they cool slightly.
If you’re looking for other delicious dessert ideas, consider trying Cold Lunch Ideas for Kids or Cold Tortellini Pasta Salad for a refreshing twist on traditional desserts.
Storage, Make-Ahead & Reheating
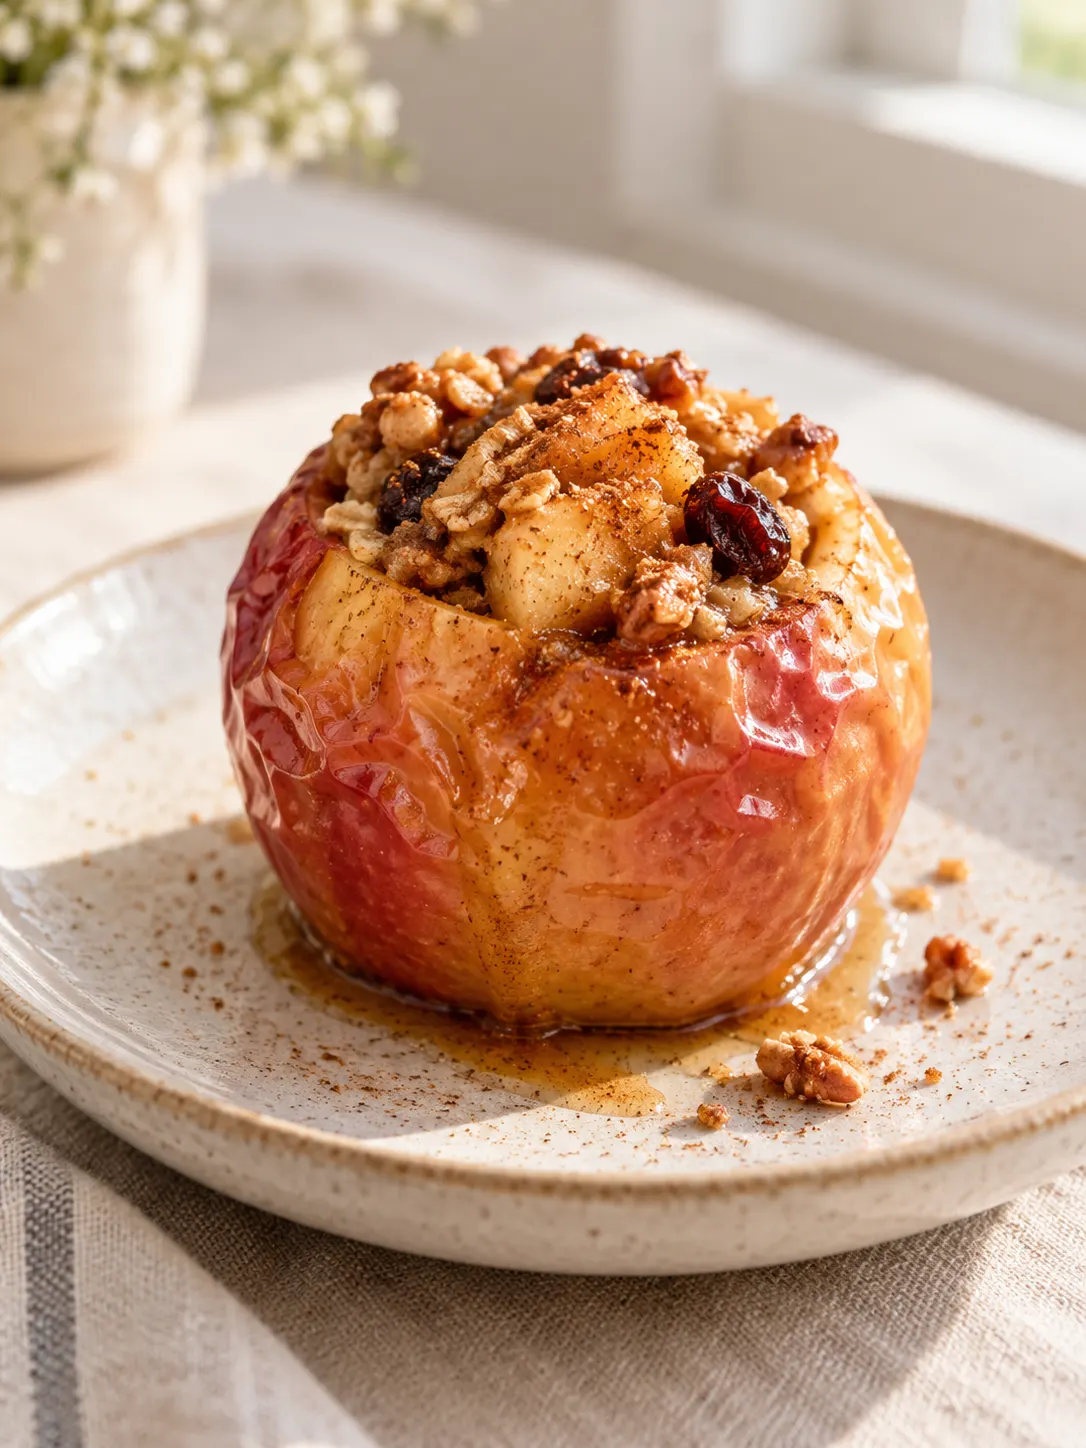
Proper storage and reheating ensure you can enjoy these comforting baked apples for days to come.
- Storage: Once cooled, transfer any leftover baked apples and their accompanying sauce to an airtight container. They will keep beautifully in the refrigerator for up to 3 days. Glass containers are ideal as they don’t absorb odors and are easy to clean.
- Make-Ahead: While baked apples are best fresh from the oven, you can certainly do some prep work in advance. You can core and peel the apples a few hours ahead of time. To prevent browning, lightly brush the cut surfaces with a little lemon juice. The cinnamon-sugar mixture can also be prepared and stored in an airtight container at room temperature until ready to use. This makes assembly quick and easy when you’re ready to bake.
- Freezing: For longer storage, baked apples can be frozen. Once completely cooled, place individual apples and some of their sauce into freezer-safe airtight containers or heavy-duty freezer bags. They can be frozen for up to 2-3 months. Thaw frozen apples in the refrigerator overnight before reheating. Be aware that the texture may become slightly softer after freezing and thawing.
- Reheating:
- Microwave: For a quick reheat, place an apple and some sauce in a microwave-safe bowl, cover, and microwave on medium heat in 30-60 second intervals until warmed through.
- Oven: To reheat multiple apples or to restore a slightly firmer texture, place them in an oven-safe dish, cover loosely with foil, and warm in a preheated oven at 300°F (150°C) for about 10-15 minutes, or until heated through.
It’s also important to follow safe food storage practices to prevent foodborne illness and ensure your leftovers are always safe to enjoy.
Serving Suggestions & Complementary Pairings
Old fashioned baked apples are incredibly versatile and can be enjoyed in many ways, from a simple dessert to a hearty breakfast component.
- Classic Desserts: Serve warm with a scoop of vanilla bean ice cream that slowly melts into the spiced apple juices, a dollop of freshly whipped cream, or a pour of warm custard.
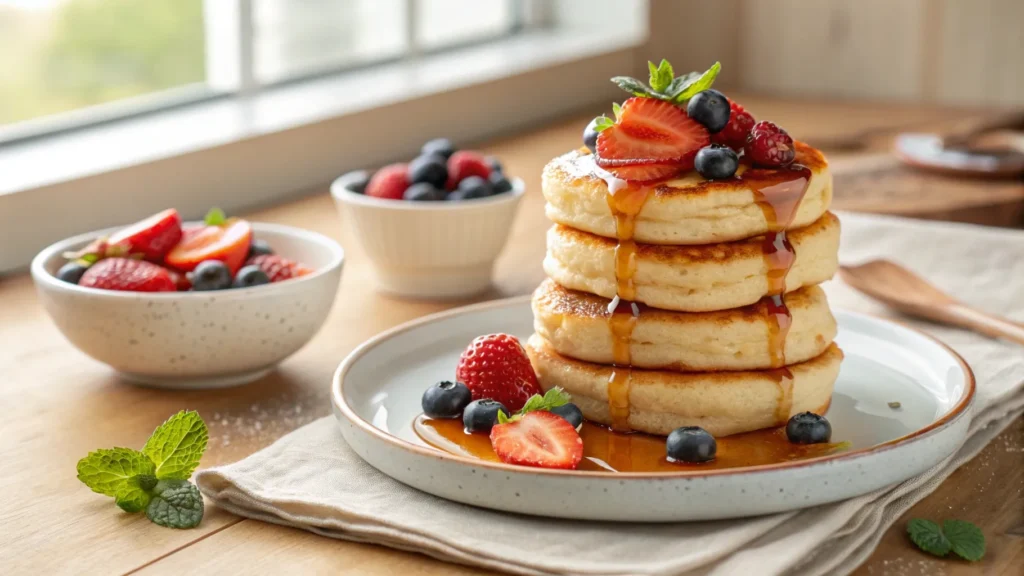
- Breakfast & Brunch: Elevate your morning meal by topping oatmeal, pancakes, or waffles with these tender baked apples. They’re also a fantastic accompaniment to French toast or a simple Greek yogurt parfait.
- Added Richness: For an extra layer of indulgence, drizzle the warm apples with a touch of caramel sauce, a sprinkle of toasted chopped nuts (like pecans or walnuts), or even a dollop of mascarpone cheese.
- Savory Pairings: While primarily a dessert, baked apples can also complement certain savory dishes, particularly roasted poultry like chicken or turkey, adding a touch of sweetness and warmth to your holiday spread.
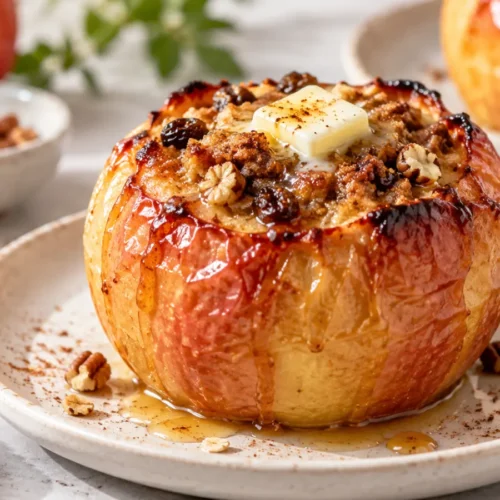
Old Fashioned Baked Apples

Equipment
- Oven
- Baking dish
- Mixing bowl
Ingredients
Apples
- 4 large apples firm varieties like Granny Smith, Honeycrisp, or Pink Lady
- 1/2 cup granulated sugar
- 2 tablespoons cinnamon
- 4 tablespoons unsalted butter
Instructions
- Preheat the oven to 375°F.
- Core and peel the apples halfway down.
- Mix the granulated sugar and cinnamon in a bowl.
- Place the apples in a baking dish and top each apple with a tablespoon of butter and a spoonful of the sugar and cinnamon mixture.
- Bake the apples for 25-30 minutes, or until they are deep golden and soft, stirring occasionally.
Notes
- Calories: 220
- Protein: 0g
- Carbohydrates: 30g
- Fat: 12g
- Saturated fat: 8g
- Cholesterol: 20mg
- Sodium: 10mg
- Potassium: 0mg
- Fiber: 4g
- Sugar: 20g
Frequently Asked Questions
What type of apples are best for old fashioned baked apples?
For old fashioned baked apples, it’s best to use firm varieties that hold their shape well and offer a good balance of sweetness and tartness. Excellent choices include Granny Smith, Honeycrisp, Pink Lady, Braeburn, Fuji, or Rome Beauty. These varieties become tender during baking without turning into mush. Avoid using overly ripe or very soft apples, as they may become too watery or disintegrate during the baking process.
Can I adjust the amount of sugar in the recipe to my taste?
Yes, absolutely! You can freely adjust the amount of sugar in the recipe based on your personal preference and the natural sweetness of the apples you’re using. If you prefer a less sweet dessert, you can reduce the amount of granulated sugar. For a sweeter outcome, add a bit more. Remember that a tiny pinch of salt can also help balance and enhance the overall sweetness of the dish.
How do I ensure the baked apples are tender but still hold their shape?
To achieve this perfect balance, the key is to monitor the apples closely during the final stages of baking. Start checking for doneness around the 25-minute mark by gently piercing an apple with a fork. It should feel tender but still offer some resistance, not completely soft. Using firm apple varieties from the start and covering the baking dish with foil if they begin to brown too quickly can also help maintain their shape.
Can I serve old fashioned baked apples as a topping for other desserts?
Yes, old fashioned baked apples make a wonderfully versatile topping! They are delicious spooned over a variety of desserts such as vanilla ice cream, plain yogurt, or even cheesecake. You can also use them to elevate breakfast items like oatmeal, pancakes, or waffles. For convenience, you can refrigerate or even freeze leftover baked apples and their sauce for later use as a flavorful topping.