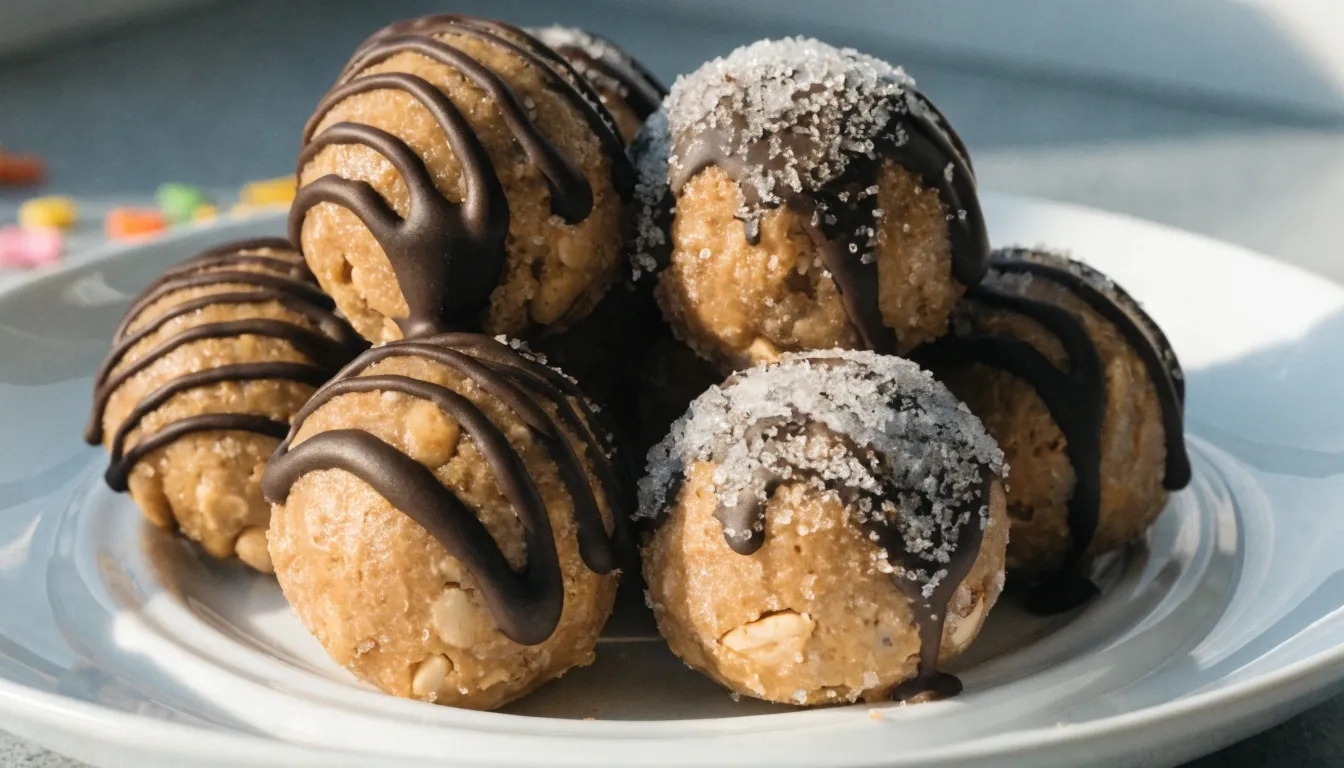
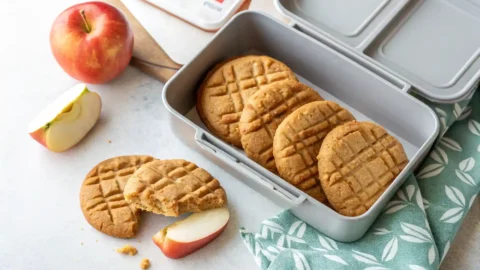
These easy peanut butter lunchbox cookies are the hearty, satisfying treat every parent needs in their back-to-school arsenal. Packed with rich, nutty flavor and a wonderfully chewy texture, they are designed to hold up perfectly in a lunchbox. The added protein from the peanut butter makes them more filling than your average cookie, providing a welcome energy boost to get through the school day. Simple to make and impossible to resist, this recipe will quickly become a family favorite.
Table of Contents
Why You’ll Love Peanut Butter Lunchbox Cookies
This recipe shines because of its intense peanut butter flavor and incredible chewiness that lasts for days. It’s a one-bowl wonder that comes together in no time, making it perfect for busy parents.
- Rich Peanut Butter Flavor: Loaded with peanut butter for a taste that is nutty, sweet, and slightly salty.
- Stays Chewy for Days: These cookies maintain their soft, chewy texture, making them ideal for making ahead.
- Hearty & Filling: The protein from the peanut butter makes for a more substantial and satisfying snack.
- Crowd-Pleaser: A beloved classic that appeals to both kids and adults.
- Super Easy to Make: No complicated steps or chilling time required—just mix, roll, and bake.
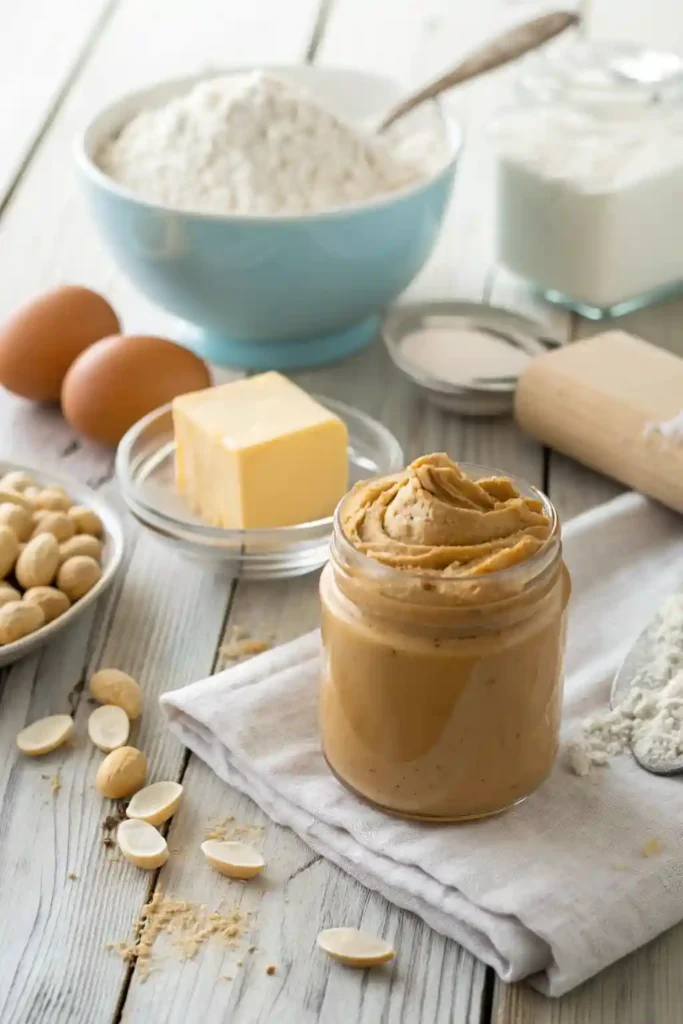
Ingredients For Peanut Butter Lunchbox Cookies
- 1 ¼ cups all-purpose flour
- ½ teaspoon baking soda
- ¼ teaspoon baking powder
- ¼ teaspoon salt
- ½ cup (1 stick) unsalted butter, softened
- ¾ cup creamy peanut butter (use a commercial brand like Jif or Skippy, not natural style)
- ½ cup granulated sugar
- ½ cup packed light brown sugar
- 1 large egg, room temperature
- 1 teaspoon vanilla extract
How to Make Peanut Butter Lunchbox Cookies
- Prepare for Baking: Preheat your oven to 350°F (175°C). Line two baking sheets with parchment paper for easy cleanup.
- Combine Dry Ingredients: In a small bowl, whisk together the flour, baking soda, baking powder, and salt. Set aside.
- Cream Fats and Sugars: In a large bowl, use an electric mixer to beat the softened butter, creamy peanut butter, granulated sugar, and brown sugar on medium speed until the mixture is smooth and fluffy, about 2 minutes.
- Incorporate Egg and Vanilla: Beat in the egg and vanilla extract until they are well combined, scraping down the sides of the bowl as needed.
- Add Flour Mixture: With the mixer on low speed, gradually add the dry ingredients to the wet ingredients. Mix just until the flour is incorporated. The dough will be thick.
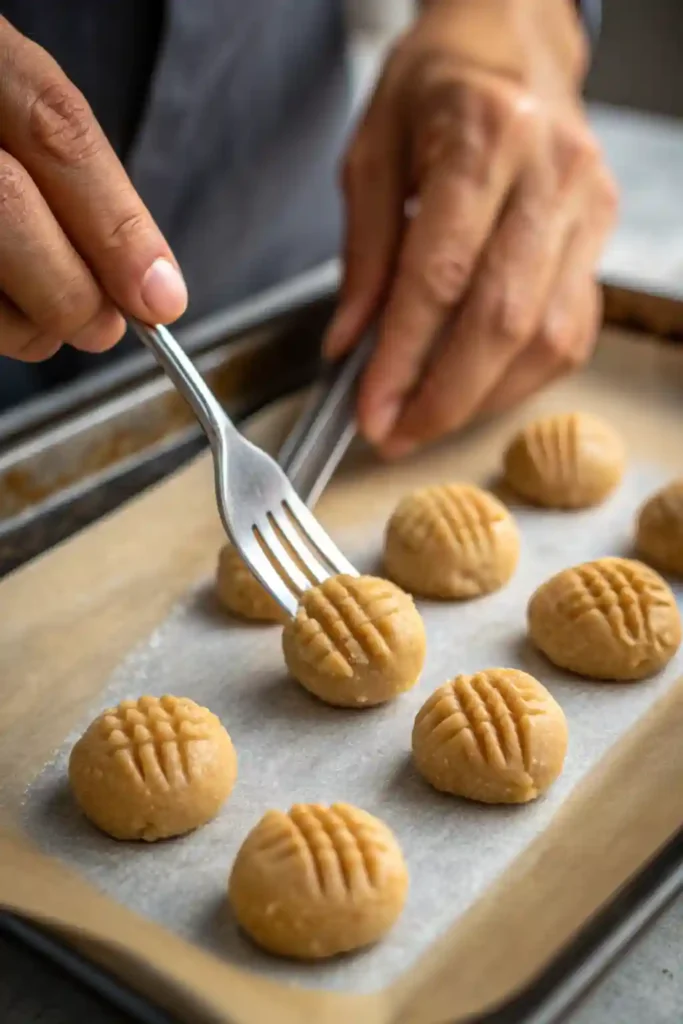
- Shape the Cookies: Roll the dough into 1-inch balls and place them about 2 inches apart on the prepared baking sheets.
- Create the Crisscross Pattern: Using the tines of a fork, gently press down on top of each ball of dough to flatten it slightly. Then, press again from the opposite direction to create the classic crisscross pattern. This helps the dense cookies bake more evenly.
- Bake: Bake for 10-12 minutes, or until the edges are lightly golden and the centers are set. Be careful not to overbake, as they will continue to firm up as they cool.
- Cool: Let the cookies cool on the baking sheets for 5 minutes before transferring them to a wire rack to cool completely.
Serving and Storage Tips
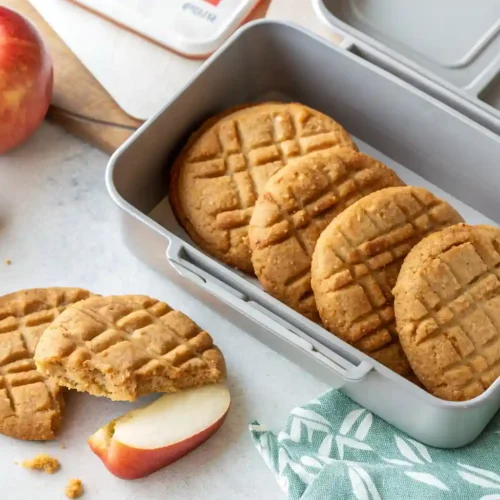
- Serving: These cookies are a perfect lunchbox addition or an after-school snack with a glass of milk or a piece of fruit.
- Storage: Store in an airtight container at room temperature for up to one week. Their chewy texture holds up exceptionally well.
Helpful Notes
- Peanut Butter Choice: For best results, use a standard commercial creamy peanut butter. Natural peanut butters can separate and make the cookies oily or crumbly.
- Extra Flair: For a touch of sparkle, you can roll the dough balls in granulated sugar before pressing them with a fork.
- Add-Ins: Feel free to mix in ½ cup of chocolate chips or peanut butter chips for an extra-decadent treat.
Conclusion
When you need a cookie that is both delicious and substantial, this easy peanut butter lunchbox cookie recipe is the perfect solution. It delivers on that nostalgic, nutty flavor we all crave, with a chewy texture that lasts all week. They’re a practical and beloved choice for busy families, ensuring you always have a hearty, homemade treat on hand. Did you try this recipe? We would be thrilled if you left a comment and a star rating below! Share your cookie creations on Facebook and let us know what makes them a hit in your home.
More Recipes to Explore
Double Chunk Chocolate Cookie
Indulge in pure chocolate bliss! These cookies are loaded with rich, chunky bites of chocolate, giving every mouthful a gooey, fudgy surprise. Perfect for chocoholics who love their cookies thick, chewy, and irresistibly decadent.
Cookie and Cream Cake Pop
A fun twist on dessert! These adorable cake pops combine soft cake with crushed cookies, dipped in a creamy coating. They’re bite-sized, portable, and as pretty as they are delicious — a guaranteed crowd-pleaser for parties or sweet cravings.
Pancake Mix Recipes Cookies
Turn breakfast magic into dessert! These cookies use pancake mix for a fluffy, light texture with a slightly crisp edge. Quick, simple, and versatile — they’re the ultimate go-to treat when you want homemade cookies in minutes.
Disney Chocolate Chip Cookie Recipe
Bring the magic of Disney right into your kitchen! These oversized chocolate chip cookies are soft, chewy, and bursting with melty chocolate chunks — just like the famous theme park version. A whimsical, nostalgic treat for all ages.
Easy Peanut Butter Lunchbox Cookies
Ingredients
- 1 ¼ cups all-purpose flour
- ½ teaspoon baking soda
- ¼ teaspoon baking powder
- ¼ teaspoon salt
- ½ cup 1 stick unsalted butter, softened
- ¾ cup creamy peanut butter use a commercial brand like Jif or Skippy, not natural style
- ½ cup granulated sugar
- ½ cup packed light brown sugar
- 1 large egg room temperature
- 1 teaspoon vanilla extract
Instructions
Prepare for Baking:
- Preheat your oven to 350°F (175°C). Line two baking sheets with parchment paper for easy cleanup.
Combine Dry Ingredients:
- In a small bowl, whisk together the flour, baking soda, baking powder, and salt. Set aside.
Cream Fats and Sugars:
- In a large bowl, use an electric mixer to beat the softened butter, creamy peanut butter, granulated sugar, and brown sugar on medium speed until the mixture is smooth and fluffy, about 2 minutes.
Incorporate Egg and Vanilla:
- Beat in the egg and vanilla extract until they are well combined, scraping down the sides of the bowl as needed.
Add Flour Mixture:
- With the mixer on low speed, gradually add the dry ingredients to the wet ingredients. Mix just until the flour is incorporated. The dough will be thick.
Shape the Cookies:
- Roll the dough into 1-inch balls and place them about 2 inches apart on the prepared baking sheets.
Create the Crisscross Pattern:
- Using the tines of a fork, gently press down on top of each ball of dough to flatten it slightly. Then, press again from the opposite direction to create the classic crisscross pattern. This helps the dense cookies bake more evenly.
Bake:
- Bake for 10-12 minutes, or until the edges are lightly golden and the centers are set. Be careful not to overbake, as they will continue to firm up as they cool.
Cool:
- Let the cookies cool on the baking sheets for 5 minutes before transferring them to a wire rack to cool completely.
Notes
Nutrition Information (per serving)
- Calories: 190 kcal
- Fat: 11g
- Saturated Fat: 5g
- Carbohydrates: 20g
- Sugar: 11g
- Protein: 4g
- Fiber: 1g
-
Sodium: 140mg
(Disclaimer: Nutrition information is an estimate and may vary based on ingredients and preparation.)
Frequently Asked Questions (FAQ)
Can I use an alternative ingredient?
You can use crunchy peanut butter instead of creamy for extra texture. If there are nut allergies, you can substitute the peanut butter with a seed butter like Sunbutter, but the texture and flavor will be different.
How do I make this gluten-free?
Replace the all-purpose flour with a 1-to-1 gluten-free baking flour blend. Ensure your other ingredients, especially the peanut butter, are certified gluten-free.
Why did my cookies turn out dry or crumbly?
This can happen from overbaking or measuring the flour incorrectly. To measure flour accurately, spoon it into your measuring cup and level it off with a knife rather than scooping directly from the bag. Also, pull the cookies from the oven when the centers still look a tiny bit soft.
Is this recipe freezer-friendly?
Yes! You can freeze the baked cookies in a freezer-safe bag for up to 3 months. Alternatively, freeze the unbaked dough balls (after pressing with a fork) and bake from frozen, adding 2-3 minutes to the bake time.
How thick should the dough be?
The dough should be very thick and easy to roll into balls without being overly sticky. If it feels too soft, you can chill it for 20 minutes before rolling.